4 snmp screen, 1 snmp configuration wizard – Comtech EF Data turboIP-G2 User Manual
Page 89
turboIP-G2 Performance Enhancement Proxy
Revision 2
Management via the CLI or Web Server GUI
CD-TURBOIP-G2
5–15
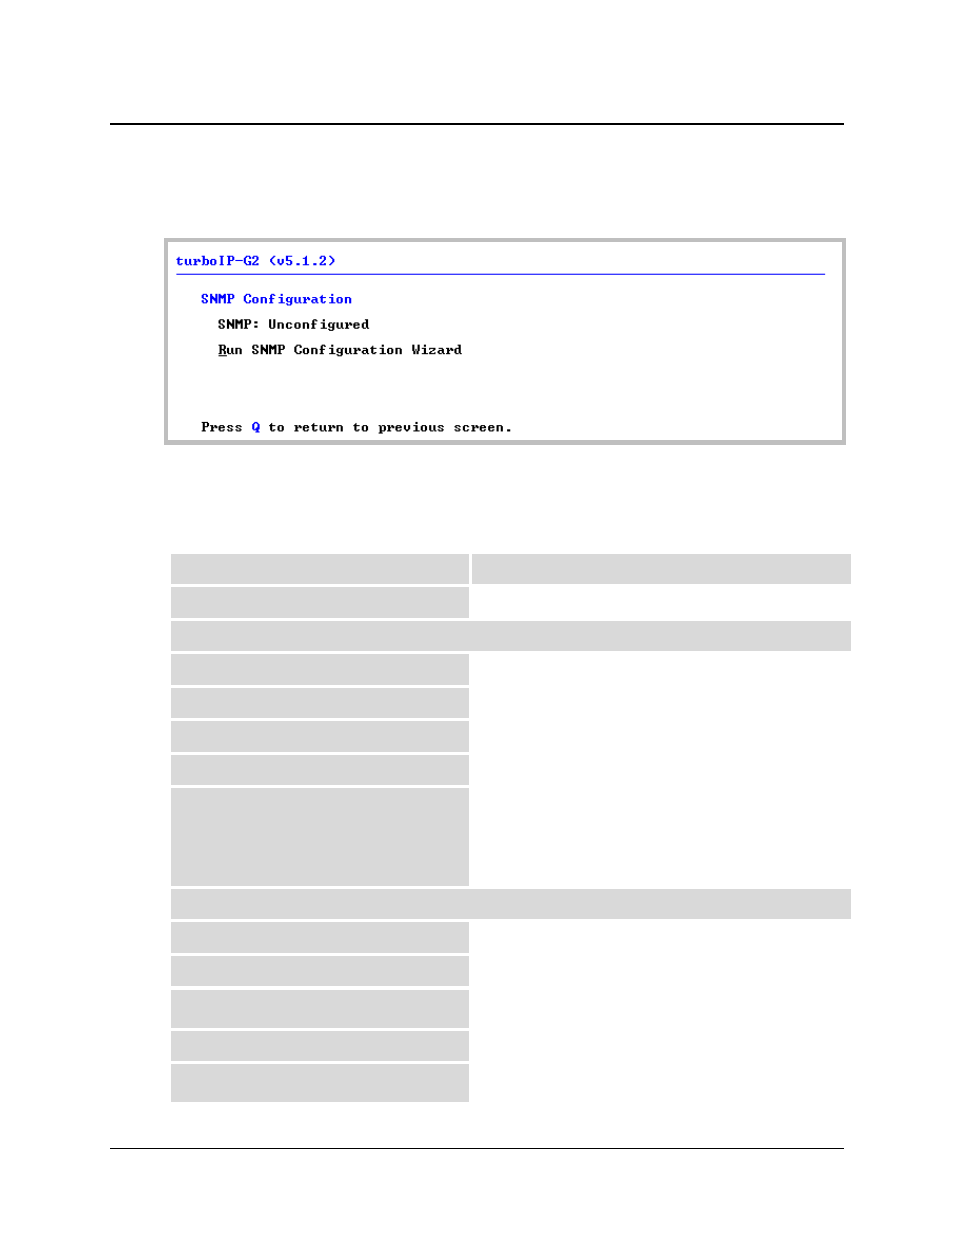
5.2.3.4 SNMP Screen
By default, SNMP (Simple Network Management Protocol) is not initially enabled or configured
for operation. Initial access to the SNMP screen prompts the user to run the SNMP Configuration
Wizard:
Press ‘R’ to Run the Configuration Wizard. User prompts appear in the order presented here:
5.2.3.4.1
SNMP Configuration Wizard
Prompt
Response
Which SNMP version would you like to use? Select
‘2’ for SNMP v2, or ‘3’ for SNMP v3.
If SNMP v2 is selected, proceed as follows:
SNMP sysName:
sysName: Enter a desired name for the system.
SNMP sysLocation:
sysLocation: Enter a desired location for the system.
SNMP sysContact:
sysContact: Enter a desired contact for the system.
SNMP Trap Destination IP Address:
Trap IP: Enter the IP Address xxx.xxx.xxx.xxx
SNMP v2 Community Strings:
Read (Read-only) Community: Enter a desired name.
Set (Read-Write) Community: Enter a desired name.
Trap (Notification) Community: Enter a desired name.
If SNMP v3 is selected, proceed as follows:
Username:
Enter a desired username.
Would you like to use Authentication?
Press 1 or Y for Yes, 2 or N for No
If Yes is selected for Authentication
Auth. Passphrase:
Enter a passphrase that is from 8 to 255 characters long.
Would you like to use Privacy?
Press 1 or Y for Yes, 2 or N for No
If Yes is selected for Privacy
Priv. Passphrase:
Enter a passphrase that is from 8 to 255 characters long.