Daylight savings setting, Set time – Daktronics DataTime Outdoor LED Time & Temperature Displays User Manual
Page 36
13. Diagnostics
14. About
Daylight Savings Setting
Use the Daylight Savings Select menu to set the sign to automatically correct for daylight
savings.
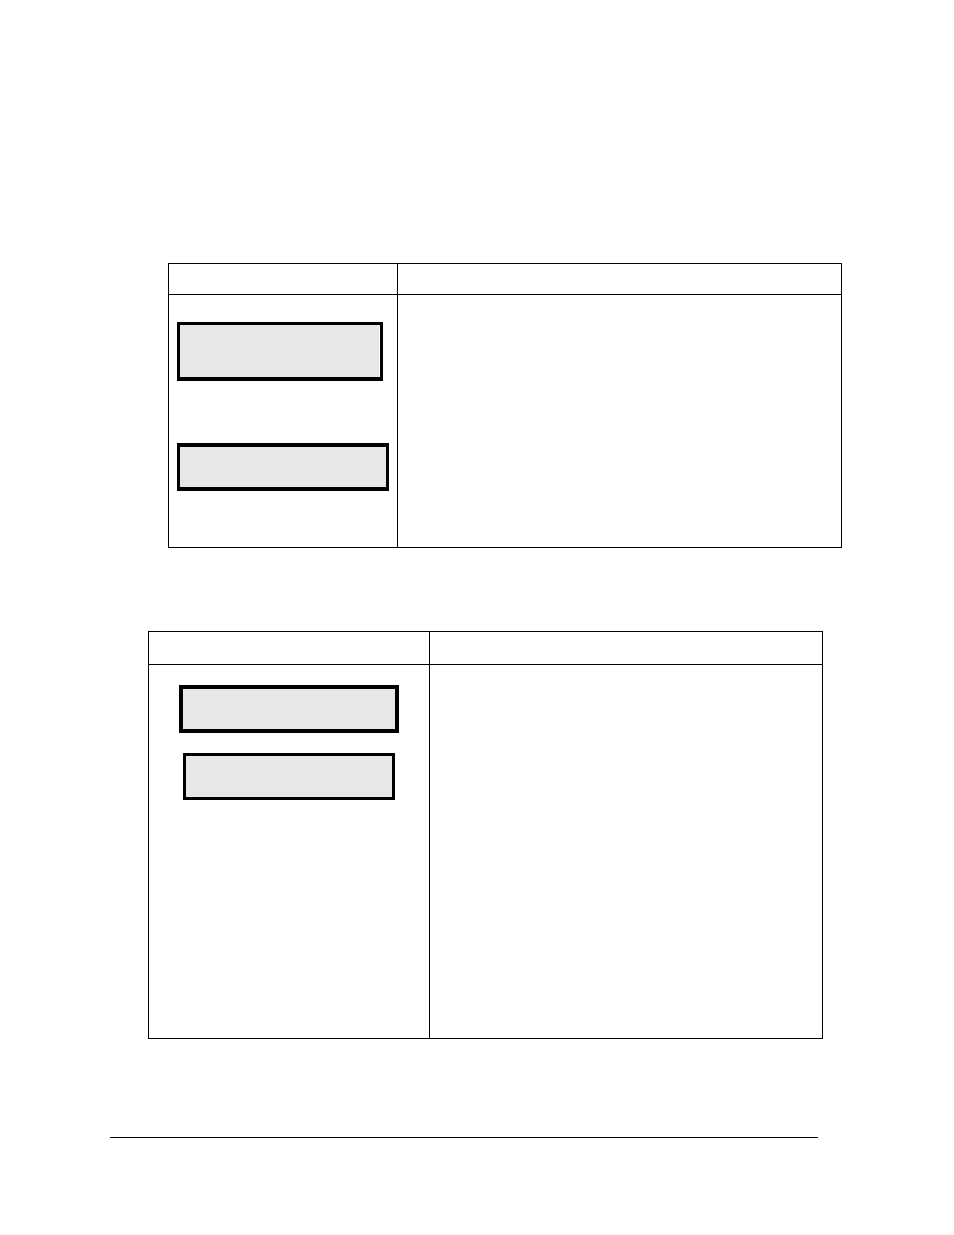
LCD Screen
Action
DAYLIGHT SAVINGS
ENTER TO EDIT
DAYLIGHT SAVINGS
ENABLE?
↓
Press the <ENTER> key to accept.
Press the down arrow key <
↓> to select the Enable or Disable
daylight savings time correction.
If enabled, the display time will automatically be corrected for
daylight savings time. The default setting is Daylight Savings Time
Enabled.
Note: In order for any changes to take effect, the time must be
updated on the display. Use the Set Time menu function.
Set Time
Use the Set Time menu to set the time on the display.
The above example is for use with a 12-hour format, the same process will be used for the 24-
hour format, and time will be entered in military time.
LCD Screen
Action
SET TIME - 12HR
ENTER TO EDIT
SET TIME 12HR
12:00* PM
↓
The LCD screen will go to the Set Time screen directly from
changing the Daylight Saving Time screen, or can be
selected using the menu.
Press <ENTER/EDIT> to modify the time listed on the
screen.
Note: The flashing asterisk shows current data being edited.
The LCD screen will display the time followed by a blinking
asterisk (*). Change the time as needed and use the <
↓> to
switch between AM and PM. The AM/PM setting is not
shown when 24-hour time is selected.
To save changes, press <ENTER> when finished editing.
Press the <CLEAR> key to cancel changes
32
DM-100 Controller