Assembling your kanguru qsx – Kanguru QSX Assembly Guide User Manual
Page 4
4
Assembling Your Kanguru QSX
2. Assembling Your Kanguru QSX
Please read these instructions carefully and make sure that you understand them before assembling
your QSX. You may want to print a copy of these instruction to help facilitate the assembly process.
Things to remember:
Assembly will take approximately 15-20 minutes.
•
Hard drives are electronic devices. When handling bare drives, please be aware that static
•
electricity may damage your hard drive. Please discharge any static electricity before assembling
by touching a metal frame or using electrostatic prevention bands.
SATA HDD connectors have a guaranteed number of times for connection/removal, specified
•
by the manufacturer. If an HDD is connected/removed more than this number of times, the
quality of the HDD connection cannot be guaranteed. Minimize the number of times you connect
HDDs.
The QSX is only compatible with SATA HDDs. HDDs based on other standards such as IDE
•
(PATA) HDD, SCSI HDD or SAS HDD cannot be connected.
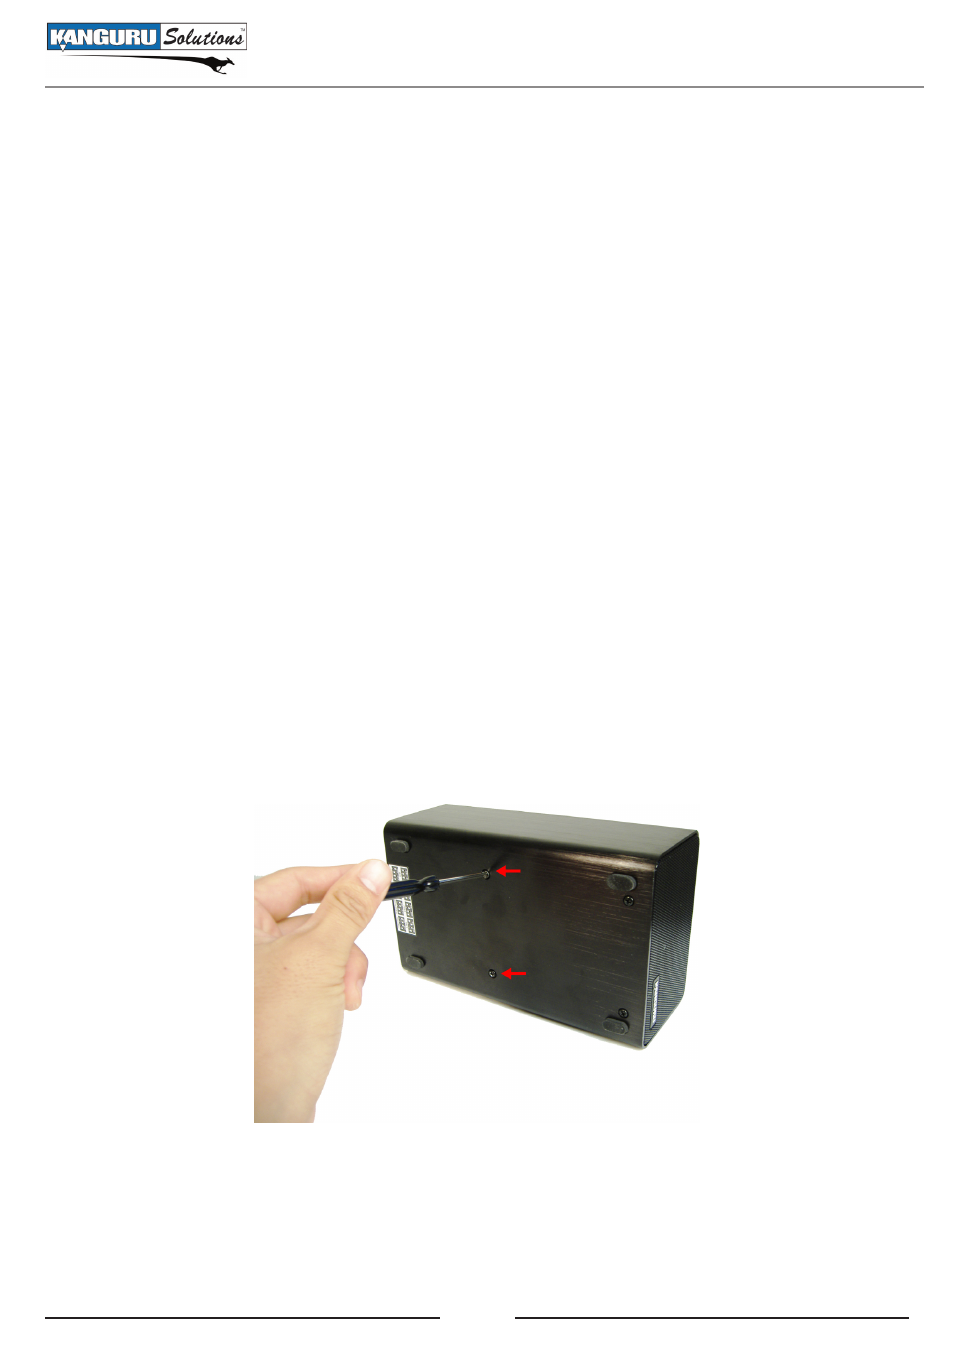
To assemble your Kanguru QSX:
Place the QSX Enclosure on its side with the bottom of the enclosure facing you. Remove the
1.
two screws located at the middle. This will release the Backplate/HDD Bracket assembly from
the housing. Set aside the two screws in a secure location, you will need them later.
figure 1: Removing the bottom screws