Kanguru CopyLock User Manual
Page 8
8
2.3 Transferring the Copy Protected Image File to the Kanguru DVD Duplicator
1. Connect the USB Cable between your PC and the Kanguru DVD Duplicator.
2. Turn the “USB Connection” setting on the duplicator to ON.
a. Turn on the Kanguru DVD Duplicator.
b. Press the Down button to navigate to “12. USB Connection” option, then press the ENT button.
c. Press the Down button to change the setting to “On” and then press the ENT button. This will
enable the connection from your PC to the DVD Duplicator’s internal hard drive.
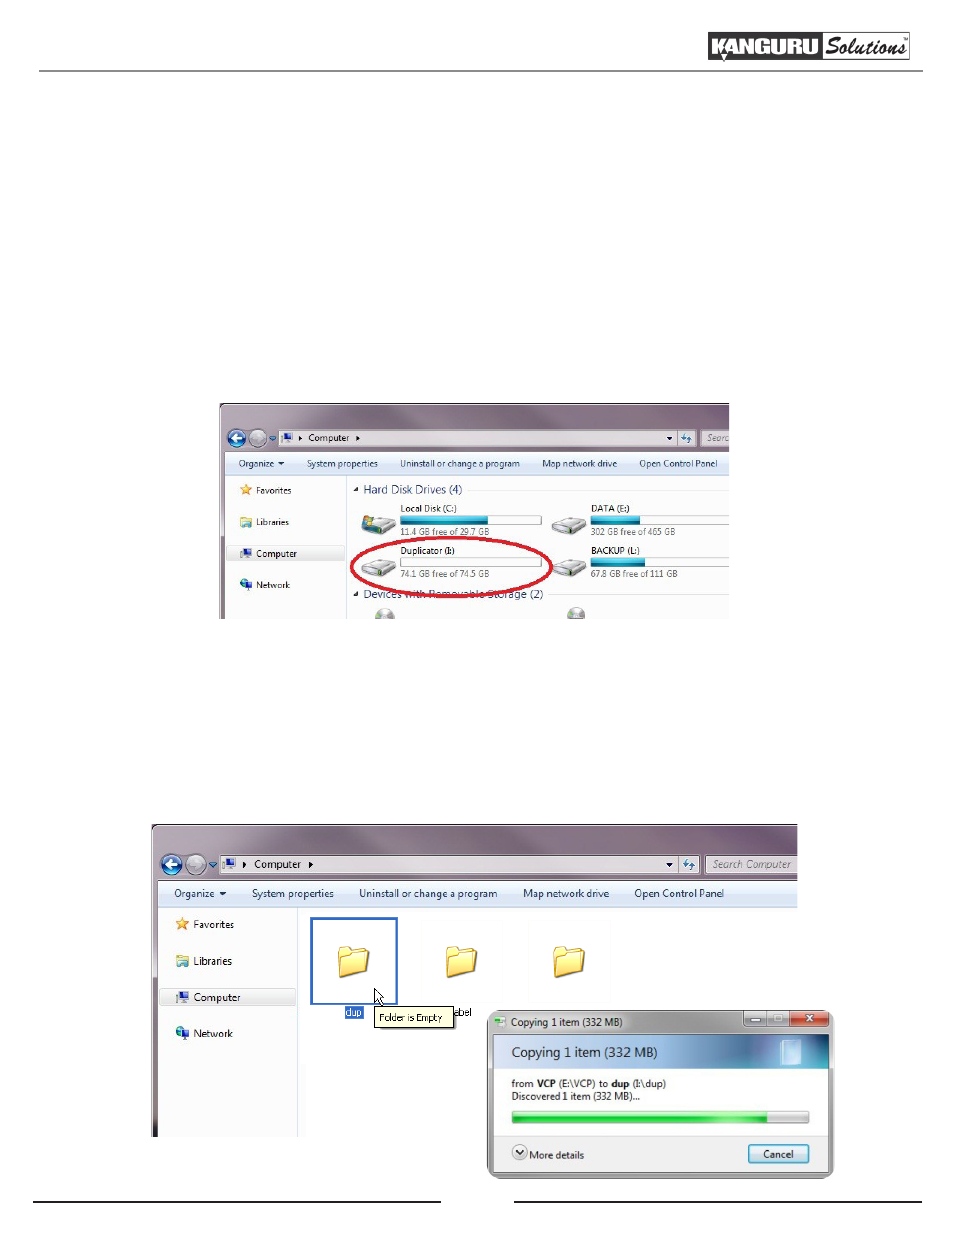
3. Locate a drive named “Duplicator” under My Computer. This is the Kanguru DVD Duplicator’s
internal hard drive.
Note: If the computer asks you to format the drive, DO NOT allow the computer to format the drive.
Make sure that Kanguru MediaManager is installed and running. The Kanguru DVD Duplicator’s
hard drive is formatted in a proprietary file system that is unrecognizable by Windows unless
Kanguru MediaManager is installed.
4. Transfer the copy protected disc image (.vcp) file you just created into the “Dup” folder located in
the Duplicator’s Internal Hard Drive.
Transferring the Copy Protected Image File to the Kanguru DVD Duplicator