Initial setting – Marantz VP-12S4 User Manual
Page 16
10
ENGLISH
INITIAL SETTING
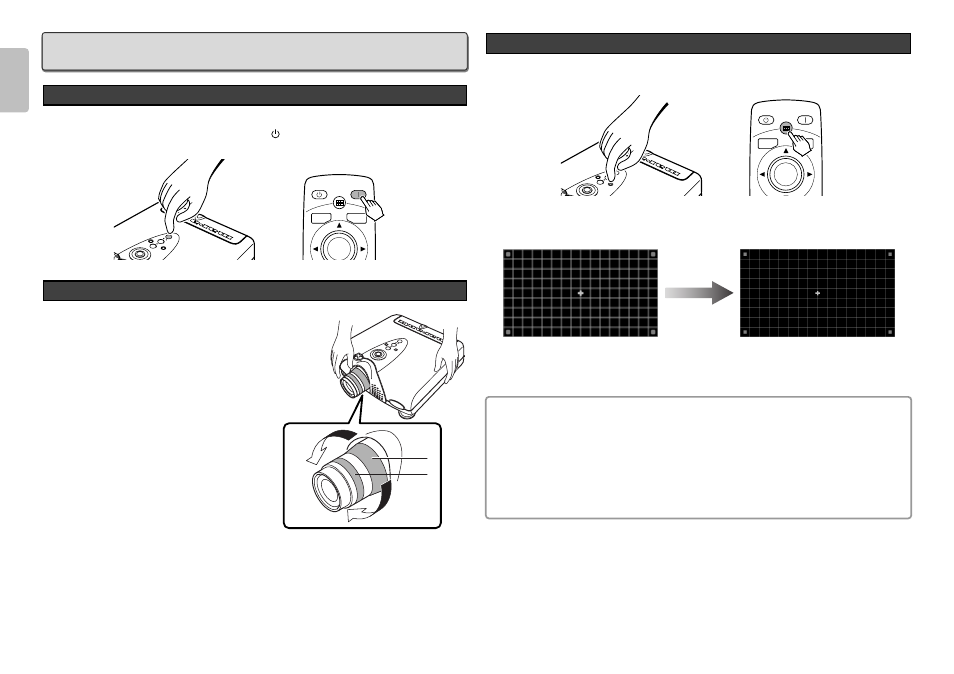
1.
Connect the supplied AC power cord. (
☞
P.8)
2.
Press the ON button on the remote controller or the
/ I button on the projector.
The ON indicator lights up.
Project an image on the screen roughly at first.
1.
Turn the Zoom ring and adjust to the desired size
within the zoom range.
WIDE: Enlarges (zooms in) the projected image.
TELE: Reduces (zooms out) the projected image.
2.
Turn the Focus ring until the image on the screen
becomes clear.
Zooming and Focusing
MENU
V-MUTE
ENTER
PATTERN
STANDBY
ON
Turning on the Power
You can strictly focus the image with focus pattern.
1.
Press the PATTERN button to project the focus pattern on the screen.
2.
Turn the Focus ring to make an adjustment.
Adjust the focus for the sharpest image possible to obtain, using focus pattern.
3.
Press the PATTERN button again to hide the focus pattern. This completes fine focusing.
Note :
Changing the Focus Pattern Color According to Lens Position (
☞
P.14)
The focus pattern changes color depending on the lens position. There are two colors and they can
be used for checking the quality of the projected image. The white focus pattern uses the highest
optical performance to maximize the sharpness of the projected image. To enjoy the highest
sharpness, it is recommended to position the lens within this range.
When the lens is shifted outside the aforementioned range, the focus pattern turns green. Rough
focusing in this range looses image sharpness.
Adjusting the zoom position from WIDE to TELE enhances sharpness even at the same lens
position. However, the focus pattern does not change when the zoom position is changed.
MENU
V-MUTE
ENTER
PATTERN
STANDBY
ON
Detail Focusing
1.
2.
TELE
WIDE