Troubleshooting – Marantz VP-12S4 User Manual
Page 33
27
ENGLISH
If the lens becomes dirty or smudged, clean it with
a soft dry cloth only. Use optical lens cleaners that
are approved for eyeglasses or cameras. Do not
use a dampen cloth, detergent solution, or thinner.
It may damage the lens and remain as stains.
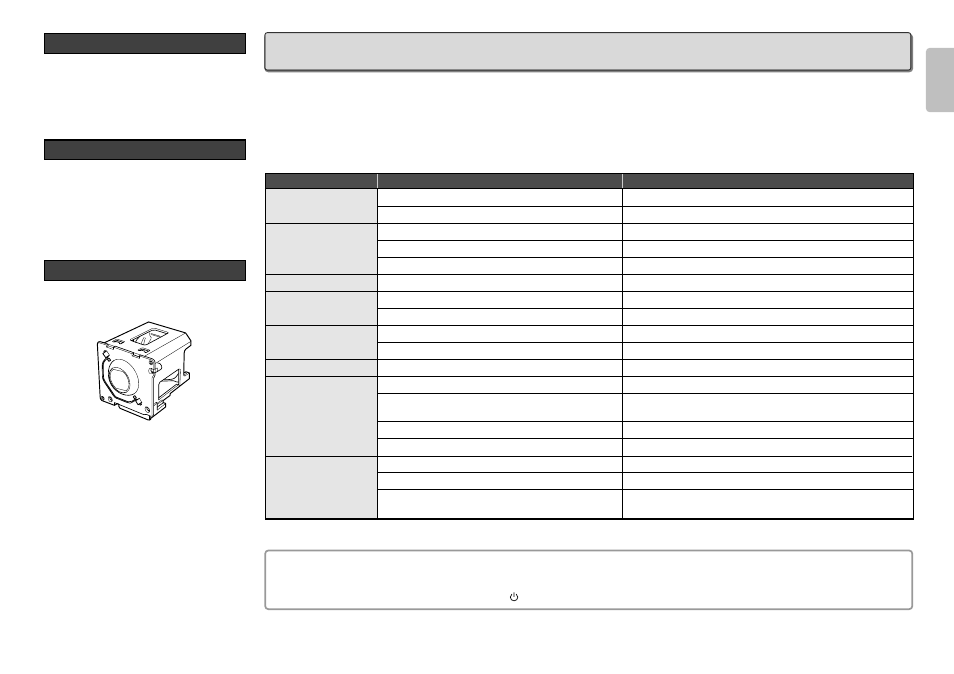
When replacement parts are required, be sure to
inform a Marantz authorized service center. Use
only replacement parts specified by Marantz.
Unauthorized substitutions may result in fire,
electric shock, or other hazards. And, the warranty
may not be guaranteed.
Lamp Unit : LU-12VPS3
Optional Accessories
Replacement Parts
Cleaning the Lens
Try the following troubleshooting before calling for service.
1.
Are the connections made properly ?
2.
Are you operating the unit properly, following the instructions ?
If the unit does not operate properly, check the items shown in the following table.
If any trouble cannot be solved by the instructions below, malfunction of the internal circuitry is suspected; immediately unplug the AC power cord and contact
Marantz dealer or service center.
TROUBLESHOOTING
No power
Image is not
displayed.
Poor color.
Picture is too dark.
Picture is not clear.
Picture rolls.
The Remote
Controller does not
work.
Color temperature
cannot be adjusted.
Possible Cause
Symptom
Remedy
Notes:
• If the lamp still does not function after the replacement and initialization of the lamp life, contact a Marantz authorized dealer, or service center.
• This projector uses a microcomputer. External noise can cause malfunctions. In such case, shut power OFF and unplug the power cable from AC power
outlet. Then, plug the AC power cable back in, press the
/ I button on the projector or the ON button on the remote control and check operation.
AC power cord is not connected correctly.
Lamp cover is not closed correctly.
A signal cable is not connected correctly.
Selected input is incorrect.
The picture mute is active.
Picture is not adjusted properly.
Lamp life is running out.
Contrast or brightness is not adjusted properly.
Picture is out of focus.
Dew is on the lens.
A signal cable is not properly connected.
Batteries are exhausted.
The distance to the unit is too far.
IR sensor on unit is obstructed.
The “Wired” position in the Menu is selected.
Is the sensor cable disconnected?
Was the sensor correctly initialized?
Is the lens shift knob set to the correct (center)
position?
Connect the AC power cord properly.
Close the cover properly. (
☞
P.25)
Connect a signal cable properly.
Select the correct input source .
Press the V-MUTE button to release the mute.
Adjust the picture in the MENU mode.
Replace the lamp. (
☞
P.24)
Adjust contrast or brightness properly.
Adjust the focus.
Run the projector for about two hours.
Connect a signal cable properly.
Replace batteries. (
☞
P.7)
Make the distance between the unit and the remote control
closer. (
☞
P.7)
Remove any obstacles.
Select the “Wireless” position. (
☞
P.23)
Correctly connect the sensor cable. (
☞
P.26)
Initialize the sensor by taking the correct procedures. (
☞
P.26)
Set the lens shift knob to the correct (center) position by taking the
correct procedures. (
☞
P.26)