Installation – Marantz WB6001 User Manual
Page 4
INSTALLATION
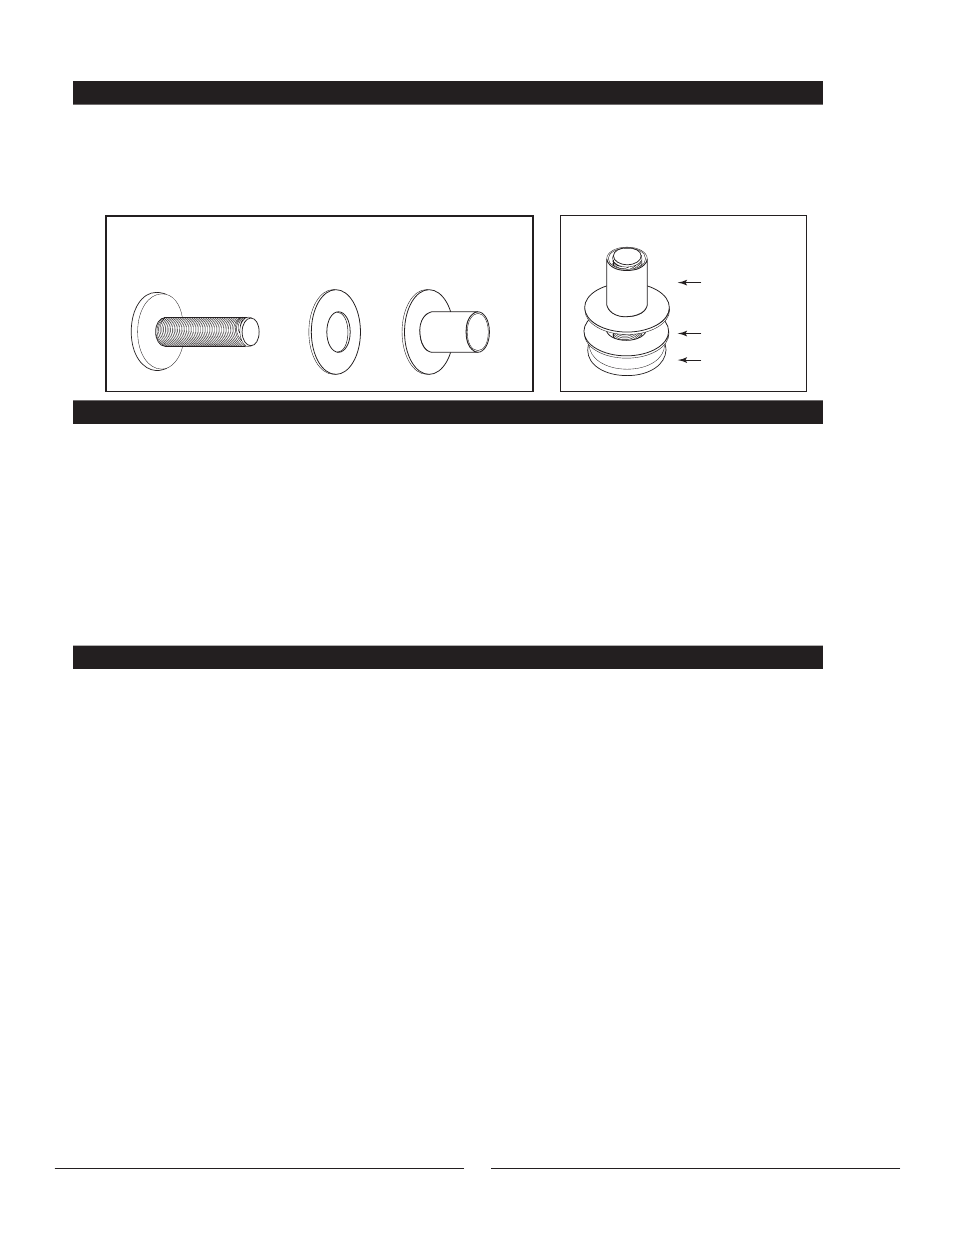
Flat Washer
4
PREPARING FOR INSTALLATION
MOUNTING HARDWARE
MOUNTING THE PLASMA MOUNT SYSTEM
Spacer
8mm
Spacer
Flat Washer
Machine Screw
Machine Screw
M8 x 30mm
Mounting Hardware
Screw Assembly
The Marantz Plasma Wall Mount is designed for mounting on a flat surface.
The mounting 'slots' will give you 7 inches (17.78 cm) of lateral shift movement
so that the mount can be more easily centered on the wall.
The Marantz Plasma Wall Mount provides a Screw Kit for your Plasma Display.
Lay your Plasma Display face down on a soft flat surface, such as carpeting, and
screw the 'Screw Assembly' (provided) into the mounting holes in the back of the
Plasma Display.
Locate the wall studs nearest your mounting location and drill pilot holes (at least four)
for 5/16" (0.794 cm) Lag Bolts with washers for studded walls, or appropriate anchors
for your mounting surface. Marantz assumes no responsibility for improper use of
mounting hardware. Use the Marantz Plasma Wall Mount for a template for vertical
spacing if you prefer.
Mount the Marantz Plasma Wall Mount to the wall surface, using mounting slots
provided, ensuring that the mount is level.
Adjust the lateral shift of the mount for centering on the wall. Sliding the mount
horizontally along the mounting slots provides up to 7 inches of lateral shift.
Once the Marantz Plasma Wall Mount is centered, tighten down the mounting bolts.
Now you are ready to install the Plasma Display onto the Wall Mount. Have one
or more persons on each side of the Plasma Display and lift it into a vertical position
so that you can see the mounting screws in the back of the display and see the
mounting key holes on the Plasma Wall Mount. Gently lower the screws into
the 45
0
(degree) key holes and down to the left 1/2".