Interior features, Continued) – Maytag MSD2434HEQ User Manual
Page 8
7
ClimateZone™ Storage Drawers
(continued)
Warning: To prevent electric shock, always unplug
the refrigerator before changing the light bulb. Wear
gloves as protection against possible broken glass.
Interior Features
(continued)
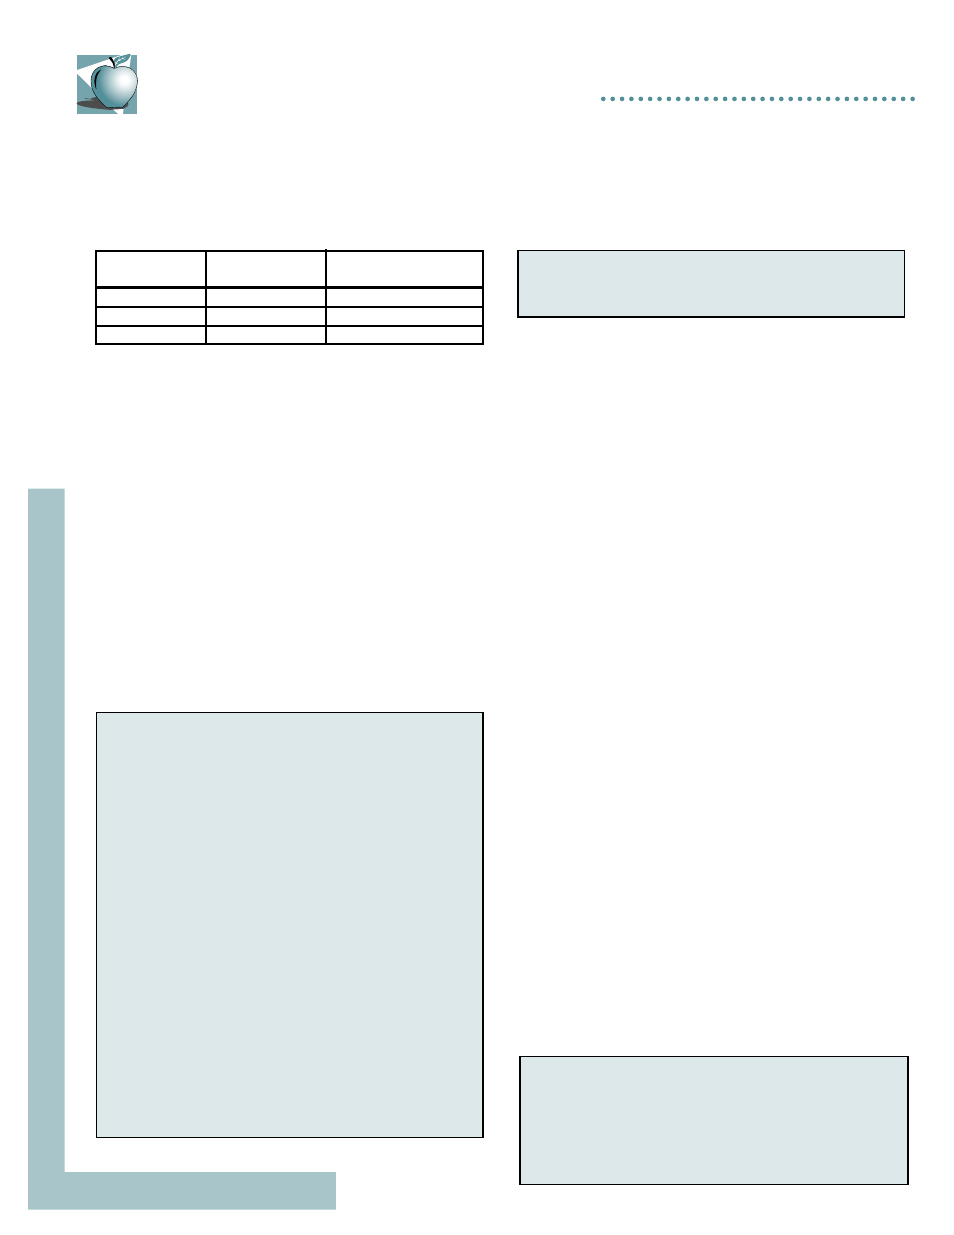
Settings
Set
Temperature
Temperature
Display Range*
Citrus
38° F (3° C)
37-39° F (3-4° C)
Produce
34° F (1° C)
33-35° F (1-2° C)
Meats
31° F (-1° C)
30-32° F (-1-0° C)
*Varying factors such as environment, door openings, refrigerator
control settings, etc. may cause the temperature display on the drawer
to fluctuate outside the range of temperatures listed above. This is
normal. For best results, set the refrigerator and freezer controls at
the midpoint (5).
Changing from Fahrenheit to Celsius
To toggle from Fahrenheit to Celsius modes, press the
Citrus and Produce buttons simultaneously and hold.
Initially an “F” will appear in the display to confirm
the current display mode.
After holding the Citrus and Produce buttons for
approximately 3 seconds the letter in the display will
toggle to a “c”. Once the letter changes, the citrus and
produce buttons can be released. The display mode has
been changed and the temperature will now be displayed
in degrees Celsius.
To change back to Fahrenheit mode, follow the same
procedure.
ClimateZone™ Technology can also be turned off by
pressing Normal on the keypad. When turned off, the
drawers operate as standard sealed crisper drawers
without a temperature display.
Notes:
• If a ClimateZone
™
drawer is left open, the display will
flash.
• After prolonged openings and/or loading the drawers,
etc. the temperature within the drawer may rise by a
few degrees. This is normal. The temperature will
recover in a short period of time.
• Frozen meats will thaw very slowly on the Meats
setting. Thawing should be done outside of the drawers,
on the lowest shelf in the refrigerator.
• Under heavy usage conditions during hot, humid
weather, the exterior surfaces of the ClimateZone
™
drawers may fog. This is normal. The condensation
will clear once the door is closed for a period of time.
•
Due to the accuracy and the location of the
ClimateZone
™
Technology temperature sensor system,
drawer temperatures measured with household
refrigerator thermometers may vary from the drawer
temperature display. This is normal.
• If ClimateZone
™
drawers are not opened for a period of
four weeks, they will automatically go to the Normal or
“off” state. The display will turn off.
To remove the compartment assembly for bulb
replacement:
Unplug the refrigerator. Unload and
remove shelf located above the ClimateZone
™
drawers.
Unload and remove the drawers. Remove two 1/4” hex
screws located on the left-hand side. Lift the top
compartment assembly upward (approx. 1 inch) and pull
forward (approx. 2-3 inches). The assembly should rest
on its supports.
Replace the bulb:
Unscrew bulb and replace.
Caution: Handle the light bulb with care to prevent
breakage. The bulb may be hot from use.
To replace: Lift the assembly back into its original
position. Align the screw holes. Make sure the
assembly is pushed firmly to the left of the refrigerator
cavity. Replace the two screws. Replace the drawers
into the assemblies, replace the shelf above the
assemblies, and reconnect the power to the refrigerator.
Notes:
• Replace the assemblies in their original positions.
The ClimateZone
™
Technology assembly with the
Meats option is always in the top position.
•
The drawers are interchangeable between the
compartments.
Removal of the ClimateZone™
Compartment Assemblies for Cleaning
Unplug the refrigerator. Unload and remove shelf
located above the ClimateZone
™
drawers. Unload and
remove the drawers. Remove two 1/4” hex screws
located on the left side. Lift the top compartment
assembly upward (approx. 1 inch) and pull forward
(approx. 2-3 inches). The assembly should rest on its
supports. Disconnect the power cords to free the
assembly, then pull completely out. Repeat with second
compartment assembly.
To replace: Lift the lower assembly back into its original
position leaving enough space to reach the power cords.
Reconnect the assembly power cords. Push the assembly
in all the way to the original position. Align the screw
holes. Make sure the assembly is pushed firmly to the
left of the refrigerator cavity. Replace the two screws.
Repeat with top assembly. Replace the drawers into the
assemblies, replace the shelf above the assemblies, and
reconnect the power to the refrigerator.
ClimateZone™ Light Bulb Replacement
A light is located behind the upper ClimateZone™
compartment. The bulb part number is 61004862; see
your Maytag dealer for replacement or call 1-800-688-
8408 to order directly.