Nortec LINKS XPS MH User Manual
Page 28
25 | Links XPS for MHTC
Once the free tool has been downloaded to a computer (preferably a laptop), extract and install
it. NOTE: you will require administrative privileges on the computer to perform the installation,
contact your network administrator for assistance. Once completed, use the following steps to
perform the addressing changes:
To change the Device Instance and MAC Address:
1. Connect the computer to the ethernet port of the Links XPS module. (you will need a
Category 5 or better cable (CAT5)
2. Power up the Links XPS module. During the boot process 8 multi-colored LED’s may
illuminate.
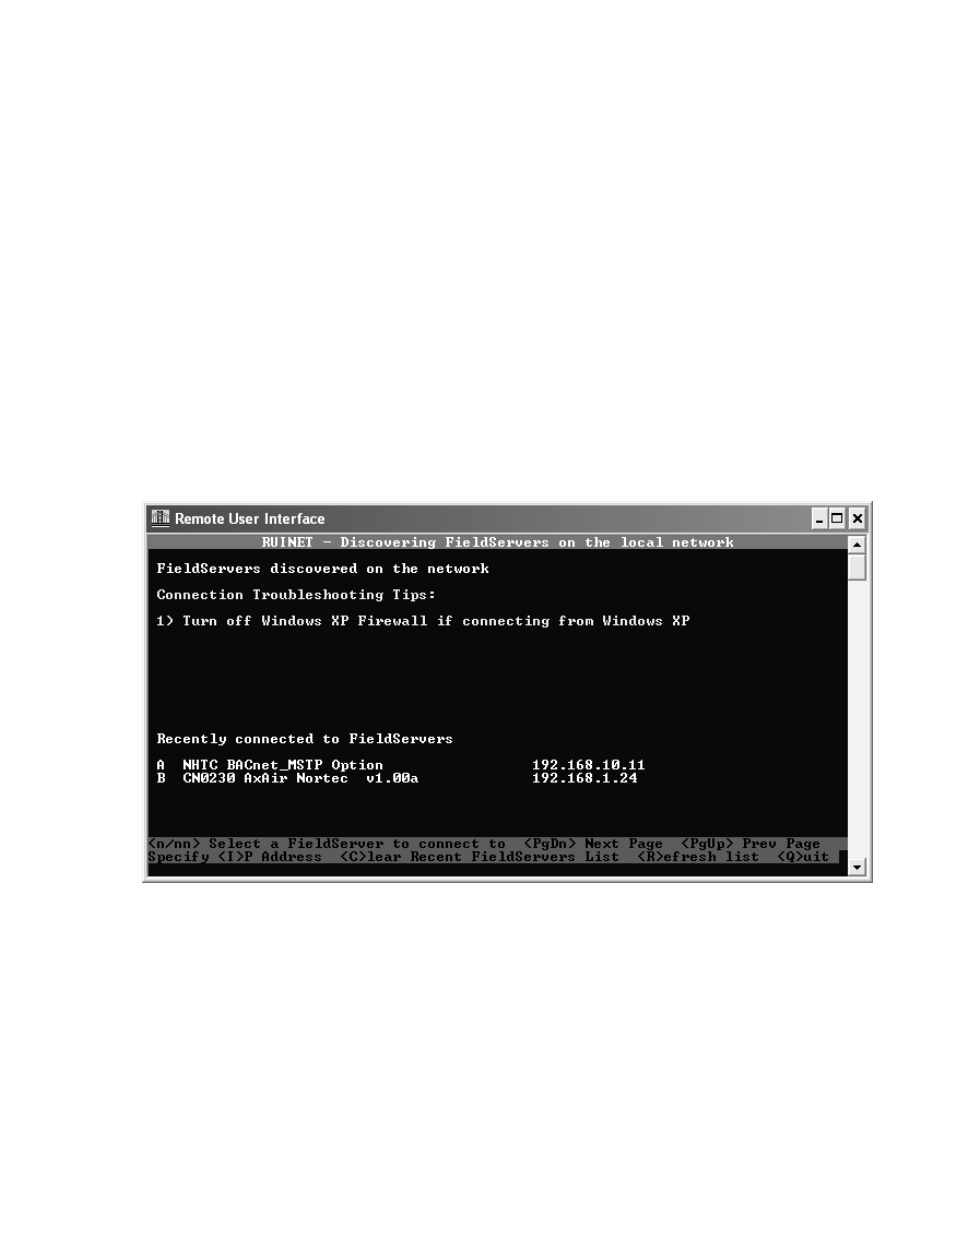
3. On the computer navigate to Start > Programs > Fieldserver Utilities > Remote User
Interface.
4. A blue window will launch, running a program named “Remote User Interface”. Any Links
XPS models detected will be listed as “Fieldservers discovered on the network”. If no
modules are detected you will receive the following screen:
Figure 18: Screen for No Modules Detected
This error is most likely due to the network configuration of the computer. By default, the Links
XPS modules ship with an address of 192.168.10.11. If your computer is not already on the
192.168.10.0 domain, you will need to set your computer IP address to a unique address within
this range. You may need to turn off or disable any wireless connections before beginning to
avoid conflicts. For Windows systems, this setting is located in: