Configuration – RJS Verifier Computer Interface Report (VCIR) Manual User Manual
Page 2
Configuration
Configuration
2. Press <Select> until the cursor is on SETUP and press <Enter>
3. Repeatedly press <Enter> to scroll through the software settings until you reach the
OUTPUT DEVICE screen
4. Press <Select> to choose COMPUTER and press <Enter>
5. Repeatedly press <Enter> to complete scrolling through the software settings, after
scrolling past the last setting the unit will return to the Main Menu
6. Press the <Select> button to choose SCAN and press <Enter>
Configuring the Bar Code Verifier
Before you can transfer bar code quality reports you must configure the verifier. This is done
only one time. To configure the verifier:
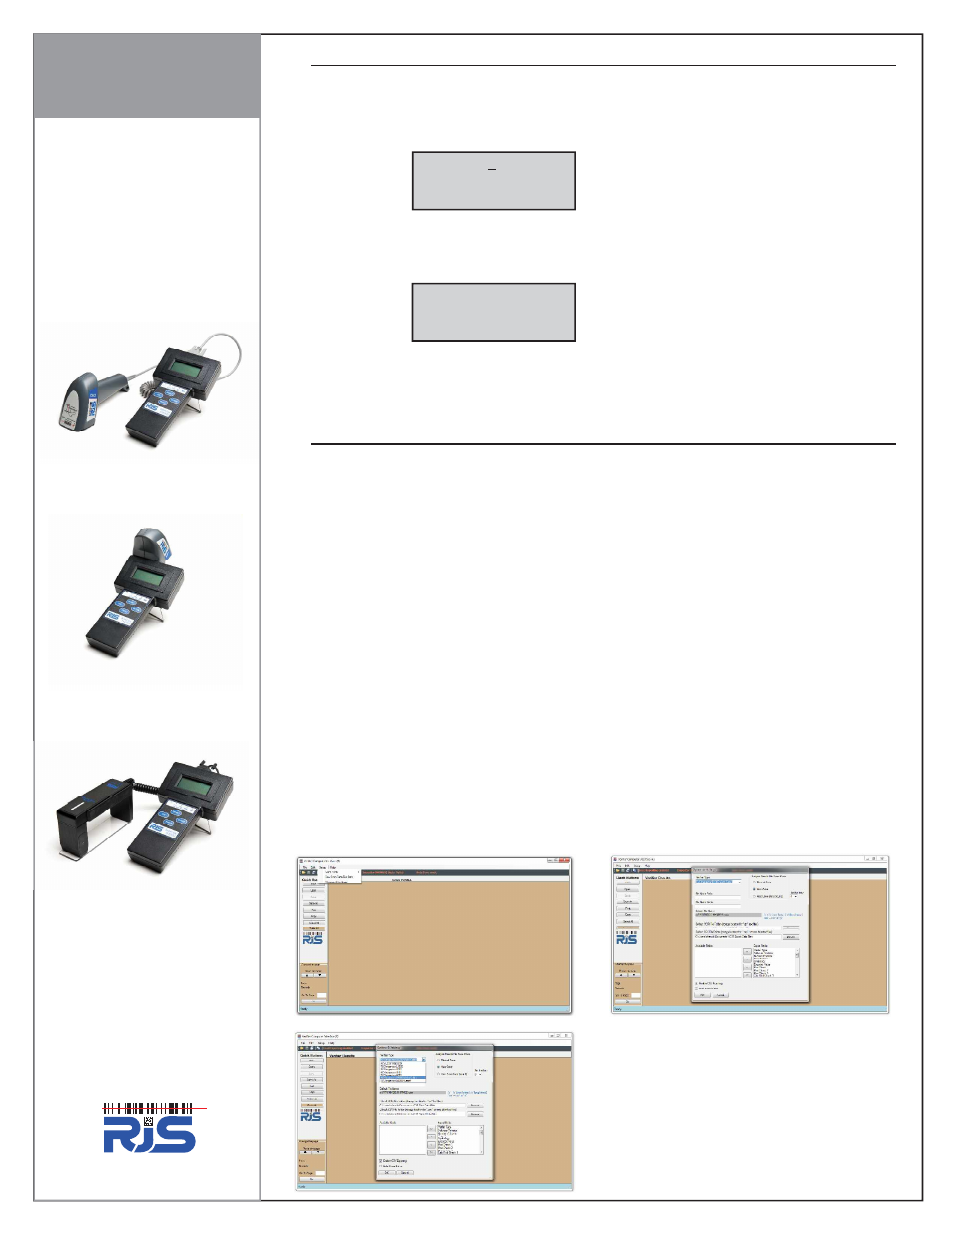
1. On the verifier, press the <Enter> and <Select> buttons at the same time to display the
Main Menu (below).
Configuring the Verifier Computer Interface Reporting Software
Before transferring bar code inspection reports to the computer you must configure the software
and report information.
1. Open the Verifier Computer Interface Reporting software and click Setup and Options
and Settings from the file menu (see top, left)
Note: The password is blockade
2. The Options and Settings screen will be displayed (top, right)
3. Set the Verifier Type as the unit you are using (bottom, left)
4. The default file name can have either a Prefix or a Suffix added. This could be used to
identify a printing press number, operator name, or any other method to help you sort
through past inspect reports.
5. Choose the Export File Folder, the default is C:\My Documents\VCIR Raw Data Files
but can be changed to a different directory or a network location (top, right)
Note - The user of the software MUST have full security privaleges for the location entered
6. Choose which fields will be included on the report when a bar code inspection report is
transferred to the Verfier Computer Interface software
- Click >> to choose to export all fields
- Click << to choose to remove all field
- Click a specific field name in the “Available Fields” window and click > to move a single
field to the “Export Fields” window (holding the <shift> key allows selecting multiple fields)
- Click a specific field name in the “Export Field” window and click < to remove a single
field (holding the <shift> key allows selecting multiple fields)
7. You can select if the Excel Exporting file should be generated
8. You can select if the Erase button is displayed
9. Click OK when finished
www.rjs1.com
+1-763-746-8034
Verifier Computer
Interface Reporting
Software