Copy system, Copy num file, Erase main msg – Skutch Electronics BA-1000 Technical Reference Manual User Manual
Page 14: Erase tad msg, Restore prompt
Version 6.15
Page 14
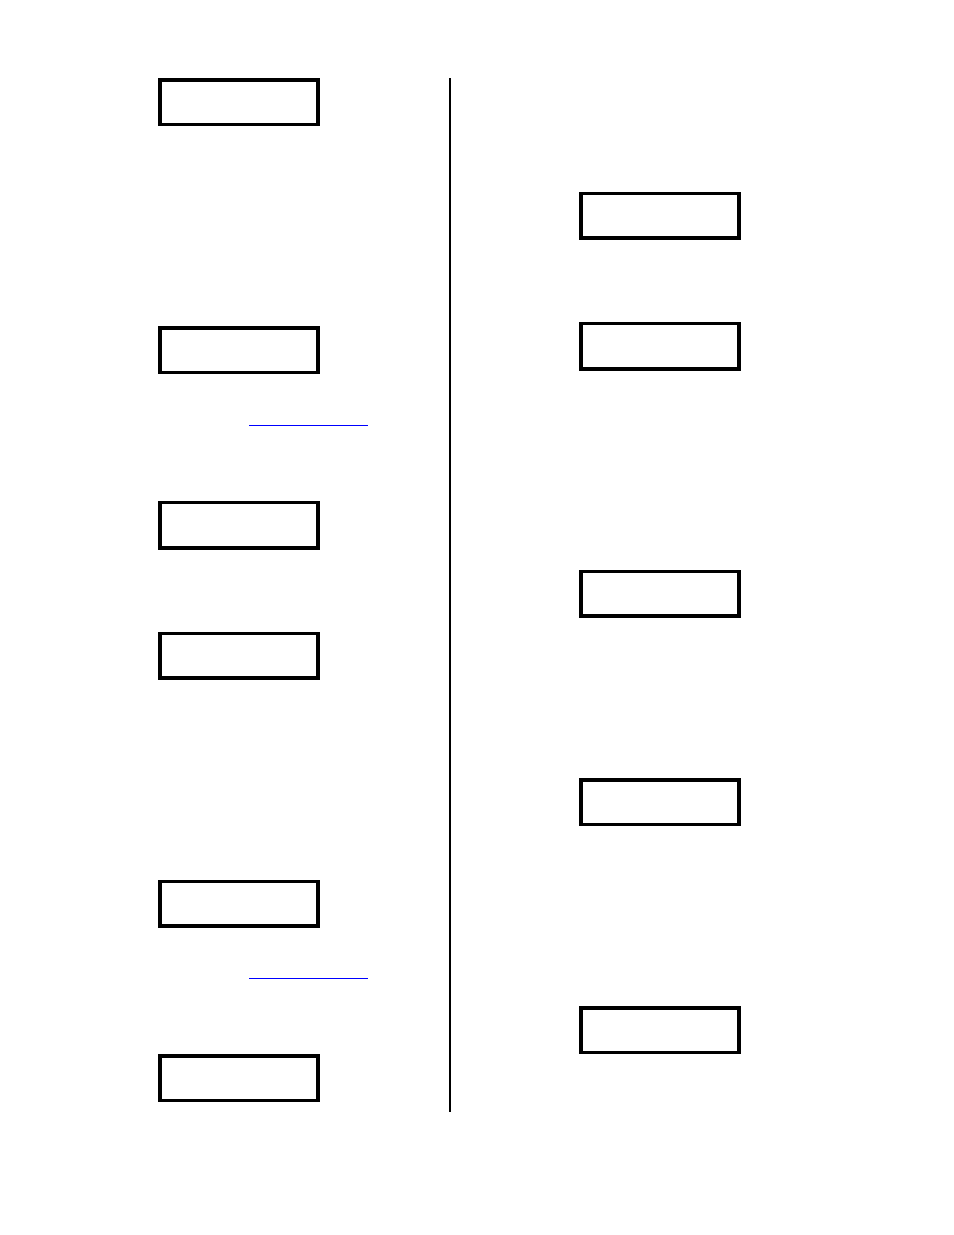
Put MASTER into
-- IDE Drive—
Now take the COPY disk out and put
(MASTER disk back in and keep swapping disks, as
indicated, until it finishes copying.
Copy System
This screen lets you copy the system
information settings from one disk to another disk; it
will show the following:
1=Copy System
3=Next Option
NOTE: Make sure you have already formatted
). You
can tap the 1 to copy the prompts, or 3 to go to
the next screen.
If you tap the 1, it will show the following:
Put COPY into
-- IDE Drive—
Now take that MASTER disk out and insert the
COPY disk. After some initial setup, it will show
the following:
Put MASTER into
-- IDE Drive—
Now take the COPY disk out and put
(MASTER disk back in and keep swapping disks, as
indicated, until it finishes copying.
Copy Num File
This screen lets you copy any of the number
files from one disk to another disk; it will show the
following:
1=Copy Num File
3=Next Option
NOTE: Make sure you have already formatted
). You
can tap the 1 to copy a number file, or 3 to go to
the next screen.
If you tap the 1, it will show the following:
Current File = 1
#=Next 0-9 or *
Enter 0 to 9 for number files 0 through 9,
* for the Do Not Dial List, or # to go to the next
screen.
If you choose to copy a file, it tells you to
remove the current disk, then it shows:
Put COPY into
-- IDE Drive—
Now take that MASTER disk out and insert the
COPY disk. After some initial setup, it will show
the following:
Put MASTER into
-- IDE Drive—
Now take the COPY disk out and put
(MASTER disk back in and keep swapping disks, as
indicated, until it finishes copying.
Erase Main Msg
This screen lets you erase your main message
prompts and their backups; it will show the
following:
1=Erase Main msg
3=Next Option
You can tap the 1 to erase these prompts, or
3 to go to the next screen.
Erase TAD Msg
This screen lets you erase your TAD message
prompt and its backup; it will show the following:
1=Erase TAD msg
3=Next Option
You can tap the 1 to erase these prompts, or
3 to go to the next screen.
Restore Prompt
This screen lets you erase your main message
prompt and restore it from the backup; it will show
the following:
1=Restore Prompt
3=Next Option
You can tap the 1 to restore these prompts, or
3 to go to the next screen.