Starting dual recording, Dual recording take names, Using the solo function – Teac DR-680MKII User Manual
Page 32: Using the auto-record function, Auto-record settings, Starting dual recording dual recording take names, Auto-record function), 4 – recording
32
TASCAM DR-680MKII
4 – Recording
Starting dual recording
Press the REC button to start dual recording.
When dual recording, “
D
” will appear for the dual channels
(2/4/6) on the Home Screen.
Dual recording take names
Dual recording will create two files simultaneously.
The name of the second take created by dual recording has
D
added to the take name of the ordinary recording.
SCNO127_001
SCN0127_001_D
1
: Set by the
NAME
item on the
REC
menu page
2
: Basic recording file number
3
:
D
added to dual recording take
Using the solo function
Press and hold one of the channel number (1–6) buttons
on the front panel to enable solo monitoring for that
channel.
When solo monitoring, the
indicator appears
on the Home Screen, and the indicator appears for the
soloed channel.
To turn solo monitoring off, press and hold the corre-
sponding channel number (1–6) button again.
NOTE
Solo monitoring is only possible using the headphones
and built-in speaker.
Automatically starting and pausing
recording (auto-record function)
If you turn the auto-record function ON, you can automat-
ically start, stop and pause recording in response to the
level of the input sound.
If an input level greater than the level set in advance is
detected on any input channel, recording starts.
In addition, the unit can automatically cut silent parts and
add marks at points where recording starts again.
NOTE
The levels of input on all channels must remain
below the set level for at least one second before the
auto-record function is activated.
Using the auto-record function
1. When the Home Screen is open, press the FUNCTION
button to open the Functions Screen.
2. Use the VALUE/MARK knob to move the cursor and
select the
A.REC
item.
3. Press the VALUE/MARK knob to turn auto-recording
ON or OFF.
If auto-recording has been turned ON, the
A.REC
indicator appears with a dark background.
4. When you have finished making the settings, press the
HOME/DISP button to return to the Home Screen.
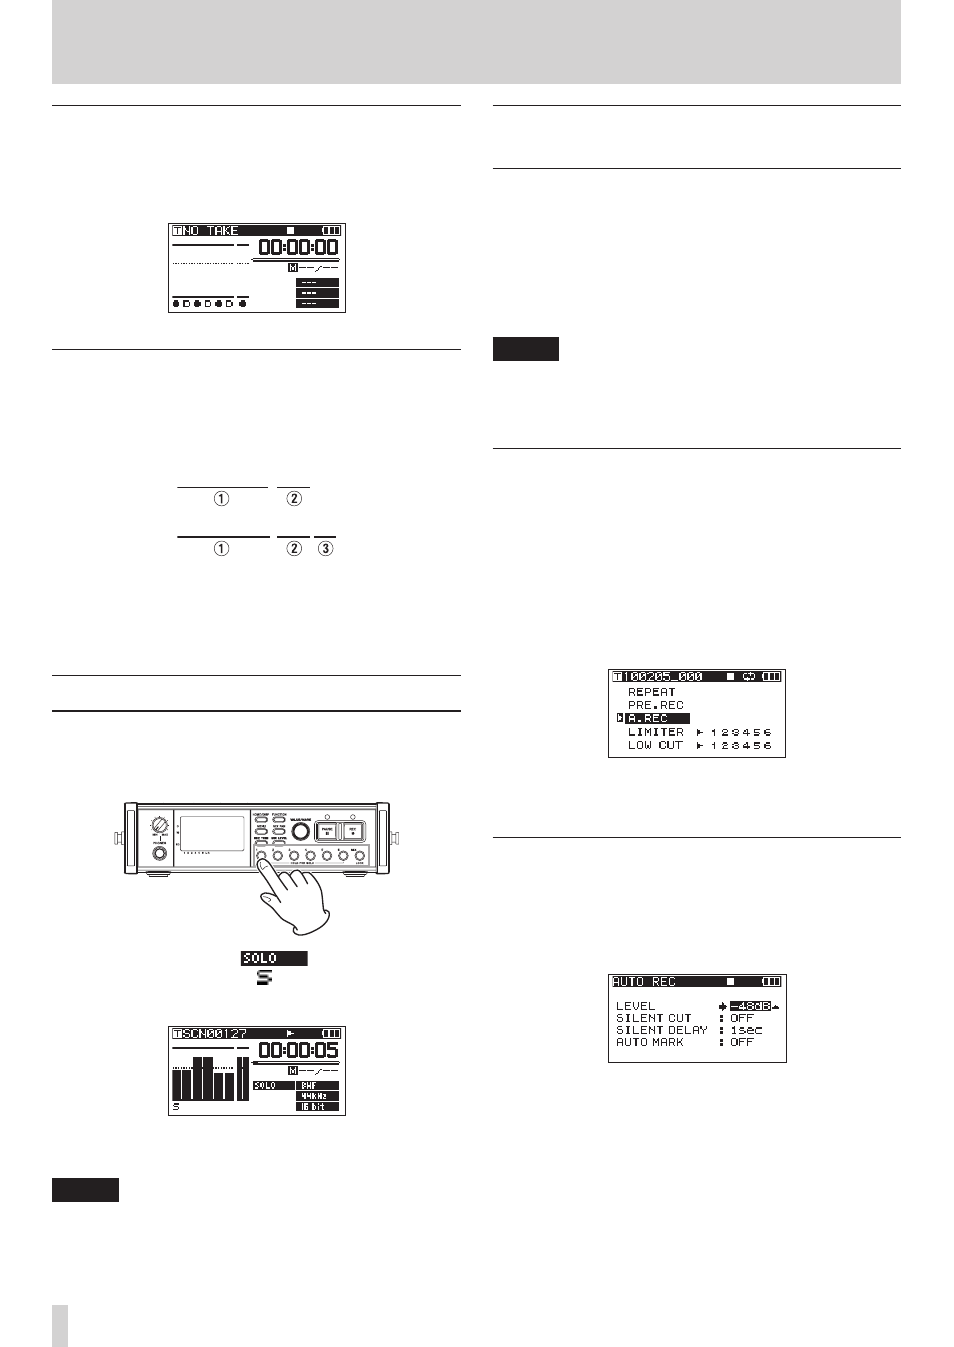
Auto-record settings
1. Press the MENU button to open the
AUTO REC
page
of the
MENU
screen.
2. Use the DATA wheel to select the
LEVEL
item, and
press the ENTER/MARK button.
3. Set the level at which the unit determines that a signal
is being input for starting and stopping automatic
recording. Use the DATA wheel to set the value to
–6dB
,
–12dB
(default value),
–24dB
, or
–48dB
.
4. When you have finished making the settings, press the
HOME/DISP button to return to the Home Screen.
5. Press the PAUSE button to enter recording standby.
When the input sound exceeds the level set by the
LEVEL
item, the unit automatically starts recording.