TS Performance 2110304 User Manual
Page 4
Continued
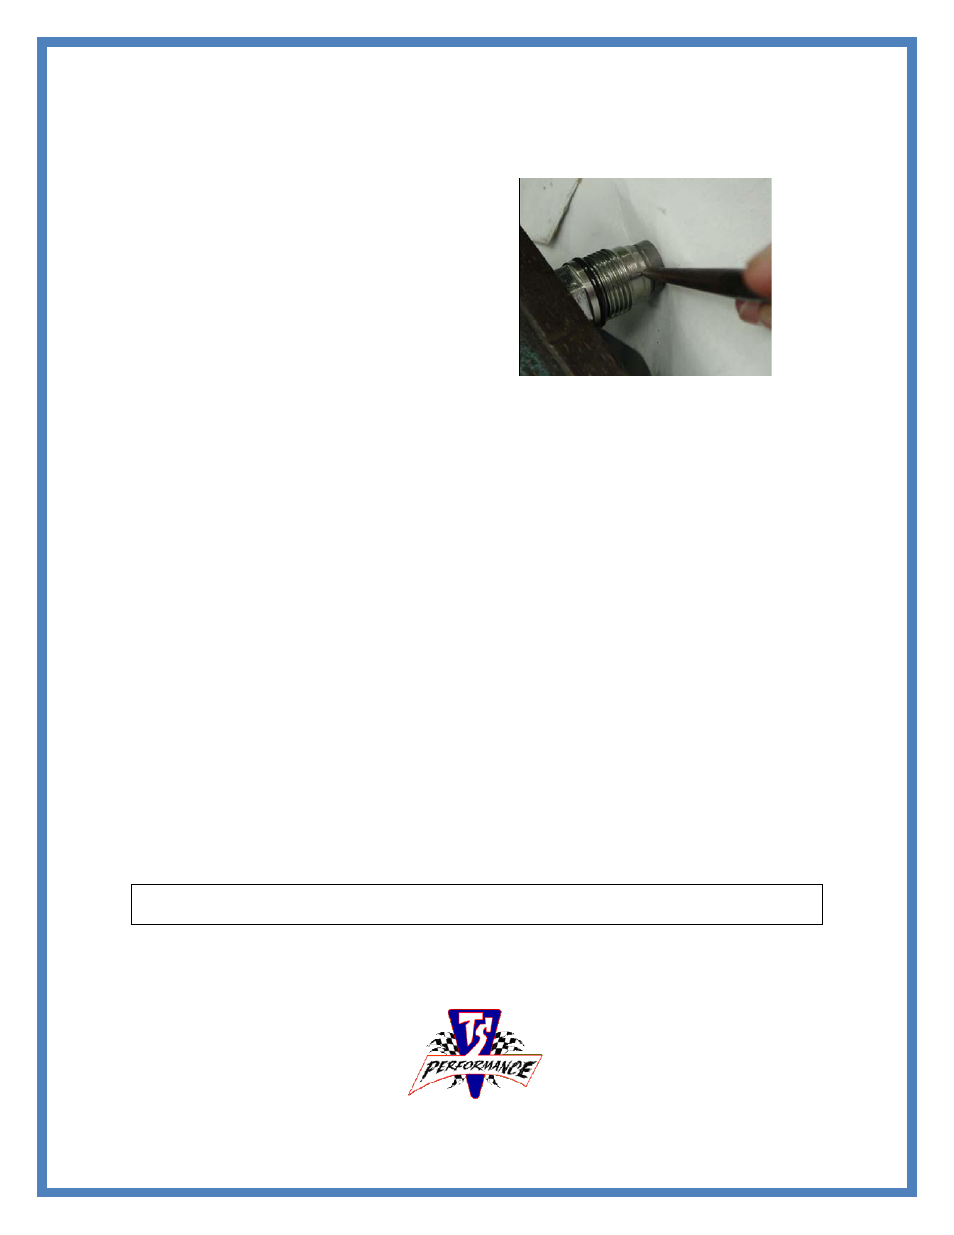
10. Take a small punch and small hammer
and re-apply the 3 factory indentations
along the lip where the valve casing
covers the valve cap. You may need to
loosen the vice slightly to rotate the
valve to access all 3 indentations, but do
not let the spring push the cap out any!
Make sure that the cap stays fully seated
in valve while rotating. After doing so
loosen the vice and make sure that the
valve cap is held by the indentations.
11. Re-install the fuel valve and tighten it down to 100 ft. lbs.
12. Now you can re-install the air horn, make sure to line up the six holes in the
gasket with the bolt holes for the air horn. Also connect the dipstick tube to the
bracket on the air horn.
13. Line the EGR tube back up. For easier installation line up one side to its
connection, install the clamp but leave it loose enough so you have a little
movement to connect the other side. Then fully tighten both sides, once you have
both sides lined up correctly.
14. Locate the fuel pressure sensor on the back of the fuel rail close to the fire wall.
Plug the factory connector into our harness and our harness into the fuel pressure
sensor.
15. Connect our harness to the MP-8 module and mount the MP-8 in a location of
your choice.
16. Mount the switch in the cab any where you like, we normally mount it on the
dash. Run the switch wire through the fire wall and plug into the MP-8 harness.
To lessen the regeneration process frequency, turn MP-8 back to stock in stop and go traffic. When
going through regeneration process, turn the module to back to stock.