Compensating for cropped video from vga sources – ZeeVee ZvBox 170 Front Panel User Manual
Page 4
ZvBox
®
170 Configuration Manual
Page 4
www.zeevee.com
Rev 1.0
Compensating for cropped video from VGA sources
Most Digital Televisions crop off some portion of the picture at the outside edges; the phenomenon is
known as overscan. For example, even if they receive an image that’s *exactly* 1280x720 pixels, TVs
may crop off up to 15% of the image before displaying it! Some TVs allow you to control this (look for
setting like “Unscaled” or “Native” in the Picture menu settings). Most do not let you override it.
Component Video sources aren’t terribly affected; they’ve always been designed to be displayed on TVs
that might crop off a portion of the picture. Content is specially designed to keep important information
inside of a ‘safe area’. There is no need (and no ability) to adjust the source to better fit the TV– you’ll
simply see a little more picture on one TV vs. another.
VGA sources are quite a different matter. These are usually computer images that have important
information at the edges of the screen:
• Windows has a Start button and the task bar right on the edge.
• Apple has a dock on the edge.
• Digital signage applications typically put a text crawl on the edge.
Any cropping of the image may cause important information to be lost. ZeeVee has developed a
patent‐pending mechanism to help compensate for this behavior. By changing the information
presented to the computer via EDID on the VGA connection, we can give the computer an alternate
“underscan” resolution that’s a little smaller than the default. Although ZvBox® ships with a default
underscan resolution, we also allow you to optimize the settings to match the exact behavior of your TV.
Here are the steps involved:
1. Broadcast a VGA source to your HDTV(s). Note which TV crops off the most.
2. Press the Next button until the display reads “
SET VIDEO‐SOURCE
”
3. Press the + or ‐ button until “
Test‐Image‐1
“ appears on‐screen, then press OK
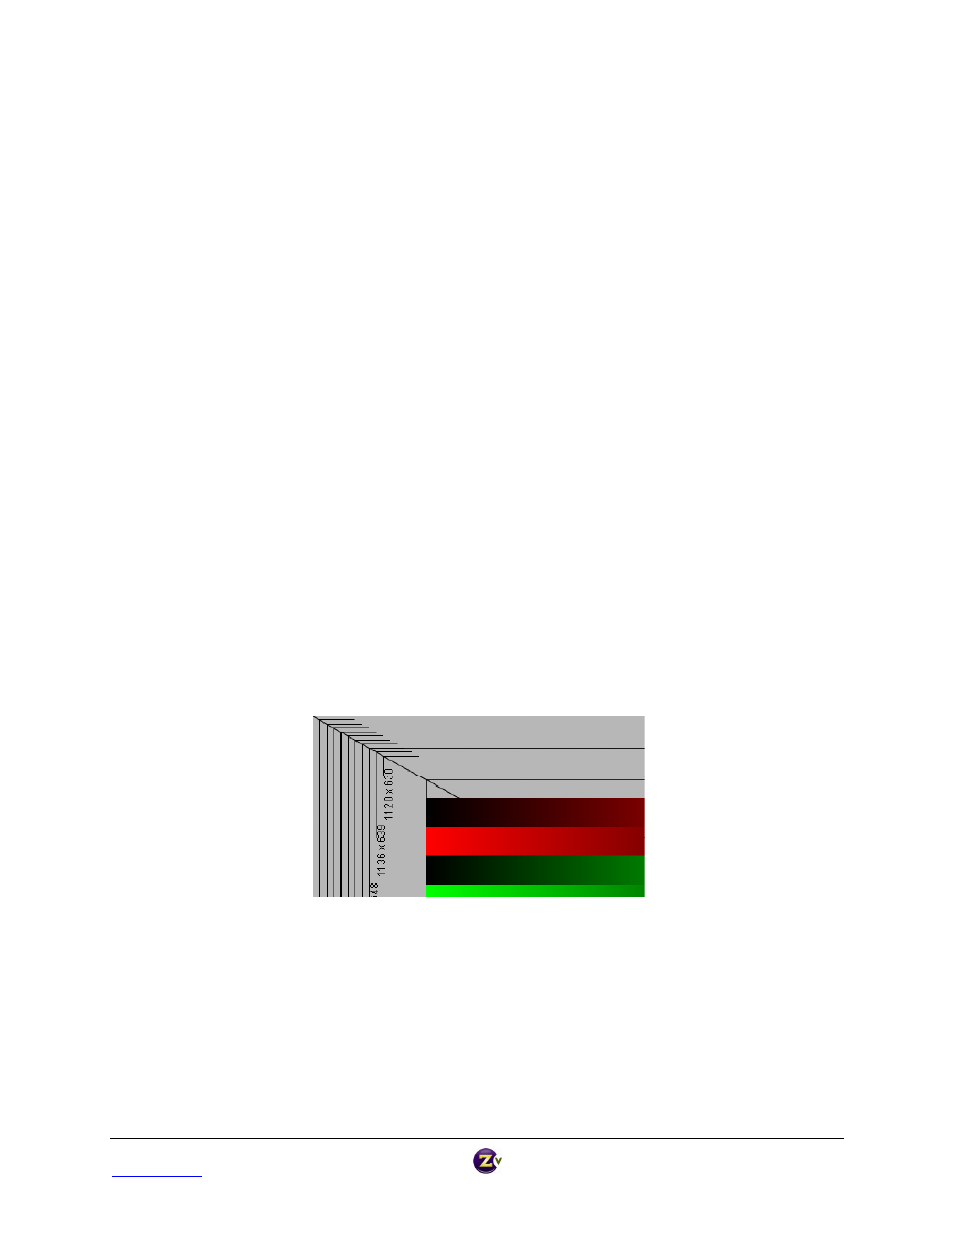
4. On the TV that crops the most, note the largest resolution that is visible. It will look like this:
5. Press the Next button until the
SET VGA‐RES
command appears in the window.
6. Press + or – buttons to select a resolution that is closest to, but not larger than, the one you saw
on the HDTV (that will ensure that the entire picture fits on‐screen).
7. Press OK to apply that resolution.
8. Unplug the VGA cable from your computer, wait a few seconds, and reconnect it. There should
now be a new resolution available in your computer’s “display properties” that matches your
setting. Select it. Your VGA source’s picture should now perfectly fit on your HDTV.