Airmar DST800 Retractable with Valve—TRIDUCER® Multisensor User Manual
Installation instructions owner’s guide, Thru-hull, retractable with valve triducer, Multisensor
Thru-Hull, Retractable with Valve
TRIDUCER
®
Multisensor
Model DST800V
U.S. Patents: 6,904,798; 7,110,908; 7,352,171. UK Patents: 2 407 874; 2 409 527
17
-43
5-0
1 r
ev.
10
10
/0
9/1
4
Record the information found on the cable tag for future reference.
Part No._________________Date___________Frequency________kHz
Applications
• Plastic housing recommended for fiberglass or metal hull only.
Never install a plastic housing in a wood hull, since swelling of
the wood can possibly fracture the plastic.
• Bronze housing recommended for fiberglass or wood hull.
Never mount a bronze housing in an aluminum hull because
electrolytic corrosion will occur.
• Stainless steel housing compatible with all hull materials.
Recommended for aluminum hulls to prevent electrolytic corrosion
provided the stainless steel housing is isolated from the metal hull.
• Accommodates up to a 22° deadrise angle.
Pretest
Connect the multisensor to the instrument and spin the paddlewheel.
Check for a speed reading and the approximate air temperature. If
there are no readings or they are inaccurate, check all the
connections and repeat the test. If there are still no readings or they
are inaccurate, return the product to the place of purchase.
Tools & Materials
Safety goggles
Dust mask
Water-based anti-fouling paint (mandatory in salt water)
Electric drill with 10mm (3/8") or larger chuck capacity
Drill bit:
3mm or 1/8"
Hole saw: 51mm or 2" (plastic or metal housing in non-metal hull)
57mm or 2-1/4" (stainless steel housing in metal hull)
Sandpaper
Mild household detergent or weak solvent (such as alcohol)
File (installation in a metal hull)
Marine sealant (suitable for below waterline)
Slip-joint pliers (installing a metal housing)
Grommet(s) (some installations)
Cable ties
Installation in a cored fiberglass hull (see page 3):
Hole saw for hull interior: 60mm or 2-3/8"
Fiberglass cloth and resin
or Cylinder, wax, tape, and casting epoxy
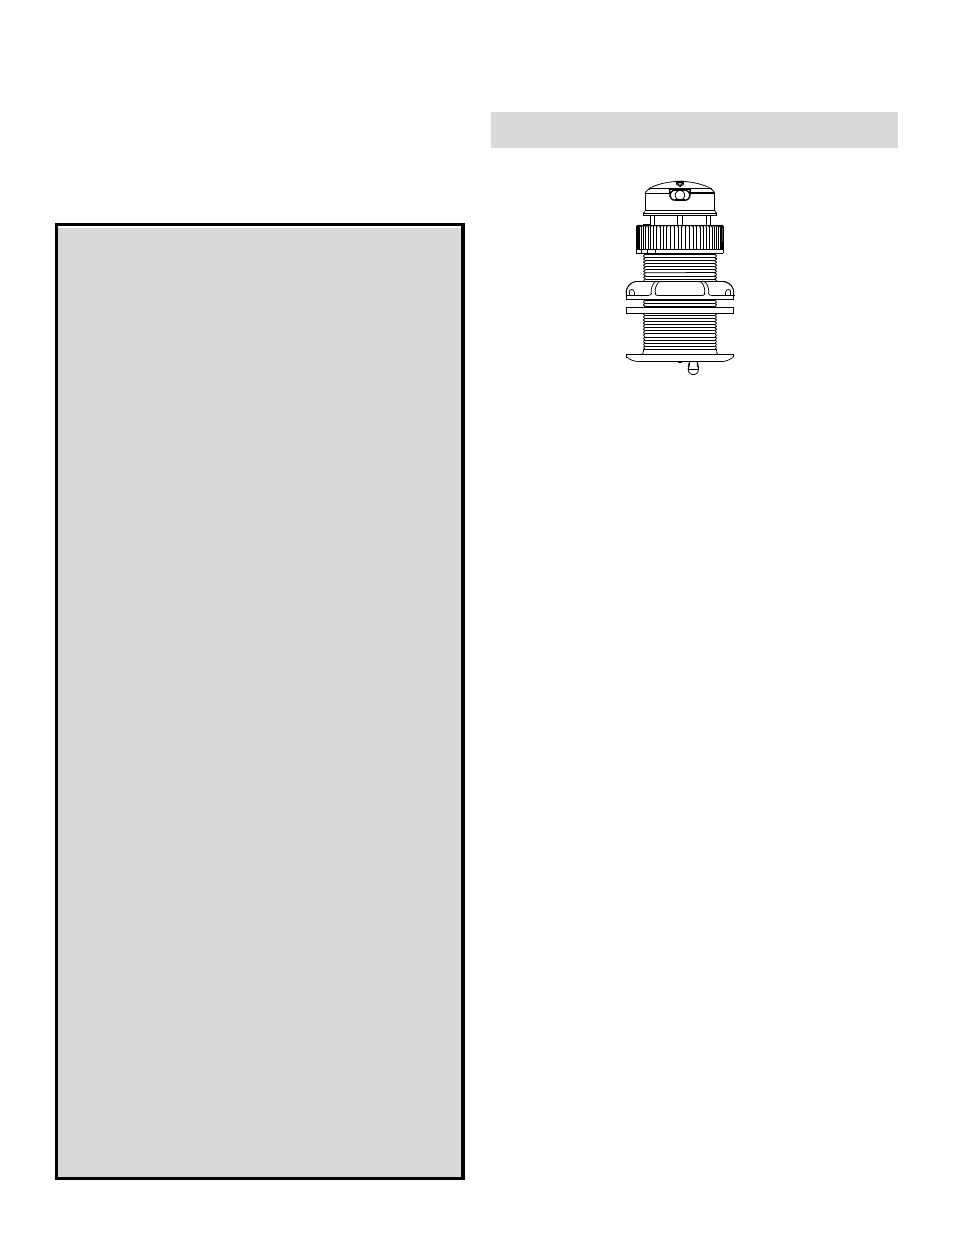
plastic
low profile
P617V housing
DST800V
Follow the precautions below for optimal
product performance and to reduce the risk of
property damage, personal injury, and/or death.
WARNING: Always wear safety goggles and a dust
mask when installing.
WARNING: The YELLOW O-ring must be in place
near the top of the insert to make a watertight seal.
WARNING: To retrofit the insert in a housing without
a valve, the insert must have a BLACK O-ring near
the top to make a watertight seal.
WARNING: The O-rings must be intact and well
lubricated to make a watertight seal.
WARNING: The valve is not a watertight seal!
Be sure
the insert or blanking plug is fully inserted into the housing,
and the cap nut is screwed on completely.
WARNING: Always attach the safety wire to prevent the
insert or blanking plug from backing out in the unlikely
event that the cap nut fails or is screwed on incorrectly.
WARNING: Immediately check for leaks when the
boat is placed in the water. Do not leave the boat
unchecked for more than three hours. Even a small
leak may allow considerable water to accumulate.
WARNING: Stainless steel housing in a metal hull—
Be sure the washer contacts the hull. Do not tighten
the hull nut with the washer against the isolation
bushing, as the housing will not be firmly installed.
CAUTION: Never use a fairing with a plastic housing;
the protruding sensor would be vulnerable to damage
from impact.
CAUTION: Never install a metal housing in a vessel
with a positive ground system.
CAUTION: Never pull, carry, or hold the transducer by
its cable; this may sever internal connections.
CAUTION: The arrow on the top of the insert must
point forward toward the bow.
CAUTION: Stainless steel housing must be isolated
from a metal hull to prevent electrolytic corrosion. Use
the isolation bushing supplied.
CAUTION: Never use solvents. Cleaner, fuel, sealant,
paint, and other products may contain solvents that can
damage plastic parts, especially the transducer’s face.
IMPORTANT: Read the instructions completely
before proceeding with the installation. These
instructions supersede any other instructions in your
instrument manual if they differ.
INSTALLATION INSTRUCTIONS
OWNER’S GUIDE &