Standard work, Process description – Allmand Brothers NIGHT LITE PRO II V User Manual
Page 11
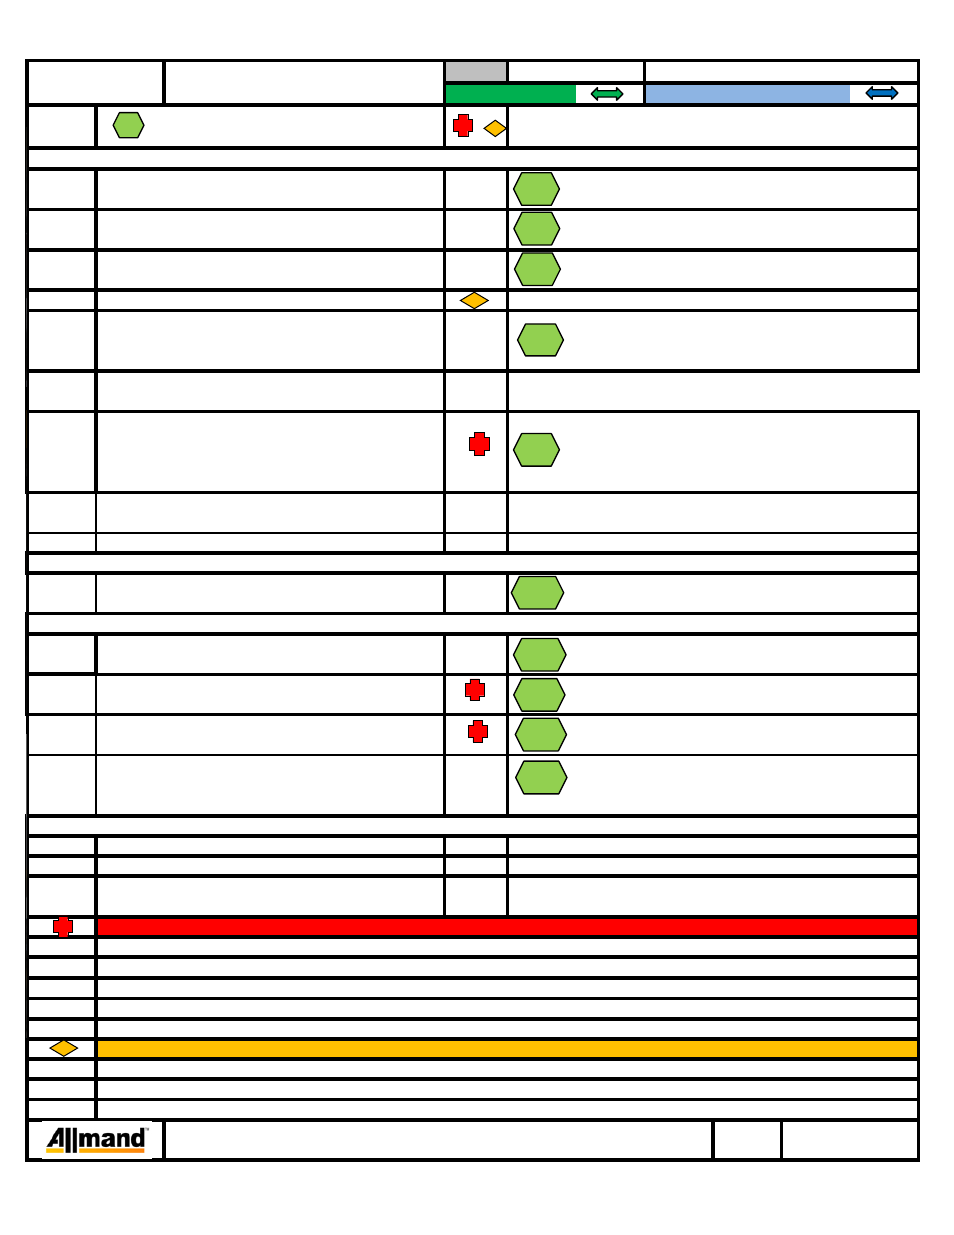
STANDARD WORK
1
2
3
4
5
6
Insure the lamp fixture can rotate fully when cord is attached.
7
8
9
10
12
13
14
15
16
17
12, 13
11
Repeat Steps 3 through 10 for each lamp fixture.
11
Attach two jacks (330010) to the outriggers using
Insure that the snap ring is fully seated
TO COMPLETE:
Connect battery cables.
white to white.
Red to positive(+) and black to negative(-).
Make sure trailer is clear of any tools, hardware, etc.
Leave about a 1" gap from back of step to front of unit.
Torque to 35 ft/lbs.
nuts (044038)
3/8-16 carriage bolts (100670) and four 3/8 nylock
Attach step to tongue with two brackets and four
HYDRAULIC CONNECTION:
Attach hydraulic hose (from pump) to connection at
bottom of light tower.
Insure that the snap ring is fully seated
FINAL ASSEMBLY:
Insert outriggers (both sides) into bottom frame. Lift
lock lever and slide outriggers into place until lock
engages.
SAFETY PRECAUTIONS
snap ring (330014)
two 1-5/16" snap rings (330014)
Attach rear jack (650235) to frame using one 1-5/16"
Place engine keys back with engine.
Follow engine manufacturers operating procedures.
Reference operators manual for operating instructions.
PROCESS DESCRIPTION
SW #
AS1002
QUALITY INSPECTIONS
At a minimum one thread length should be showing past the end of the nut.
Failture to properly mount jacks may result in property damage, serious injury, or death.
Push wires into the lamp elbow and replace cover
Hand tighten screws.
and both screws.
Pull 4" of the cord from the light bar that is closest to the
Crimp the wires together with the splice (022115)
Follow local electrical codes when crimping on splice.
Repeat for each wire.
lamp through the cord grip portion of the elbow.
that is included with the lamp fixture.
Attach wires green to green, black to black, and
Loosen one of the screws on the lamp elbow (610214)
Keep components for re-attachment.
and remove the other screw to access the lamp socket
wires.
Tighten the 3/4-10 nut until the lamp fixture holds its position
Lamp fixture should hold the desired position after rotated.
Place 3/4" steel washer (047035) onto the stud and
then the 3/4-10 nylock nut (044058).
3/4" stud.
Place light fixture onto the light bar 3/4" stud over
the HDPE washer
PROCESS
/
COMMENT
LIGHT FIXTURE INSTALLATION:
Place 2" HDPE washer (101813) onto the light bar
Finish Assembly of NLPro II Vertical
Tower
WORKSTATION:
Any
STANDARD OPTION:
NON STANDARD OPTION:
NO.
PRODUCT/PROCESS
DESCRIPTION
X
1
5
2
3
7
11
12
13
14
10
FILE:NLPROII V Container Shipment Assembly Instructions
Section 4
10/25/2011