Managing dashboards – Grass Valley iTX SmartClient v.2.6 System Administrator Guide User Manual
Page 40
36
Configuring the Dashboard
Managing Dashboards
There are 3 Edit Mode menu controls available:
Icon
Name
Description
Widget Properties
This control edits specific properties for that particular widget,
e.g. the predetermined search criteria required.
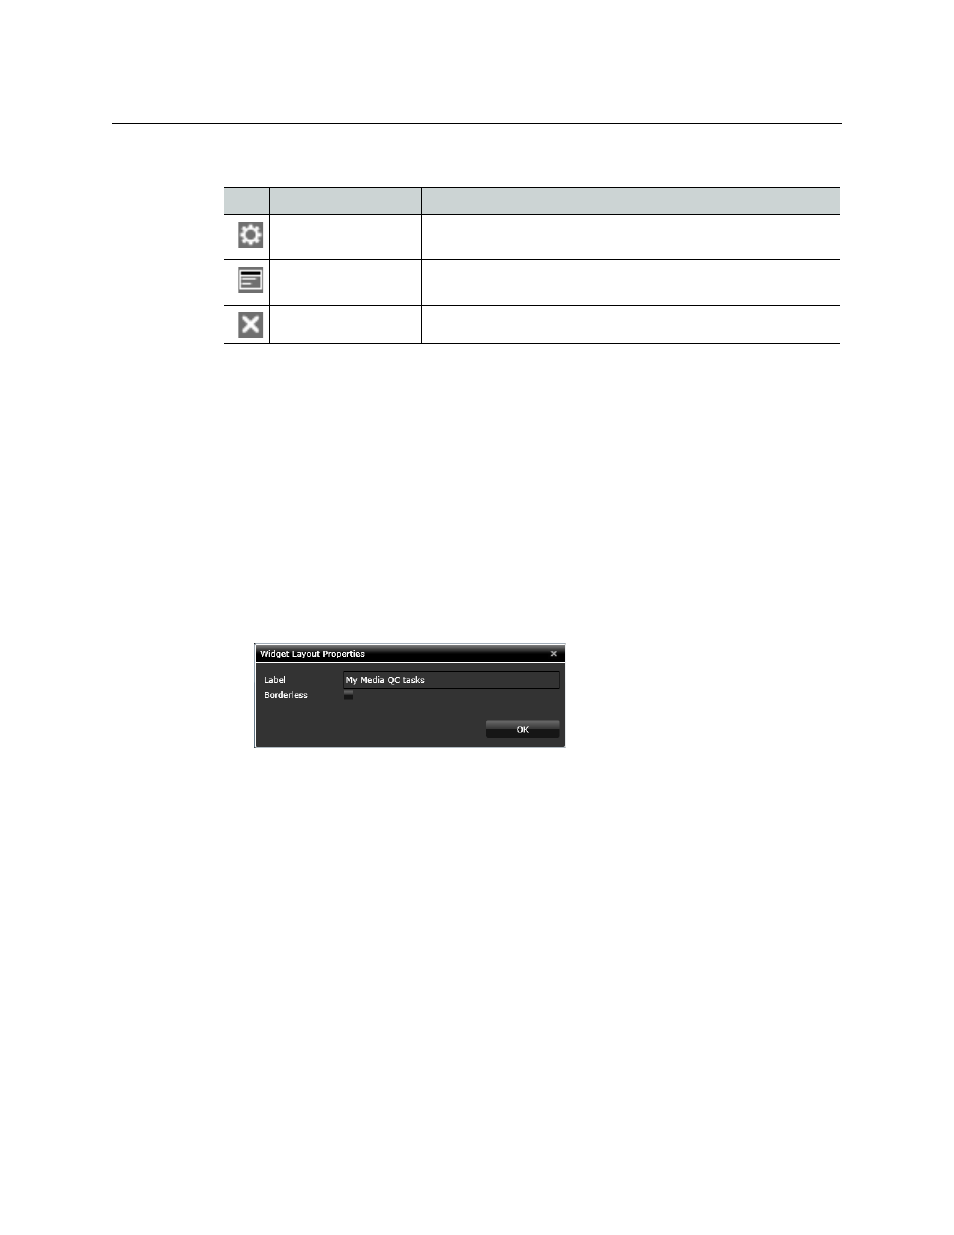
Layout Properties
This control allows you to edit the widget label and add or
remove an aesthetic border for the control.
Remove Widget
Removes the selected widget from the dashboard.
To edit a widget’s properties:
1 Select a widget and click the Widget Properties button. The properties dialog for the
selected widget appear.
2 From the dialogue dialog you can do the following:
• Select the button you wish to add
• From the Opus Search dialogue, configure the Asset or Job query criteria you
would like the widget to display
3 Click the Layout Properties button and type the name you would like this instance of
this widget to be known as.
4 Check the border/no border check box depending on whether you would like the
widget to have a defining border or not.
5 Click OK
6 Right-click on a blank area of dashboard and select Save Dashboard.
Managing Dashboards
Normal users can load different dashboards available on the system. Each time a user logs
into Smart Client, the last dashboard they were using is reloaded.
If you are a member of a user group that has administrative rights, you can also:
• Create new Dashboards
• Save modifications to your current Dashboard
• Copy existing Dashboards
• Manage user access to Dashboards