What’s next – Grass Valley iTX Delivery Manager v.2.6 User Manual
Page 18
12
Installing Delivery Manager
What’s next?
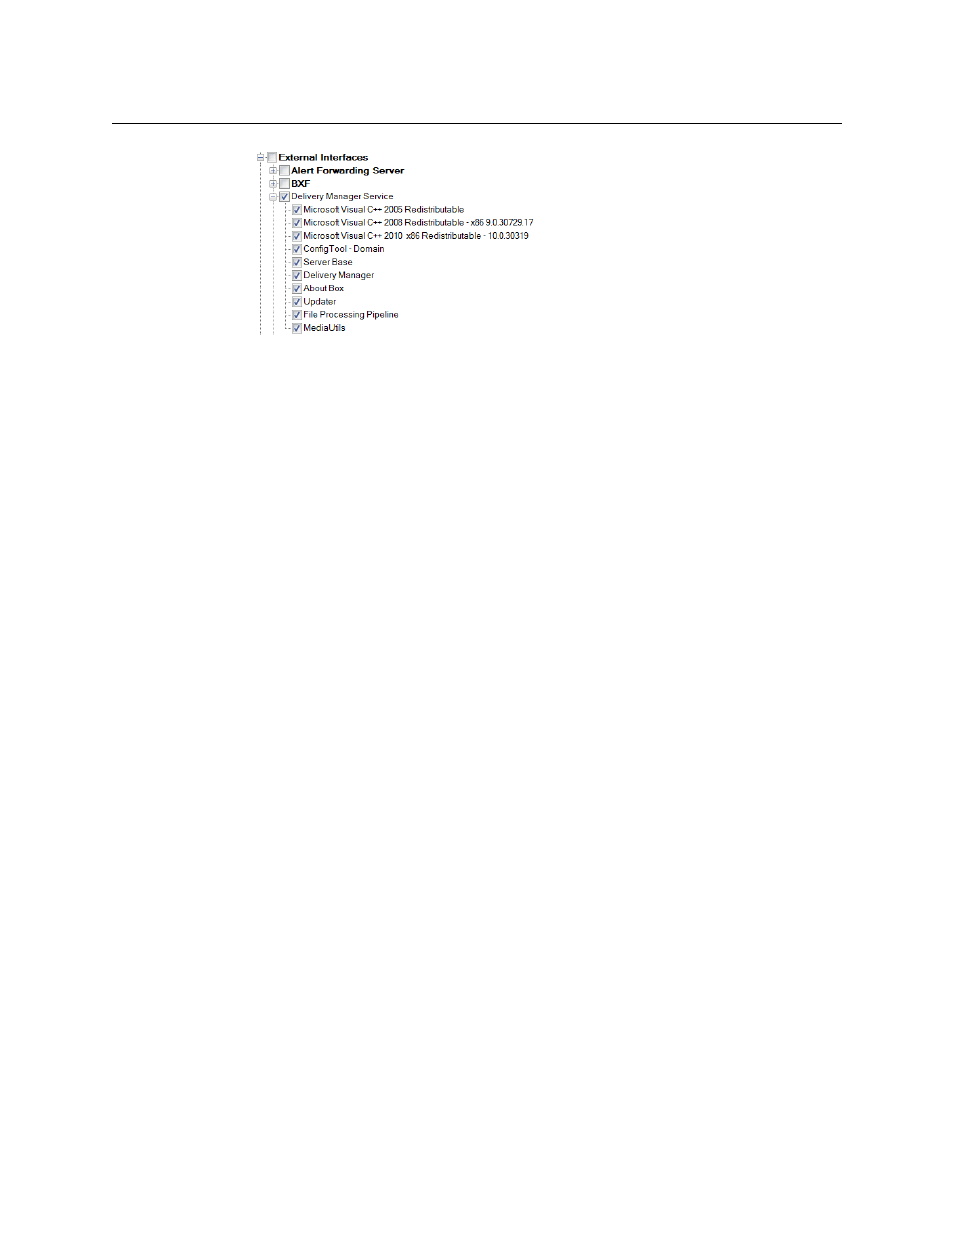
5 Expand Workflow.
6 Check Workflow Server.
This will install the Workflow Service, which is required for Delivery Manager to
function correctly.
7 Click OK.
8 On the main installation splash screen, you will see Delivery Manager added to the
list of components you are installing. Click Continue.
The Delivery Manager installation will start.
The installer guides you through the installation steps, including providing details of the
iTX Domain and the means by which the service communicates with the rest of the iTX
Framework Services. For more information on installing iTX, see the iTX System
Administrator Guide.
Delivery Manager is installed to the standard iTX location of
C:\Program Files\iTX
2.0\Services
.
What’s next?
Once Installation has completed, you need to perform the following tasks in order to use
Delivery Manager:
1 Create a configuration profile.
See
Configuration Profiles and Endpoint Tabs
2 Add and configure your required endpoints. See the following chapters for more
information:
•
•
•
•
•
•
•
•
•
3 Configure the Server Controller to run the Delivery Manager service. This may also
include configuring a resilience model.