Panel bios settings, Figure 38, Ps2 and vga sockets on the kayakdd-1 panel – Grass Valley KayakDD-1 Installation User Manual
Page 83
KayakDD-1 Digital Production Switcher
7.4.9.4
Panel Bios Settings
Figure 38
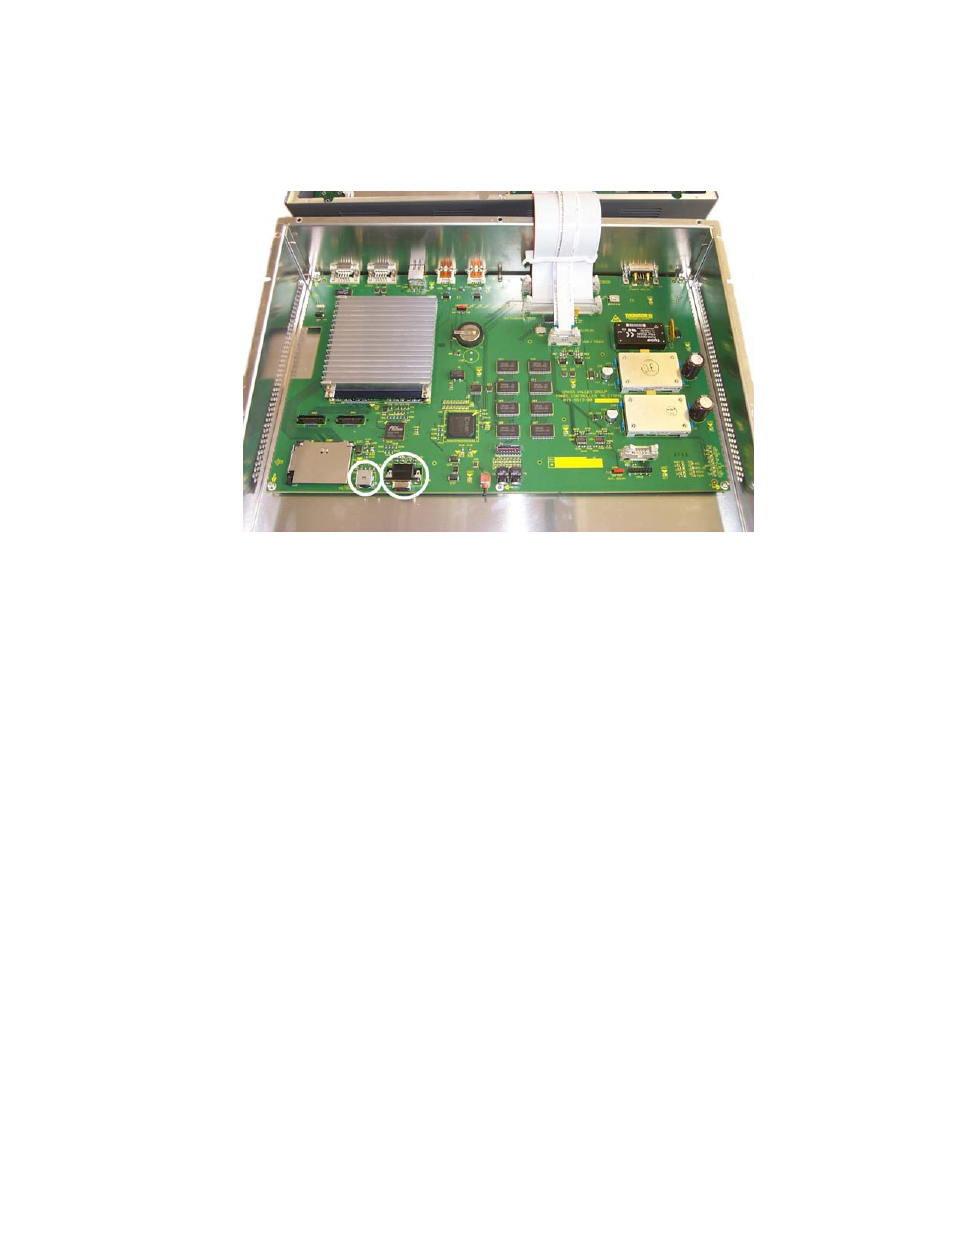
PS2 and VGA sockets on the KayakDD-1 Panel
Connect the keyboard with the PS2 connection and the VGA plug with the VGA
socket.
To arrive the BIOS Menu, press the F2 key during the booting of the switcher.
1. Load BIOS Setup Default with the key F9 and confirm with yes.
2. In the menu Advanced: set the options PNP OS installed and Halt On Errors to No.
3. Change the display settings in the menu Advanced / Advanced Chipset Control:
Set the option Display Mode to CRT only.
4. Change the PCI-Interrupt Settings in the menu Advanced / PCI Configuration: Set
the option PCI IRQ line 1 to 10.
5. Activate the USB Support in the menu Advanced / I/O Device Configuration:
enable the option Legacy USB Support and the option Host Controller.
6. Modify the boot arrangement. In the menu Boot / Boot Device Priority: top
Removable Devices and then Hard Drive, the further is not relevant. Note that the
Hard Drive must be the Primary Master respectively the Compact Flash Card at
the top in the arrangement.
7. Save the changed BIOS Settings with the Key F10 and confirm with yes.
82
Planning and Installation Manual