The perfect fit, Rear suspension adjustments – Polaris 2013 WideTrak LX User Manual
Page 39
35
THE PERFECT FIT
Rear Suspension Adjustments
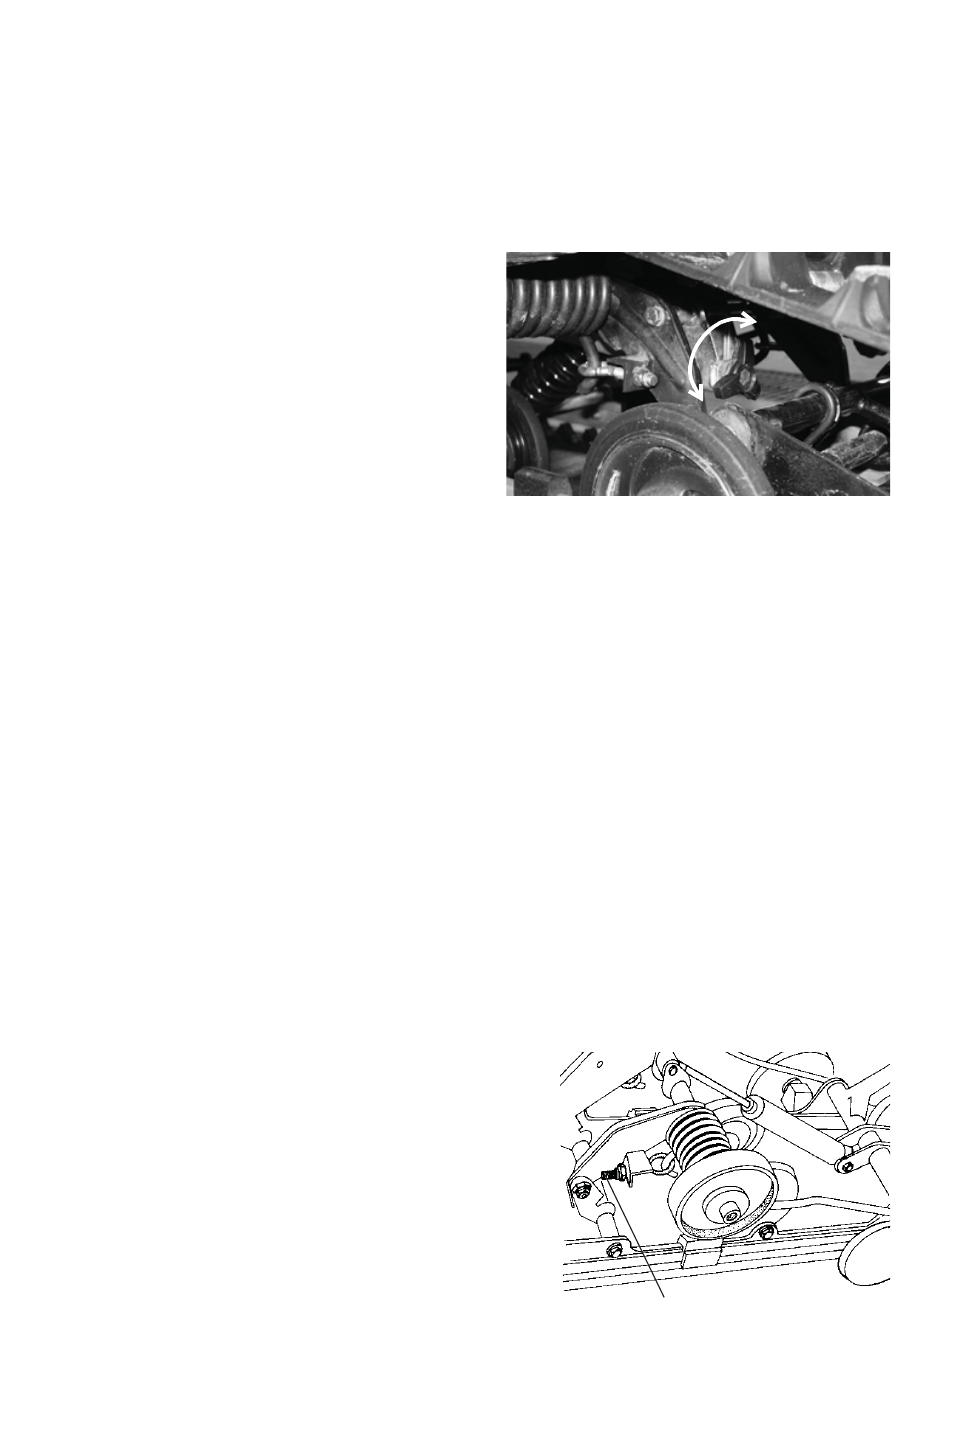
Suspension Coupling
1. On level ground, turn the adjuster knob clockwise to align the arrow
markers. This setting is suitable for most riding conditions.
2. If more ski pressure is preferred
(for riding in hilly terrain on
hard surfaces with a high vehicle
load), turn the adjuster knob
clockwise. Ski pressure will
increase as vehicle load
increases.
Tip: For maximum comfort, set the
suspension to bottom out
occasionally.
3. If less ski pressure is preferred, turn the adjuster knob counter-
clockwise. Ski pressure will decrease as vehicle load increases.
4. Turn the knob fully counter-clockwise (minimum setting) for riding
in deep snow without a passenger and with a low vehicle load.
Tip: Do not exaggerate adjustments. A couple of turns on the adjuster knob will
usually give the desired effect.
Rear Spring Settings
1. To check for the recommended rear spring settings, lift the rear of
the snowmobile, then slowly lower it. Measure the distance between
the ground and the running board.
2. Without letting the suspension settle, the rider should carefully
mount the snowmobile. Measure the distance between the ground
and the same spot on the running board.
3. The difference between the two measurements should be
approximately 1.5 inches (3.8 cm). If the difference is greater,
adjust the rear spring equally on both sides and repeat steps 1-3.
4. Compensate for heavy or light
drivers or cargo loads by adjusting
the rear spring eye bolt length.
Adjust spring tension so there is
equal tension on the long leg of
each spring.
Tip: Rear spring settings affect ski-to-ground
pressure. If ski pressure is too light,
tighten the rear springs.
Eye Bolt