3 a u to matic w o rk piece measur ement – HEIDENHAIN TNC 320 (340 55x-03) Touch Probe Cycles User Manual
Page 136

136
3.3 A
u
to
matic W
o
rk
piece Measur
ement
MEASURE PLANE (touch probe cycle 431,
DIN/ISO: G431)
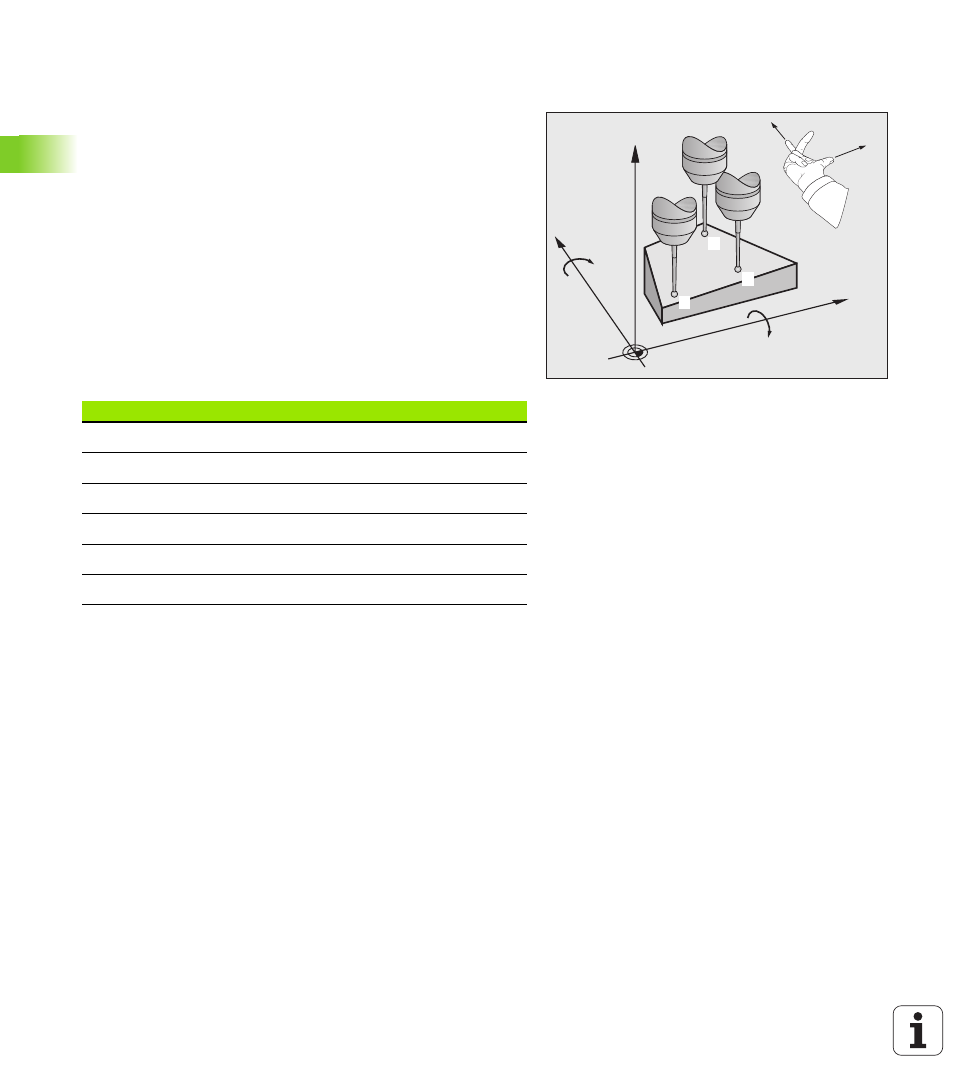
Touch probe cycle 431 finds the angle of a plane by measuring three
points. It saves the measured values in system parameters.
1
Following the positioning logic (see “Running touch probe cycles”
on page 21), the TNC positions the touch probe at rapid traverse
(value from FMAX column) to the programmed starting point
1
and
measures the first touch point of the plane. The TNC offsets the
touch probe by the safety clearance in the direction opposite to the
direction of probing.
2
The touch probe returns to the clearance height and then moves in
the working plane to starting point
2
and measures the actual value
of the second touch point of the plane.
3
The touch probe returns to the clearance height and then moves in
the working plane to starting point
3
and measures the actual value
of the third touch point.
4
Finally the TNC returns the touch probe to the clearance height and
saves the measured angle values in the following Q parameters:
X
Z
Y
1
2
3
+X
+Y
A
B
Parameter number
Meaning
Q158
Projection angle of the A axis
Q159
Projection angle of the B axis
Q170
Spatial angle A
Q171
Spatial angle B
Q172
Spatial angle C
Q173
Measured value in the touch probe axis