Installation, use and maintenance guide, Securing mats in place – Larco Safety Mat Systems User Manual
Page 9
9
Installation, Use and
Maintenance Guide
If wire exit notches are not present, they should be created now. Use a metal saw and file to create and smooth the necessary
notches allowing the cord to exit the trim without being cut or crushed. (Refer to Figure 13).
Securing Mats in Place
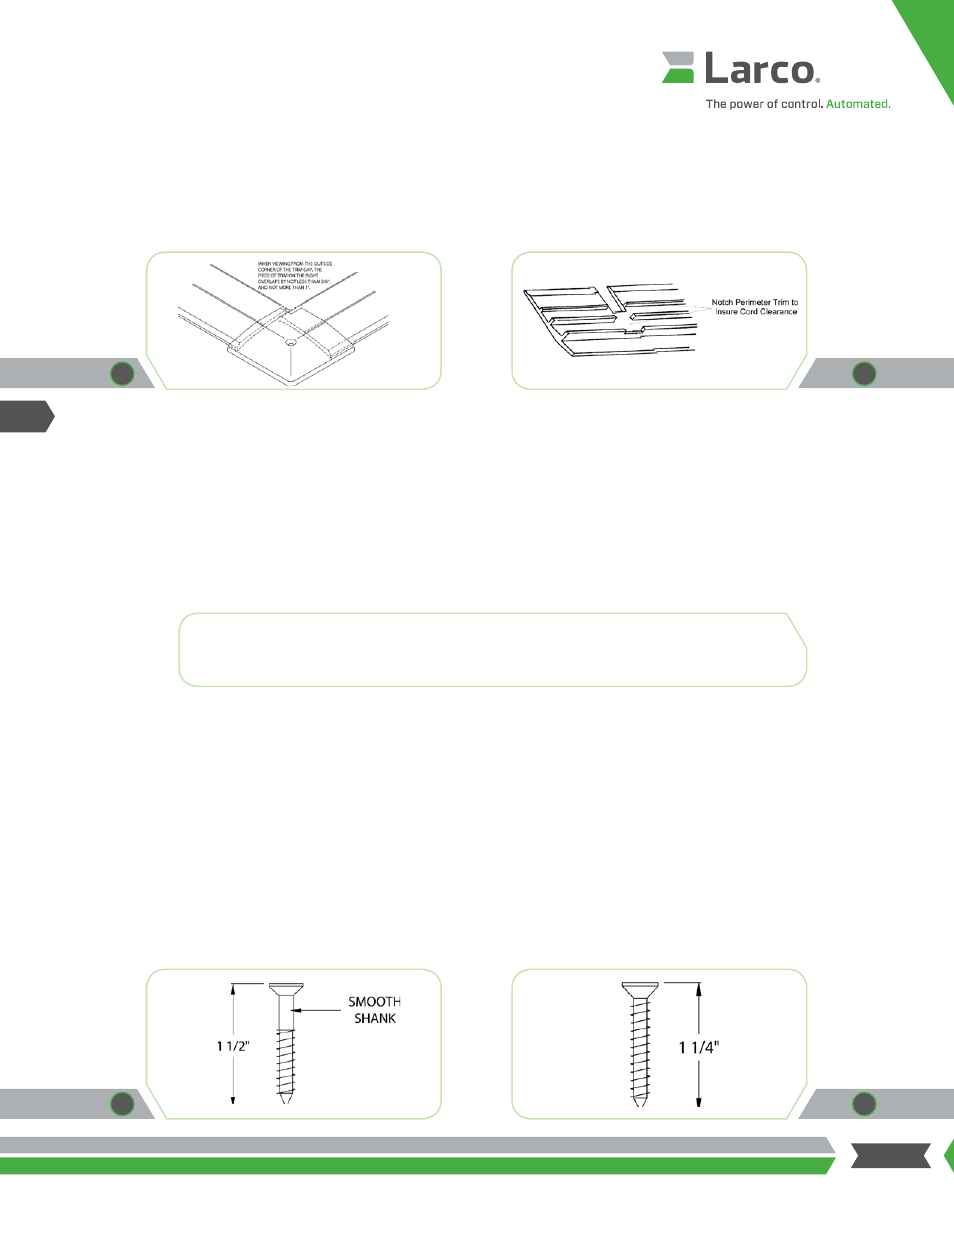
Depending on the type of extrusion used, there are two possible sizes of mounting screw and anchor. The first is a smooth
shank #12 screw, part #214920, used for all “Active Threshold” extrusions. (Refer to Figure 14). This screw uses the blue-
colored anchor and requires a 9/32” (7 mm) hole. The use of this screw with the Active Threshold type extrusion is critical for
proper operation, as the smooth shank allows the threshold to move up and down to activate the mat(s) as pressure is applied
and removed.
The second size is a #10 screw, part #210745, used for all other drilled extrusions. (Refer to Figure 15). This screw uses the
green-colored anchor and requires a 1/4” (6 mm) hole.
Once satisfied with the alignment of all of the mats and trim, use the drilled extrusion as a template for drilling the mounting
holes. Hold the trim in place securely and drill through the center of the pre-drilled and countersunk holes with the appropriate
drill bit, being careful not to damage any mat cords that may be present. Drill 1”-deep (25 mm) holes for the screw anchors as
straight and vertical as possible into the mounting surface.
Depending on the length of trim and number of holes, one or two holes may be drilled at each end of the extrusion and fasten
them with the screws and anchors to help hold the extrusion from moving while the balance of the mounting holes are drilled.
Remove the drilling debris with a shop vacuum. Clean out the holes and tap the appropriately colored (green or blue) plastic
anchors into each hole. Insert the screw through the holes in the extrusion and start the screws into the anchors but do not
tighten completely when using the Active Threshold type trim. See the special instructions for Active Threshold trim on next
page. For all other types of perimeter trim tighten down the screws.
Note: If your application is to be mounted on a steel plate, machine screws should be used.
Contact ATEK to request machine screws if your application requires them.
Stainless
steel corner
cap with
Active
Threshold
Active
Threshold
mounting
screw used
with blue
anchor
Notching of
perimeter
trim for
wire exit
Perimeter
trim
mounting
screw used
with green
anchor
Figure
Figure
Figure
Figure
13
14
12
15