Q uick r eference s heet – Linkskey LKV-248AUSK User Manual
Page 2
Q uick Reference S heet
A pp licab le m o dels:
LKV-248AUSK
Q uick R eference S heet
USB PS/2 KVM Switch w/ Audio&Mic --- Operation Commands for Hotkeys/ Front-Panel Buttons
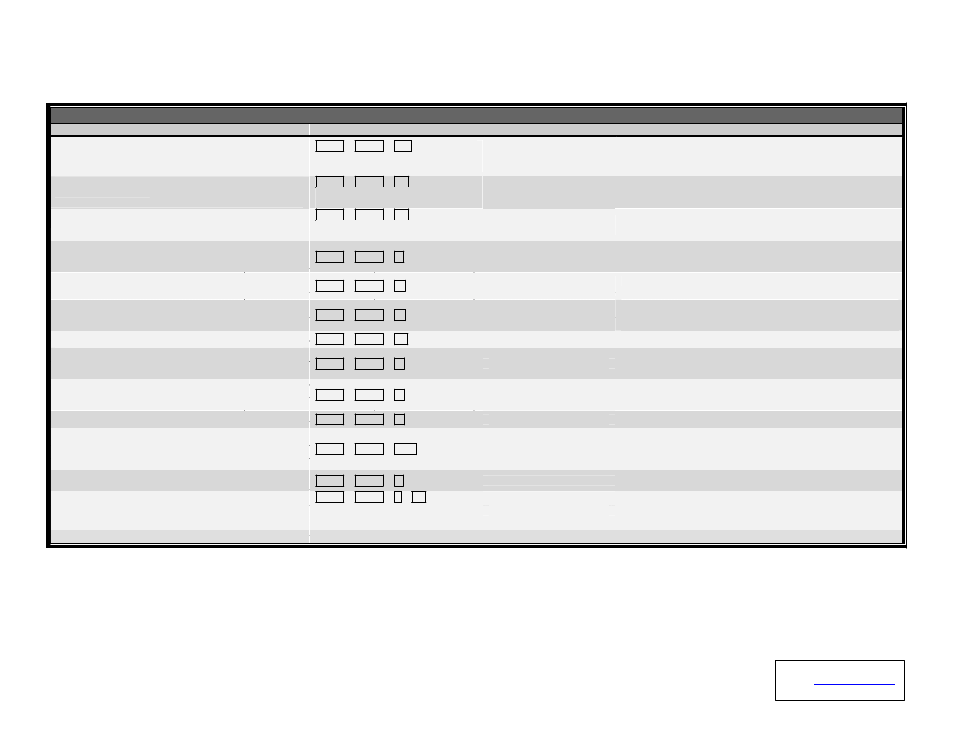
Command
Hotkeys
1
Front-panel Buttons
Description
Select PC Chan nel
(joint-select PC port and hub port control/A udio& m ic, if
binding is enabled)*
Select H ub P ort C ontrol
3
(Joint-select PC port and hub port control, if PC/U SB H ub
port control bin ding is enabled)
3
Select Audio & M ic Channel
4
ScrLk + ScrLk + (x)
2
(x is a top-row number key)
x = 1 ~4 for channel no.
ScrLk + ScrLk + Fx
Fx = F1 ~ F4
(Fx is a function key)
ScrLk + ScrLk + Fy
Fy = F5 ~ F8
Press the PC Button to switch
to the desired PC channel
Press the USB Button to
toggle the PC channel that
controls all USB hub ports
Select the active PC channel
(Joint-select PC / H ub port control/ audio& m ic channel, if binding is
enabled)
Select the PC channel for all USB hub ports control
(Joint-select PC & H ub port control, if bin ding is enabled)
Select the active Audio& M ic chan nel
(Joint-select PC port and audio& m ic channel , if PC/A udio
binding is enabled)
3
(Fy is a function key)
--
(Joint-select PC / Audio& m ic channel, if binding is enabled)
Enable the binding of PC port an d hub port control switching. (O nce
Bind PC & H ub Port C ontrol Switching
3
ScrLk + ScrLk + Z
--
this feature is enabled, an y pc and/or hub port control switching is
bound together)
Unbind PC & H ub Port Control Sw itching
3
ScrLk + ScrLk + X
--
Disable the binding of PC port and hub port control switching
(factory defau lt)
Enable the binding of PC port an d audio& m ic sw itching. (O nce this
Bind PC & Au dio/M ic Switch ing
4
ScrLk + ScrLk + Q
--
feature is enabled, any pc an d/or audio& m ic switching is bound
together) (factory default)
Unbind PC & A udio/M ic Sw itching
4
ScrLk + ScrLk + W
--
Disable the binding of PC port and audio& m ic sw itching
N ext lower PC channel
(joint-select PC port and hub port control, if bin ding is
enabled)
3
N ext higher PC channel
(joint-select PC port and hub port control, if bin ding is
enabled)
3
ScrLk + ScrLk + (arrow up)
--
Select the next lower PC channel
(joint-select PC port and hub port control, if bin ding is enabled)
ScrLk + ScrLk + (arrow dow n)
--
Select the next higher PC channel
(joint-select PC port and hub port control, if bin ding is enabled)
Beep Sound O n/Off
ScrLk + ScrLk + B
--
Toggle on/off the beep sound for hotkeys an d autoscanning
Reset m ouse/keyboard on the console side
Console M ou se Reset
2
ScrLk + ScrLk + End
--
(This hotkey com m and is applicable to PCs with PS/2 interfaces and
works only for PnP O S such as W indows 98 SE or later W indo ws
O S).
Autoscan
ScrLk + ScrLk + S
--
A utoscan through every connected channel for quick screen browsing
of each channel (scan delay = 5 sec.).
Autoscan Delay Tim e
ScrLk + ScrLk + S + (x)
2
x = 1~6
1 10” ; 2 20” ; 3 30” ;
4 40” ; 5 50” ; 6 60”
--
Specify delay tim e within a range of 10 ~ 60 seconds
Stop Autoscan
Press any key on keyboard
Press any button
Term inate Autoscan activity
N ote s:
1. A PS/2 keyboard is required for proper hotkey function. If you use a USB keyboard, hotkey is no longer for use.
2. Currently only the top row num ber keys are available for hotkeys. Do not use the n um ber pad for hotkey com m an ds.
3. W hen the binding of PC & USB hub port control switching is enabled by the hotkey sequence: ScrLk + ScrLk + Z, Any PC an d hub port control switchin g are bound together. To rem ove this bin ding, use the hotkey
sequence: ScrLk + ScrLk + X
4. W hen the bin ding of PC & A udio& M ic switching is enabled by the hotkey sequence: ScrLk + ScrLk + Q , any PC an d audio& m ic switching are bound together. To rem ove this bin ding, use the hotkey sequence:
ScrLk + ScrLk + W .
U SB keyboa rd & m ouse tip: If you use a USB keyboard and m ouse, you have to m ake the hub port control “sync” with your PC port before you can operate your com puter properly with USB devices on hub ports.
LED inform ation : The PC port LED/button is lit as orange to indicate a connected state and as green to indicate an active port.
The USB hub control status LED (red) indicates not the connected status of each
USB device, but indicates which PC port has the control of all hub ports an d their connected devices. For exam ple, when USB LED 1 is lit, it m eans PC port 1 has the current control of all hub ports and their
connected USB devices.
30-170-7009-658-14
Rev. 1.4
Copyright© All rights reserved. Dec 2004
Technical Support
E-mail:
Website: www.linkskey.com