Typical system setup, Using the optional keypad pin – Linx Technologies MDEV-xxx-HH-CP8-HS User Manual
Page 6
–
–
–
–
6
7
Typical System Setup
The HS Series Compact Handheld Transmitter is intended to make user
setup straightforward while ensuring the highest possible security. This
inherent ease of use can be illustrated by a typical user setup. The Typical
Applications section of the HS Series Decoder Data Guide shows the
circuit schematics on which the receiver examples are based.
1. Create an exchange a key from
a decoder to the transmitter.
The handheld transmitter includes
an on-board infrared receiver
designed to optically receive
the decoder’s key transmission.
Sending the key in this manner
preserves security while
avoiding the need for a hardwire
connection.
The high security key is created and exchanged by placing the decoder
in the Create Key Mode. The decoder’s MODE_IND LED lights to
indicate that the decoder has entered Create Key Mode. The decoder’s
CREATE_KEY button is then pressed ten times to create the key. After
the tenth press, the MODE_IND LED turns off and the decoder outputs
the key via a 900nm infrared diode on the KEY_OUT line. A paper clip
is used to press the GET_KEY button on the back of the transmitter.
Hold the back of the transmitter near the decoder’s infrared diode
within twenty seconds. Once the key has been transferred, the MODE_
IND LEDs on both the transmitter and decoder illuminate to indicate
success.
2. Establish Control Permissions
Next, the user defines which buttons on the transmitter should be
acknowledged by the decoder. The HS Series Control Permissions
allow each transmitter in a system to activate different data lines.
This is especially useful in applications where differing user access or
activation capabilities are desired.
Consider this example: a three-door garage houses Dad’s Corvette,
Mom’s Mercedes, and Son’s Yugo. With most competitive products,
any keyfob could open any garage door as long as the addresses
match. In an HS-based system, the keyfobs could easily be configured
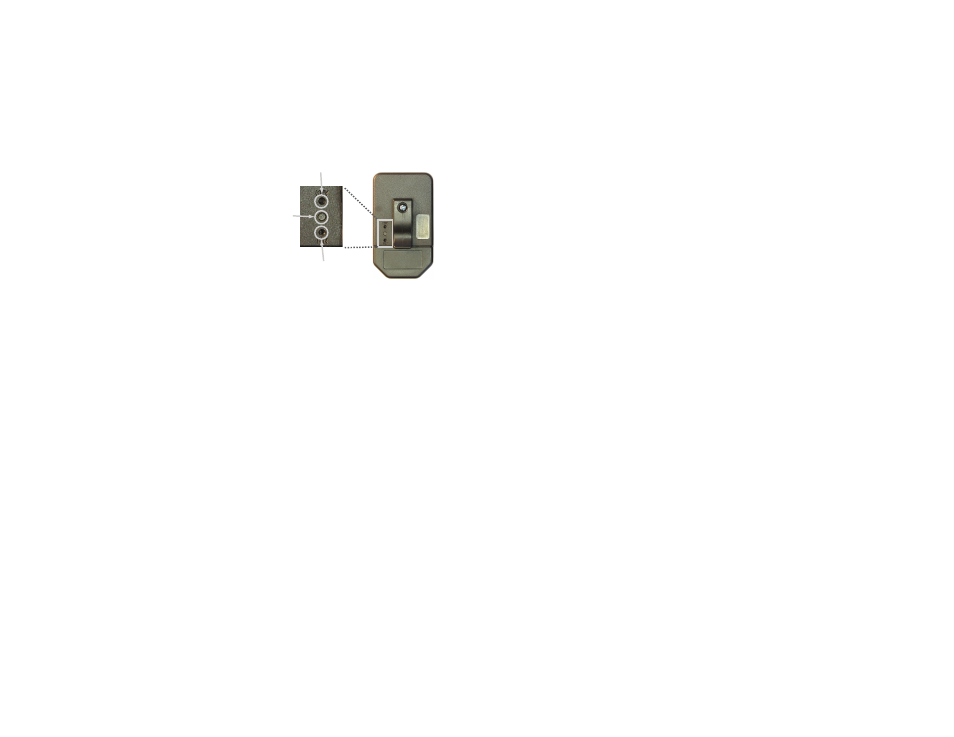
GET_KEY Button
CREATE_PIN
Button
MODE_IND
Window
Figure 5: Button Access Holes
to open only certain doors (guess which one Son gets to open!).
Setting the control permissions is intuitive. The user presses the
decoder’s LEARN button. The decoder’s MODE_IND LED starts
flashing and the user simply presses the handheld transmitter buttons
that should be recognized. Control Permissions are stored when
the LEARN button is pressed again or automatically after seventeen
seconds.
There are other powerful options, such as programming a user PIN or
copying a decoder, but these two steps are all that is required for a
typical setup.
Using the Optional Keypad Pin
For higher security applications, the HS Series encoder has the option to
set a Personal Identification Number (PIN) to control access to the encoder.
This PIN is a four-button combination of the eight buttons which must be
entered before the transmitter will send any commands. It needs to be
re-entered after fifteen minutes of inactivity. If no PIN is created, then the
transmitter activates as soon as a button is pressed.
Creation of a Keypad PIN
1. Use a paper clip to press the CREATE_PIN button on the back of the
transmitter. The MODE_IND LED begins flashing until either a PIN is
successfully entered or fifteen seconds has passed.
2. To enter the PIN, press a sequence of any four buttons. The MODE_
IND stops flashing and the PIN is created.
3. To cancel Create PIN Mode prior to the fourth entry, either wait for the
fifteen second timeout to pass or press the CREATE_PIN button. The
MODE_IND LED stops flashing and no PIN is created.
4. If a new KEY is created, the PIN is automatically erased.
Using the PIN
1. The PIN is entered by pressing each button until all four entries have
been made. There is a maximum two-second time limit between
entries, after which the PIN must be re-entered in its entirety.
2. Once the PIN is successfully entered, the transmitter is operational
unless it is inactive for fifteen minutes, in which case the PIN must be
re-entered.