Installation – Magnum Energy MP Conduit Box/Enclosure (MPX-CB) User Manual
Page 3
© 2012 Magnum Energy, Inc.
2
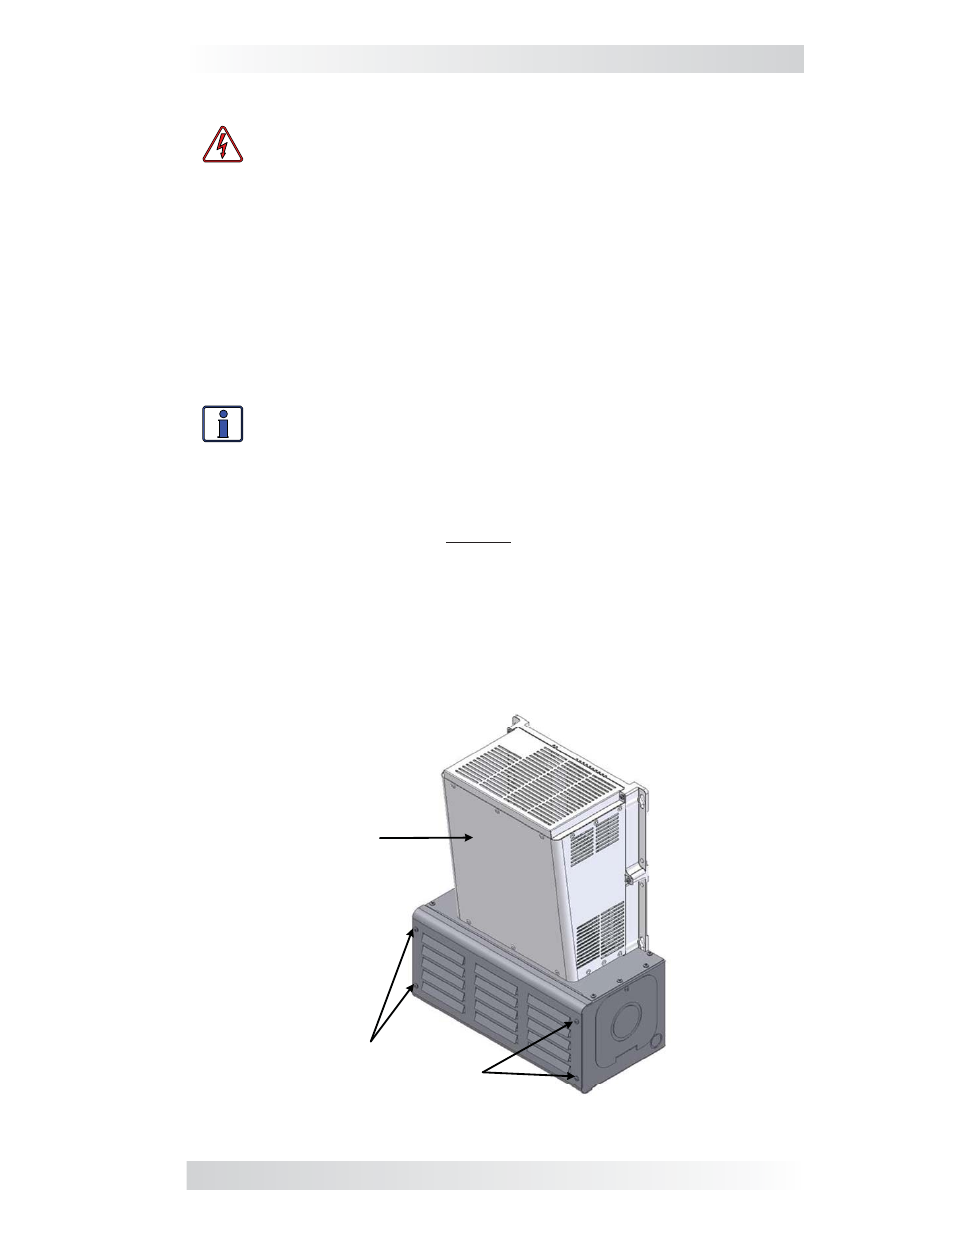
Remove screws/
washers x4 to detach
front cover
Larger
Magnum
inverter
Installation
WARNING: The inverter uses power from both AC and DC sources.
Before beginning the installation, ensure all AC power (utility/
generator) and any negative
and positive battery cables are safely
disconnected from the inverter.
Refer to Figure 2 below for the following steps:
1. Determine the AC and DC wiring routes through the MPX conduit box,
identify and remove the appropriate knockouts, and then attach the
corresponding conduit.
2. Remove the four screws (#10-32 Phillips head) and washers to take off
the front cover of the MPX conduit box.
3. Attach the MPX conduit box to the selected surface using the appropri-
ate mounting hardware. Ensure the surface and hardware can hold the
inverter’s weight (~70 lbs).
Info: Refer to your inverter’s owner’s manual for guidelines on se-
lecting a proper location and mounting surface. A Magnum backplate
(PN: BP-S single plate, BP-D dual plate) is highly recommended as
a mounting surface. (These backplates provide a non-combustible
surface and have pre-drilled holes that allow for easy mounting of
the inverter and the MPX.)
4. Once the MPX conduit box is securely mounted, carefully place the inverter
on top of the MPX, ensuring the inverter sits fl ush on the conduit box.
5. Secure the inverter to the mounting surface using appropriate hardware.
6. Route the AC and DC wiring through the appropriate knockouts/conduits
on the MPX, and then connect per the inverter’s installation procedure.
Ensure all electrical and hardware connections are correct and secure.
7. Apply power to the inverter and test for proper operation.
8. Replace and secure the front cover of the MPX conduit box.
Figure 2, MPX-CB with Magnum Inverter Installed
Installation