Selecting the application tool, Attach sanding sheet to grinding plate, Changing the application tool (see fig. g) – Parkside PAMFW 10.8 A1 User Manual
Page 31
31
GB/MT
Selecting the application tool
Note: The universal system with easy tool change
fits common accessories.
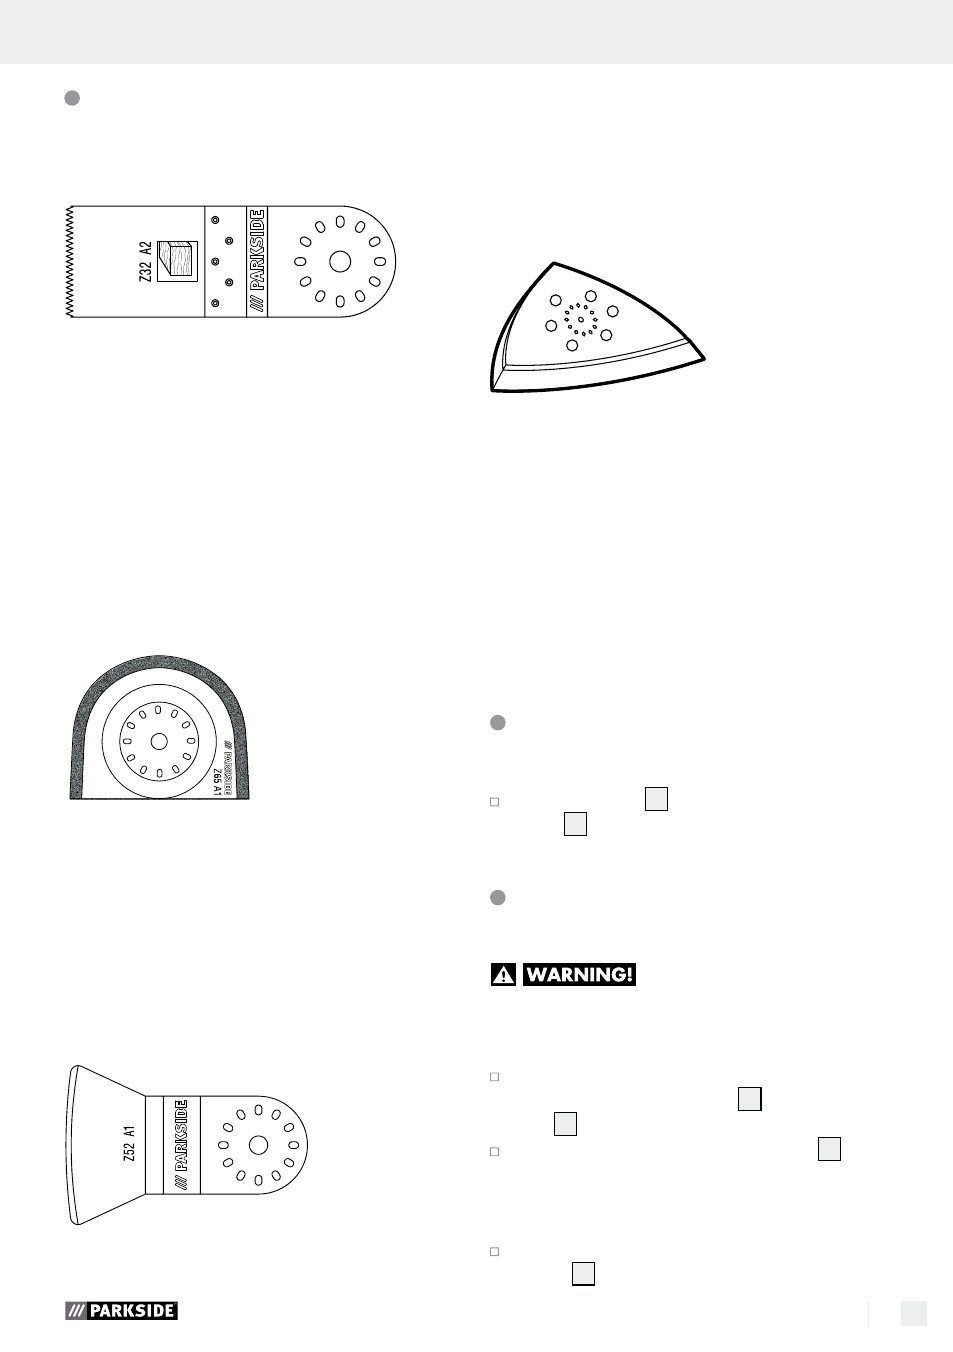
HCS plunge saw blade 95 x 32 mm
Materials:
Wood, plastic, plaster and other soft materials
Use:
· Cut-off and plunge saw cuts
· sawing close to the edge, even in hard to reach
areas
Example: cutting notches in light construction walls.
(see Fig. A and B)
Diamond saw blade
Material:
Tile cement, Tile joints
Use:
· Removing material residue, for example tile
cement when replacing damaged tiles
· Reaming joints in wall- and floor tiles (see Fig. C)
Scraper
Materials: Motor / cement residue, tile / carpet
adhesive, paint/silicone residue
Use:
· Removing material residue, for example carpet
adhesive residue on floors (see Fig. D)
Grinding plate
Materials:
Wood and metal (sanding sheets included),
paint*, stone*
*depending on sanding sheet
Use:
· Sanding edges and hard to reach areas
(see Fig. E and F)
Attach sanding sheet to
grinding plate
Sanding sheets
15
are attached to the backing
plate
14
by means of the hook and pile fastening.
Changing the application tool
(see Fig. G)
DANGER OF INJURY!
Always remove the battery from the unit
before working on the power tool.
Remove any tool already inserted. To do this,
release the clamping screw
7
using the Allen
key
10
and take off the tool.
Place the tool (e.g. plunge saw blade
13
) on
the tool mount.
NOTE: You can place the tool in any of the
possible positions on the tool mount.
Fasten the tool in place with the clamping
screw
7
and clamping plate.
Start-up
General safety advice for electrical power tools / Before use / Start-up