Curtis SKCR2613C User Manual
Page 2
445 x 191 mm
Before Mounting
Empty contents of the selected cabinet under which the unit will be mounted and thoroughly
clean the underside of the cabinet to remove any grease residue which might be present.
We recommend the unit be mounted at the front edge of the cabinet.
Important:
• The installation of the unit under a cabinet should only be carried out by a qualified
technician.
• For secure mounting, the screws must go into the radio to a depth of at least 3/8”. If the
overall length from the bottom of the cabinet shelf to the bottom of the over hand is
more the 1-3/4”. Then a wood shim will be necessary. A shim can be made from a sheet
of plywood, using the Template to located the central lines for drilling the 1/4” mounting
holes; the shim can be located between the cabinet shelf bottom and spacers. Make sure
the wood is at least as thick as the exces over 1-3/4” if a shim is necessary, longer screws
are required. Longer screws (Type#10-32) are available at most local hardware stores
Cut out the template on the line indicated. The template size and the screw hold positions
are identical to the top of the Clock radio.
Step 1
If your cabinet does not have a overhang :
a) Position template in desired location on underside of cabinet, flush with front edge.
b) Then tape template in pace and go to step 2.
If your cabinet has overhang:
a) Measure the thickness of the overhang.
b) Fold front of the template downward along the printed guideline that is closet to the
thickness of your cabinet.
c) Tape fold-down portion to backside of overhand, tape template to cabinet underside.
Note: If your cabinet has glue blocks or other obstructions, cut out corresponding areas
on the template to clear them. Do not cut or cut through the screw holes indicated on the
template.
CAUTION: It is recommended that safety glasses be worn while drilling screw holes
to prevent the possibility of eye injury.
Step 2
Drill 1/4” inches diameter holes through the underside of the cabinet bottom shelf using
the three points marked on the template.
Step 3
Remove template and clean drill shavings from inside and underside of cabinet.
Step 4
If your cabinet has an overhang. Select the spacer or combination of spacers that is equal
to or longer
UNIT POWER SUPPLY (120V/60Hz)
Connect the power cable plug to the (120V) wall outlet.
Warning:
• Before using the unit, check that the local mains supply is compatible with 120V (60Hz).
• Do not plug or unplug the power cable when your hands wet.
• When planning not to use this unit for long periods of time (i.e., Vacation etc.) disconnect
the plug from the wall outlet.
• When disconnecting the power cord from the wall outlet, grasp the plug; do not pull the
cord in order to avoid shock risks caused by the damaged cable.
BATTERY SAFETY PRECAUTIONS:
• Keep batteries away from children and pets.
• Insert the battery observing the proper polarity (+/-). Failure to properly align the battery
polarity can cause personal injury and/or property damage.
• Remove spent or discharged batteries from the product. Remove the battery when the product
will not be used for extended periods of time to prevent damage due to rusted or corroded
batteries.
• Never throw batteries into a fire, do not expose batteries to fire or other heat sources
• Battery Disposal: Spent or discharged batteries must be properly disposed of and recycled in
compliance with all applicable laws. For detailed information, contact your local country solid
waste authority.
• Follow the battery manufacturer’s safety, usage, and disposal instructions.
BATTERY BACKUP:
Two 1.5V “AAA” batteries (not included) may be installed as a backup option to maintain the
time if electrical power fails. In the event of a power outage, the time will not appear on the
clock LCD Display, however the clock will continue to operate and the actual time will be
maintained. The Clock LCD Display and other functions will resume once electrical power is
restored if used the backup battery .The backup battery should be replaced as needed; Remove
the battery if the clock is not used or stored for long periods of time.
TO SET THE CLOCK TIME
In Standby off mode.
1. Press and hold the Time Set Button, the HOUR will blink.
2. Press the / Button to set the desired HOUR,
3. Then press the TIME SET Button again, the MINUTE will blink.
4. Press the / Button to set desired MINUTE.
5. Then press the Time Set button again to choose 24/12 hours display.
6. Press the Time Set button to confirm
TO SET ALARM FUNCTION(ALARM 1)
In Standby off mode
1. Press the Alarm 1 button, the Alarm 1 icon will shown on the display, then press and hold
the AL1 button again, the HOUR time will blink
2. Then press the / button to set the Desire Hour
3. Press the Alarm 1 button again, The MIN time will blink
4. Then press again / to set the Desire Minute.
5. After setting the alarm time as your desired, to press Alarm 1 button again. You can now
select whether the alarm should go on to Buzzer, Radio or CD
Wake to buzzer
This is the default setting (no indication on the display above the time)
Wake to Radio
Press the / button until “FM” or “AM” is shown in the display(above the time). At
the set time the alarm will go on at the radio station you last listened to.
Wake to CD
Press the / button until the CD icon ( ) is shown in the display(above the time).
This feature only works when you have a CD inserted in the CD drive. This CD will be
played at the set alarm time
6. Press the AL. SET button again to confirm your settings for Alarm 1.
TO CANCEL ALARM MODE
In “STANDBY OFF” mode, press Alarm 1 button to turn off the alarm function. (until alarm
sign will disappear on the LCD Display).
SNOOZE FUNCTION(SETTING ON REMOTE CONTROL)
If you want to snooze a few more minutes, press the SNOOZE button on the remote control,
it will deactivate the sound for 9 minutes and will shown “SNOOZE” on the LCD Display.
To turn off the snooze function, press the Standby button.
Turning Off the Alarm:
To switch off an alarm while active, press the Standby button on the unit or on the remote
control. the alarm will reset for next day.
Alarm 2 setting is same as Alarm 1
Sleep function in standby on mode (setting on remote control)
1. Press the function to the desired source.
2. Tune in the desired radio station or CD play or AUX play and adjust the volume control.
3.
Press the sleep button. The “120” will appear on the clock display.
4. Repeatedly press the sleep button for desired sleep time between 15, 30, 45, 60, 90 and
120 minutes.
5. The unit will automatically switch off when the sleep time expires.
Radio operation
1.
Press the standby button to switch on the unit.
2.
Press the function button to the FM or AM radio function.
3.
How to use the buttons for radio
• Manual Tuning
Press the / to search for desired frequency. Higher frequency can be selected by
pressing the button while Lower frequency can be selected by pressing the button
• Automatic Tuning
i) Press and hold the / button until the display frequency starts run.
ii) When a station of sufficient strength has been found Tuning will stop or you can stop
the automatic tuning by pressing / button.
To switch off the radio, Press the standby button.
Preset Tuning
1. Select your desired station according to the normal tuning procedure.
2. Press the PROG button on the unit or MEM/PROG button on the remote, “P-01” will
appear and flash on the display, Then use M- or M+ button to change the number where
the station will be stored. (P01 to P20) to change the number where the station will be
stored. (P01 to P20)
3. Store the current frequency by pressing PROG button on the unit or MEM/PROG button
on the remote again when you get the desired number.
4. Repeat the same procedure to set other desired frequencies into Memory No.1 to No.20
Note: A total of 40 radio stations can be stored in the program. (20 station in AM, 20
station in FM)
MEMORY RECALL
Recall the stored frequencies by pressing M- or M+ button on the unit to select 1 to 20
stations as desired
NOTE: As stored frequencies can only be stored for long time with the power supplying. The
station you stored will be lost and can not be recalled in case that you cut off the power.
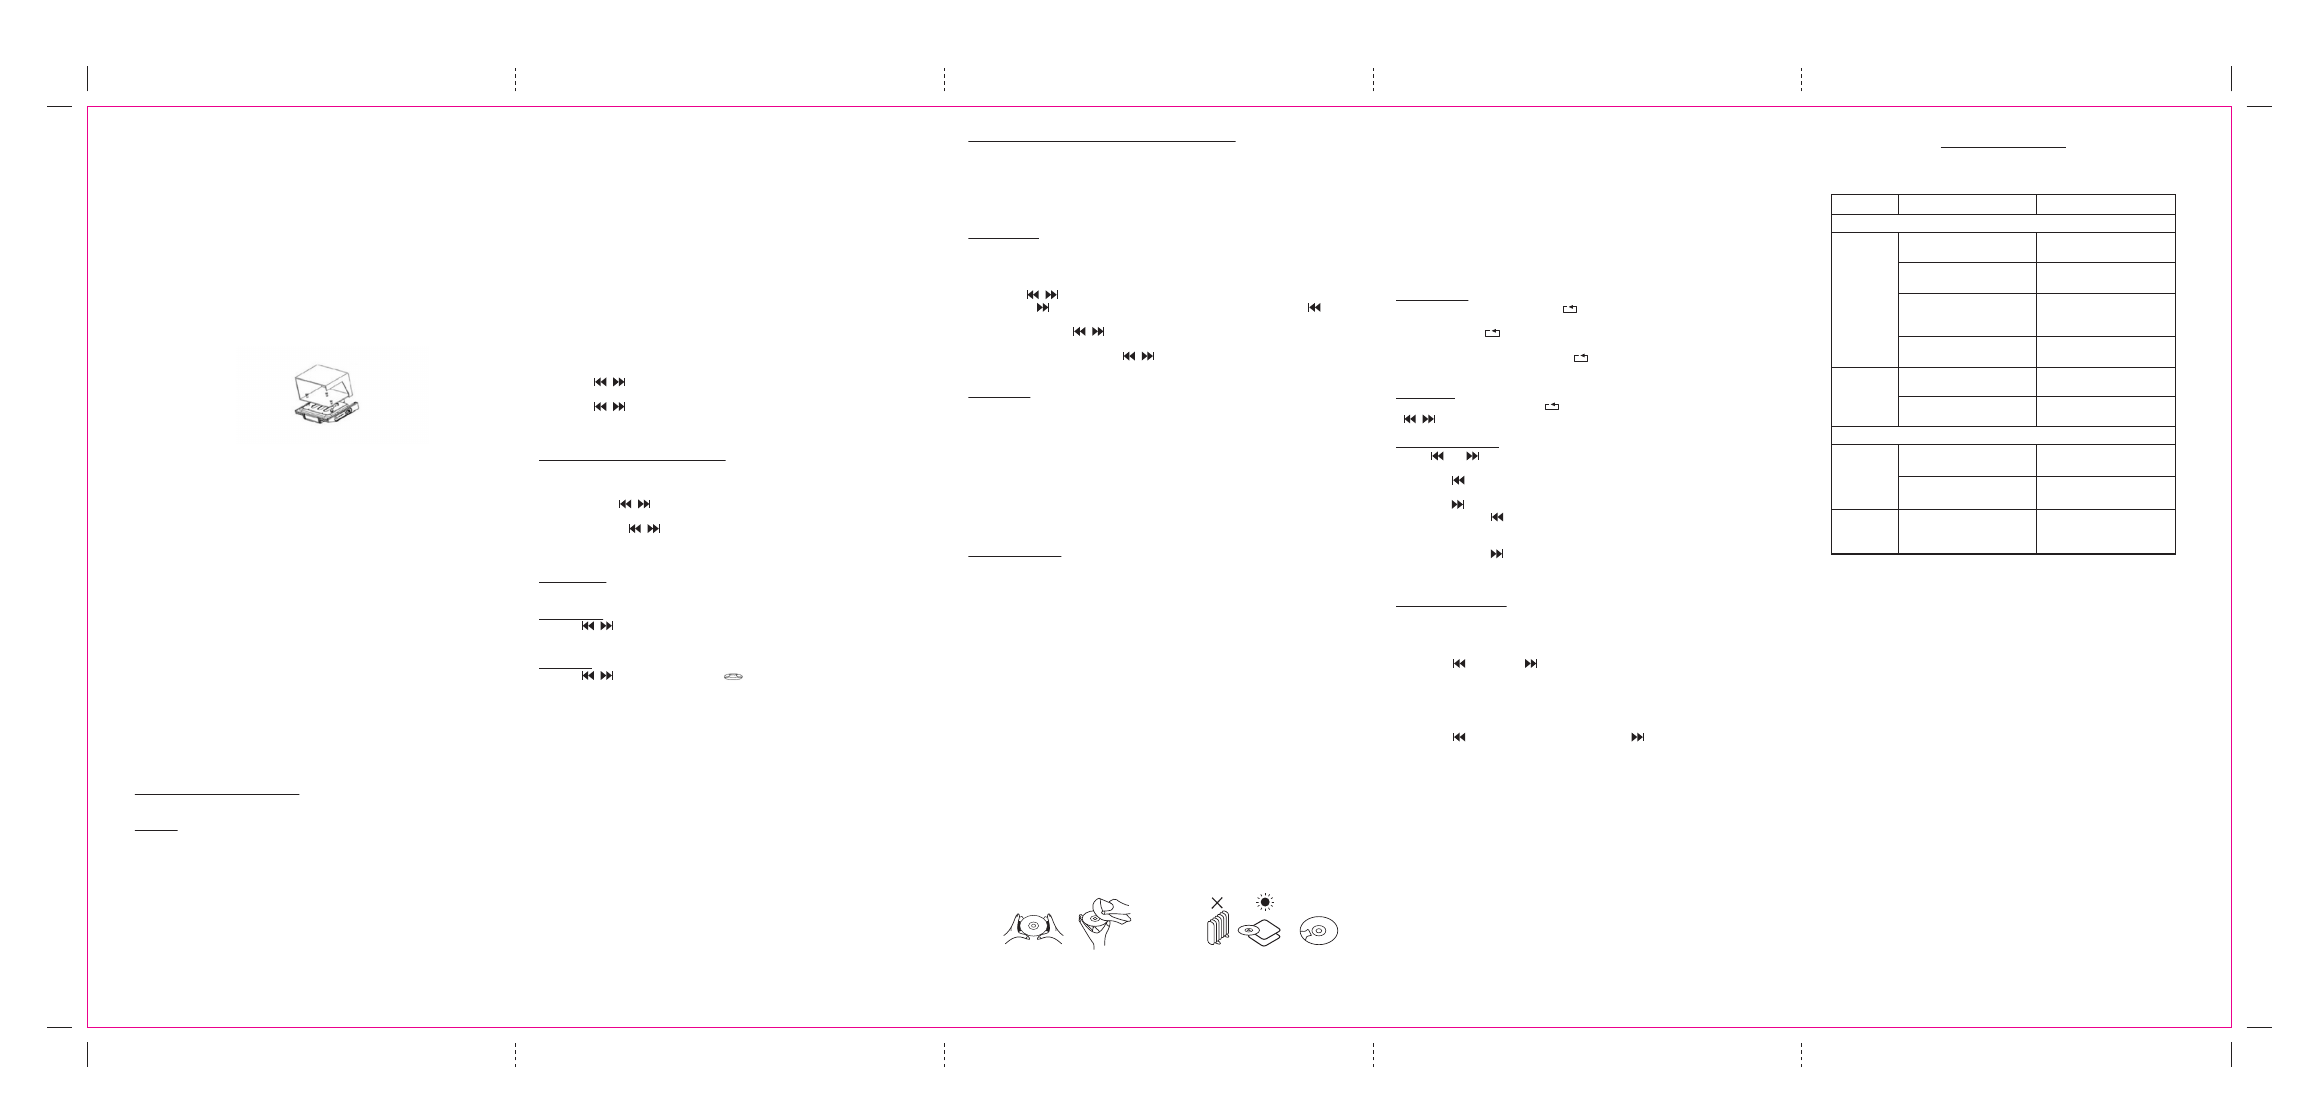
HANDLING A COMPACT DISC
• Always protect a disc against scratches, soil, dust and etc. If a disc is treated with reasonable
care, wiping off the disc with a soft cloth should be the only maintenance needed to retain
its excellent sound reproduction. Discs should be retained in their original case during
periods of non-use.
• Handle a disc only by its edges, do not touch the surface or rainbow-colored side of the disc
• Handle a disc as shown in the illustrations in this section
• Use a soft cloth to wipe a disc clean. Do not use benzene, thinner, or other chemical
cleaners to clean the disc as damage may result. A disc should always be wiped in a straight
line from its center to its edge. Never wipe a disc in a circular motion.
• Do not expose a disc to direct sunlight, high humidity, or high temperatures for extended
periods of time. Do not place the Disc on other equipment or near any heat source.
• Dust on the pickup lens can lead to erratic operation and interruption of the sound during
play. To clean the pickup lens, open the disc compartment and blow the dust off. Using a
camera lens blower (available at most camera stores)
• Note: Do not touch the surface of the lens. Do not allow any liquids on the inside of the
product.
• To clean the CD player cabinet, use a soft and damp cloth to wire off the exterior surface.
• Never use benzol, benzene, or other strong chemical cleaners, as these could damage the
finish.
PLAYING A COMPACT DISC (CD)
NOTE: Never touch the laser lens inside of the CD compartment. Clean the laser lens with a
CD cleaner disc if it becomes dirty.
1. Press the standby button to turn on the unit.
2. Press the function Button to CD function.
3. Press the open / close button to open the CD door and insert a CD into the tray with
printed label side facing up.
4. Press the open / close button to close the CD door and, the disc will rotate for a few
seconds and then stop.
5. Press the play / pause button to start play
6. Press the play / pause button again to pause play.
7. Press the stop button to stop play.
Repeat Function
1. IN CD Play mode, press the repeat ( ) button once during playback, the “REPEAT”
sign will show on LCD Display. The same track will be repeated over and over.
2. Press the repeat ( )button a second time to repeat all tracks. The “REPEAT ALL” sign
will show on the LCD display.
3. To cancel repeat play, Press the repeat ( ) button repeatedly until the “REPEAT” sign
disappeared.
Random Play
In CD play mode, Press the repeat ( ) button until RAND appear on LCD Display. Press
/ button, this will enable random tracks play.
REVERSE/FORWARD
1. The and button can be used to jump to a different track number or to scan disc
tracks at high speed.
2. Press the button once to hear the beginning of the current track. Press it two or more
times to hear previous tracks on the disc.
3. Press the button to hear the next track on the disc.
4. Press and hold the button, the current track will be scanned and move backwards to
the previous track(s); When the desired track section is found, release the button and
normal play will resume.
5. Press and hold the button, the current track will be scanned and move forward to the
next track(s); When the desired track section is found, release the selected button and
normal play will resume.
PROGRAM FUNCTION
The Program feature can be used to program up to 20 tracks to play in a selected order.
1. While in the stop mode only (CD is not playing), press the PROG button on the unit or
MEM/PROG button on the remote, LCD Display will show the wording “PROG 01” and
“PROG 01” starts to flash.
2. Press the BUTTON or Button to allocate the desired track.
3. Press the PROG button on the unit or MEM/PROG button on the remote to select and
store the track into memory.
4. Repeat step 2 to 3 to select up to 20 tracks.
5. To play the selected tracks (in the program mode); press the play/pause button. The track
number and the “PROG” appear on LCD Display.
6. Press the button to hear the previous or press the button to hear next program
track.
Note: After all of the programmed tracks have played, the CD player will return to the
stop mode.
7. To clear the programmed tracks from memory, press stop button until “PROG” icon
disappeared.
Aux in jack
1. Turn on the unit.
2. Press the function Button select in AUX function then AUX sign will appear
3. Connect the AUX connect wire from the out jack of your Personal Player such as portable
MP3 player to the AUX input jack.
4. Play Start from your Personal Player.
HEADPHONE JACK
This unit will accept stereo headphones with a
Ф 3.5mm plug. Before connecting the headphones
set the volume to minimum level as not to damage your ears or the headphones. Connect the
headphones to the headphones jack. The speakers will be automatically disconnected.
Warning: Prolonged exposure to high sound levels may permanently damage your hearing. You
may not hear some warning sound while wearing these headphones.
General Specifications :
Power Source
: AC 120V ~ 60Hz
Power Consumption
: 14W
Audio Power
: 2 X 1W
Radio Band Coverage
: FM 87.5 – 108MHz
AM 520 – 1710KHz
Sylvania SKCR2613C (Eng) R • 17/3/2014 • AT
TROUBLESHOOTING
while
playing
use another disc
DO:
DO NOT:
Consult your local service technician if you are unable to find a solution
by following these hints.
Symptom
Possible Cause
Solution
Radio
Noise or
sound is
distorted on
AM or FM
broadcasts
Channel is not tuned
properly for AM or FM
Fine tune the AM or FM
broadcast station
FM: The FM antenna wire
is not aextended
Extend the FM antenna
fully
AM: The built-in ferrite
bar antenna is not
positioned correctly
Reposition/ rotate the unit
until the best reception is
obtained
The station signal is too
weak
Retune to another FM
station
No sound in
AM or FM
The unit is not in TUNER
mode
Slide the FUNCTION
switch to TUNER mode
Volume is at the minimum
position
Adjust the volume level
CD Player
CD player
does not
play
The unit is not in CD mode Slide the FUNCTION
button CD mode
CD is not placed or placed
incorrectly
Load disc with unlabelled
side facing downwards
CD skips
Disc is dirty or scratched Clean disc with cloth or