Casio EX-TR200 User Manual
Page 24
24
Quick Start Basics
The first time you turn on the camera, a screen appears for configuring the display
language, date, and time settings. Failure to set the date and time correctly will cause
the wrong date and time data to be recorded with images.
IMPORTANT!
• A screen for language selection will not appear in step 2 of the procedure below if
you purchased a camera intended for the Japanese market. To change the display
language from Japanese in this case, use the procedure under “Specifying the
Display Language (Language)” (page 98). Note that a version of this manual in the
language you select may not be included with a camera intended for the Japanese
market.
• Camera models sold in certain geographic areas may not support display language
selection.
1.
Press [p] (Power) to turn on the camera.
2.
Drag (page 17) upwards and downwards until you
find the language you want, and then touch to
select it.
3.
Touch the date display format you want.
Example: July 10, 2015
YY/MM/DD
*
15/7/10
DD/MM/YY
*
10/7/15
MM/DD/YY
*
7/10/15
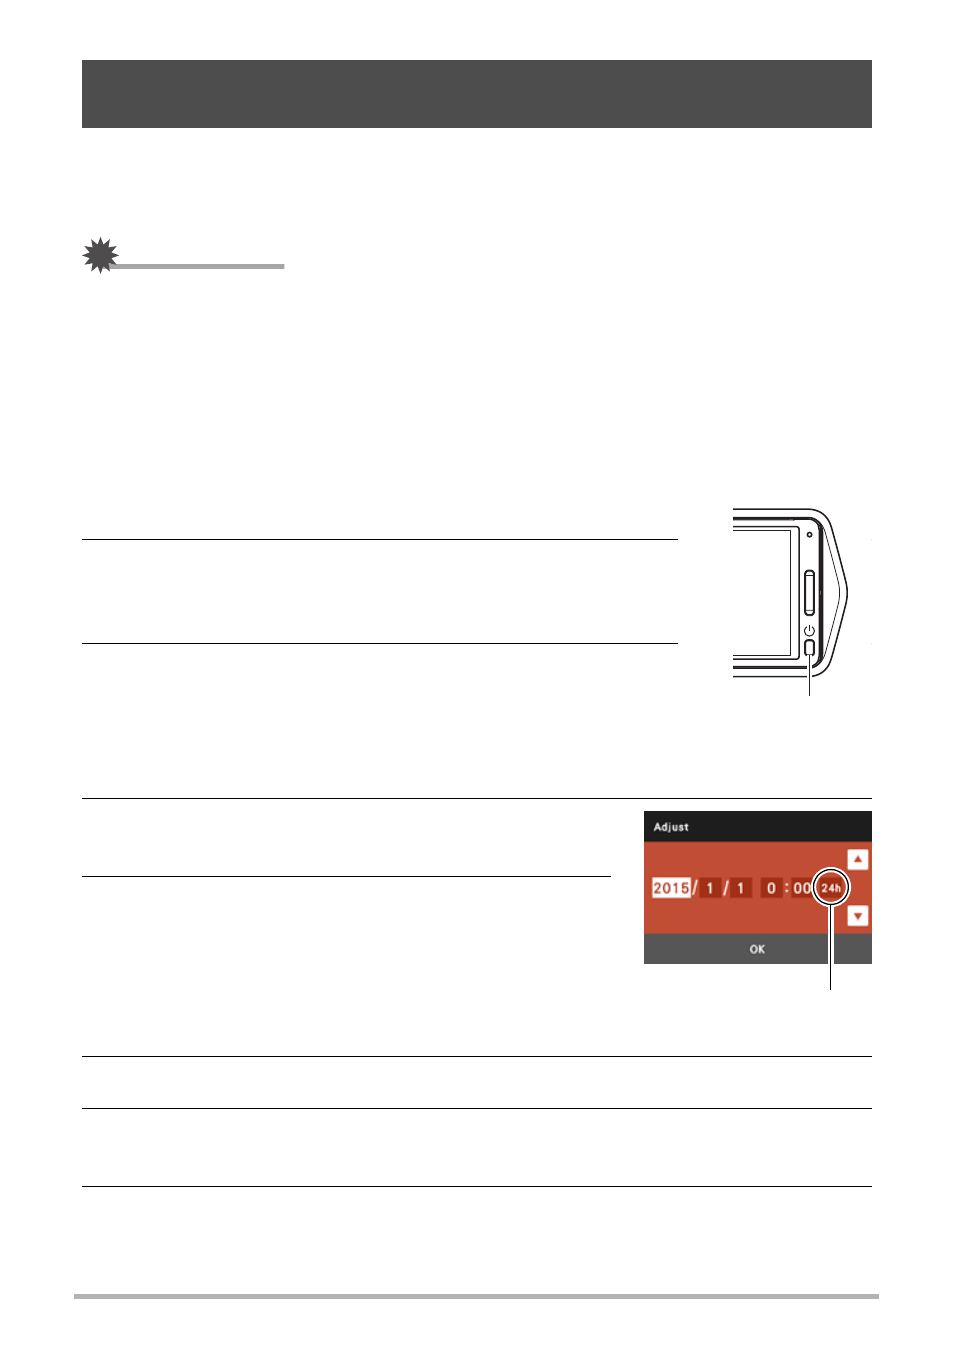
4.
Touch the value you want to change (year,
month, day, hour, minute).
5.
Touch “8” or “2” to change the currently
selected value.
• Touching and holding “8” or “2” will change the
setting at high speed.
• To switch between 12-hour and 24-hour format,
touch the 12/24 hour switch icon.
6.
When the date and time settings are the way you want, touch “OK”.
7.
Touch “Auto” or “Premium Auto” to select the default auto recording
mode you want.
8.
Touch “Apply”.
• You will be able to change this setting later, if you want. See page 29 for
details.
Configuring Basic Settings the First Time You Turn On the
Camera
[p] (Power)
12/24 hour switch icon