Unpacking and setting up, Operation, 1 mounting the appliance – Silvercrest SKT 2000 A1 User Manual
Page 51: 2 setting up the appliance, 2 setting the heating setting
SKT 2000 A1
49
5. Unpacking and setting up
5.1 Mounting the appliance
Before the appliance can be used, the feet 4
must be screwed on as follows:
1. Unpack the appliance from the
packaging.
2. Remove the transport packaging.
3. Check that the appliance shows no signs
of damage.
4. Screw the feet 4 to the underside of the
convector using the screws provided. 2
screws are inserted diagonally per foot.
5.2 Setting up the appliance
Note: As the appliance and heating
elements are supplied with a thin film of
grease, there might be a small amount of
smoke and odour the first time the appliance
is used. This is not harmful and will stop after
a short while. Please ensure meanwhile that
there is sufficient ventilation.
Warning! Ensure that there is
sufficient distance from the wall,
fixtures and other appliances. The
distance must be at least 0.5 m to
exclude the risk of fire.
1. Select a location in compliance with the
safety information (see “4. Safety
instructions” on page 46).
2. Plug the mains plug into a wall socket
that complies with the technical data.
Note: If you have plugged other power
consumers into the same circuit, check
that the maximum load for the installed
fuse is not exceeded, as otherwise the
fuse will trip.
6. Operation
6.1 Using the appliance for the first time
and switching off
1. Insert the mains plug into a mains socket
that complies with the technical data
(see “3. Technical data” on page 46).
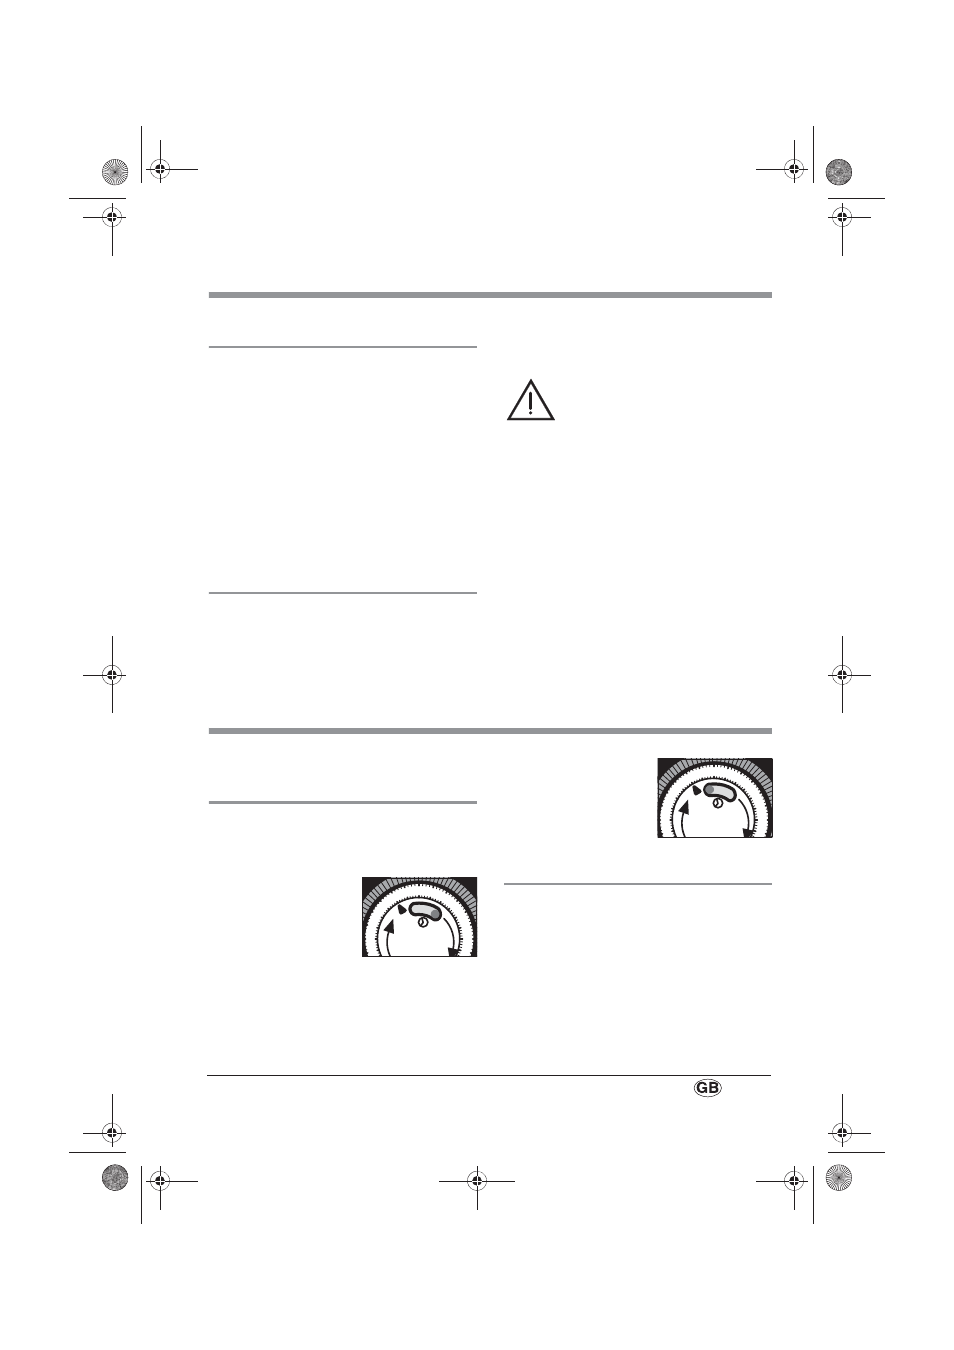
2. Set the main
switch 11 to "
I" to
switch on the power
supply.
The appliance is now ready to use.
3. Set the main
switch 11 to "
0" to
switch off the power
supply.
6.2 Setting the
heating setting
The heating settings are used to select how
quickly the appliance heats up.
The appliance has three heating settings:
– Level 1: 750 watts: Press switch 6;
– Level 2: 1250 watts: Press switch 5;
– Level 3: 2000 watts: Press switches 5
and 6.
1 24
23
22
2
1
2
0
1
9
18
8
7
6
5
4
3
2
0
I
1 24
23
22
2
1
2
0
1
9
1
8
8
7
6
5
4
3
2
0
I
RP77967 Konvektor-Timer LB1 Seite 49 Freitag, 20. Juli 2012 7:30 19