Front panel, Top panel front panel, Panel descriptions – Roland Direct Streaming AV Mixer User Manual
Page 3
3
Panel Descriptions
14
[F1]–[F4] knobs
Use these knobs to set the parameter values shown at the bottom
of the display.
15
[AUDIO REC] button
Shows the audio recording status.
Unlit
Stopped, no parameter shown at the bottom of
the display
Lit red
Recording
Blinking yellow
Error occurred during recording
Press the button (lit green) to show the parameters related to
audio recording at the bottom of the display.
[VIDEO REC] button
Shows the video recording status.
Unlit
Stopped, no parameter shown at the bottom of
the display
Lit red
Now recording video
Blinking yellow
Error occurred during recording video
Press the button (lit green) to show the parameters related to
video recording at the bottom of the display.
[STREAM] button
Shows the livestreaming status.
Unlit
Stopped, no parameter shown at the bottom of
the display
Lit red
Now livestreaming
Blinking yellow
Error occurred during livestreaming
Press the button (lit green) to show the parameters related to
livestreaming at the bottom of the display.
16
[REC/ON AIR] button
Parameters related to playing back/stopping either livestreaming
or audio/video recording are shown at the bottom of the display.
17
SCENE/VIDEO FUNCTION
[A]–[E] buttons
These buttons recall the registered screen configurations and
execute video-related functions.
You can also assign different functions to each button.
18
INPUT
[HDMI IN 1], [HDMI IN 2], [STILL 1], [STILL 2] buttons
You can also assign different functions to each button.
Lit red
Currently selected video (video now outputting)
Blinking red
Video is transitioning
Lit white
Video input is valid
Unlit
No video input
19
[KEY] button
Turns key composition on/off.
20
[AUTO SW/TAKE] button
Turns the auto switching function on/off.
When PGM Direct (the function that immediately sends the
selected video to final output) is on, the unit automatically
switches between the HDMI IN 1–2 video, STILL 1–2 still images
or scenes A–E that are registered in the SCENE/VIDEO FUNCTION
[A]–[E] buttons.
When PGM Direct is off, this button acts as the [TAKE] button to
switch between final output.
21
AUTO SW indicator
Lights up green at the video transition timing that’s controlled by
the auto-switching function.
Top Panel
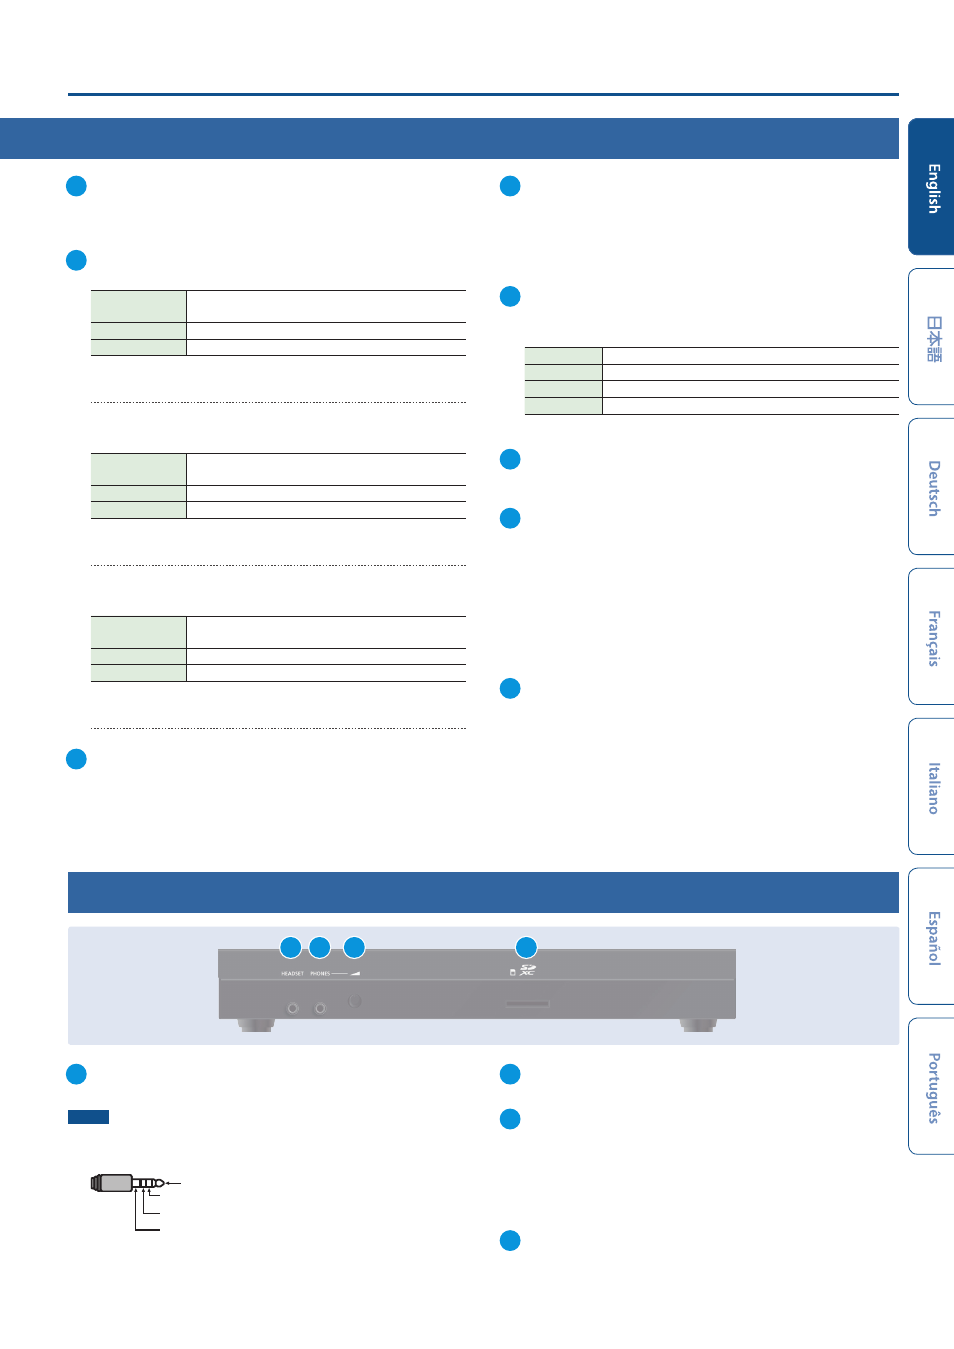
Front Panel
1
HEADSET jack
Connect your headset or headphones here.
NOTE
Use a headset with a 3.5 mm CTIA-type mini plug (4-pole).
* Pin arrangement for mini cable (4-pole)
L
R
GND
MIC
2
PHONES jack
Connect headphones.
3
[PHONES] knob
Adjusts the volume of audio coming through the headset or
headphones connected to the HEADSET or PHONES jack.
* The same audio signal is output from both the HEADSET and the
PHONES jack.
* You can’t adjust the volume for either jack independently.
4
SDXC card slot
Insert an SD card here.
2
4
1
3