Warning, Caution – Roland SE-02 Boutique Designer Series Analog Synthesizer User Manual
Page 2
Using Step Sequencer Mode
1.
Set the mode select switch to “SEQ.”
* To save the edited settings, perform the Pattern Write operation.
What is a step sequencer?
The step sequencer lets you input a note at each of up to 16 steps, and play back the notes as a loop. You can
change the number of steps between 1 and 16. Up to 128 patterns can be stored.
Step button [1]–[16]
In step sequencer mode, the [1]–[16] buttons are called “step buttons.”
Selecting/Playing Patterns
1.
Make the function select buttons ([NOTE]–[PERFORM]) all go dark.
2.
Use the [ ]–[ ] buttons to enter a pattern number (1–128), or use the [VALUE] knob to select a pattern
number.
The display shows the pattern number.
3.
Press the [
] button to play the pattern.
Each time you press the button, the pattern plays or stops. You can also select the next pattern while a
pattern is playing. When the current pattern finishes playing, the next pattern starts playing.
Entering Notes (NOTE)
1.
Press the [NOTE] button to make it light.
2.
While holding down the step button at which you want to enter a note, use the [VALUE] knob to select the
note number.
The display shows the note number.
• You can also select note numbers by holding down the step number and playing a key.
• If you want to enter the same note number at multiple steps, press the step buttons at which you want to
enter the note; then hold down the [NOTE] button and turn the [VALUE] knob.
• A lit step button indicates note-on, and an unlit step button indicates note-off.
Entering Gates (GATE)
1.
Press the [GATE] button to make it light.
2.
While holding down the step button at which you want to enter a gate, use the [VALUE] knob to select the
gate (10–100).
The display indicates the value.
• If you want to enter the same gate at all steps, press the step buttons at which you want to enter the gate;
then hold down the [GATE] button and turn the [VALUE] knob.
Glide Settings (GLIDE)
1.
Press the [GLIDE] button to make it light.
2.
Press the step buttons for which you want to apply a glide effect, making them light.
The pitch changes smoothly from each lit step to the next step.
Glide
Glide
Glide
(Example) When glide is applied to steps 2–5, 7–8, and 11–16
Entering Synth Parameter Values (PRM)
The values of synth parameters that you change using the knobs and switches (sections
2
8
–
) can be
stored in each step.
* Only one parameter value is saved in each step.
1.
Press the [PRM] button to make it light.
2.
While holding down the step button at which you want to enter a parameter value, operate the knob or
switch.
The display indicates the synth parameter value.
• If you press a step button while holding down the [PRM] button, the parameter values of the button you
pressed are erased.
• If you want to erase all of the parameter values, hold down the [PRM] button and turn the [VALUE] knob. The
display indicates “
OFF
,” and all values are erased.
• A lit step button indicates PRM on, and an unlit step button indicates PRM off.
Performance Settings (PERFORM)
1.
Press the [PERFORM] button to make it light.
2.
Press a step button to select a performance setting.
3.
If you pressed step button [8] or [14]–[16], use the [VALUE] knob to specify the value.
Button Parameter
Value
Explanation
[1]–[6]
SCALE
Specifies the note length (scale) of one step.
1/16 (Sixteenth note), 1/8 (Eighth note), 1/4 (Quarter note),
1/16T (Sixteenth-note triplet), 1/8T (Eighth-note triplet),
1/4T (Quarter-note triplet)
[8]
SHUFFLE
-50–50
Adjusts the timing of the notes for even-numbered steps.
[9]–[12] DIRECTION
Specifies how the step sequencer plays.
0
Play forward from the first step.
1
Play backward from the last step.
,
Play forward from the first step, and then play backward from the last
step.
RND
Play steps randomly.
[14]
FIRST STEP
1–16
Specifies the step that is played first.
[15]
LAST STEP
Specifies the step that is played last.
[16]
TEMPO
40–300
Specifies the pattern’s playback tempo when Sync (setup parameter)
is set to “
Int
.”
Setup Parameter Settings (SEQ SETUP)
1.
Press the [NOTE] button and [GATE] button to make them light.
2.
Use the [1]–[3] buttons to select a parameter, and use the [VALUE] knob to edit the parameter’s value.
The display indicates the value.
Button Parameter
Value/Explanation
[1]
Destination
Specifies the output destination of the step sequencer.
Int
: Internal,
: External device,
bot
: Both internal and external device
[2]
Sync
Specifies the clock to which the step sequencer is synchronized.
Int
: Internal,
Nid
: MIDI IN,
USb
: USB MIDI,
trg
: TRIGGER IN
[3]
Key Trigger
Specifies whether the step sequencer is controlled by key trigger.
OFF
: Not controlled,
On
: Controlled,
trn
: Controlled according to the transpose
setting.
3.
To save the edited settings, perform the Pattern Write operation.
Saving a Pattern (Pattern Write)
If you’ve edited the settings, your edits are lost when you turn off the power or select another pattern. If you
want to keep the changes that you made, perform the Write operation.
* The pattern is saved together with the selected sound (patch).
1.
Press the [VALUE] knob to access Write mode.
The current pattern number blinks.
2.
Use the [ ]–[ ] buttons to select the writing-destination pattern.
3.
Press the [VALUE] knob.
A confirmation message appears in the display.
If you decide to cancel, press the [EXIT] button.
4.
To save the settings, press the [VALUE] knob.
When the settings are saved, the writing-destination pattern is selected.
Using Song Mode
1.
Set the mode select switch to “SONG.”
* To save the edited settings, perform the Song Write operation.
What is a song?
A song consists of 1–16 (maximum) parts.
For each part, you can specify a pattern, the number of
times that the pattern is repeated, and the sound (patch)
used during playback.
Up to 16 songs can be stored.
Selecting/Playing Songs
1.
Make the function select buttons ([EDIT]–[DEL]) all go dark.
2.
Use the [1]–[16] buttons to select a song.
The button you press is lit.
3.
Press the [
] button to play the song.
Each time you press the button, the song plays or stops. You can also select the next song while a song is
playing. When the current song finishes playing, the next song starts playing.
Editing a Song (EDIT)
1.
Select the song that you want to edit.
2.
press the [EDIT] button.
The [EDIT] button and [PTN] button light.
Changing the pattern
3.
Use the [VALUE] knob to select the part whose pattern you want to change.
4.
Use the [ ]–[ ] buttons to enter a pattern number (1–128).
The display shows the pattern number.
• Press the
[
]
button to play/stop the song.
Changing the number of repetitions
5.
Press the [PTN] button to make it blink.
6.
Use the [VALUE] knob to select the part whose number of pattern repetitions you want to change.
7.
Use the [ ]–[ ] buttons to enter the number of repetitions (1–100).
The display indicates the number of repetitions.
• Press the
[
]
button to play/stop the song.
Changing the patch
8.
Press the [PATCH] button to make it light.
9.
Use the [VALUE] knob to select the part whose patch you want to change.
10.
Press one of the [A]–[C] or [USER] buttons to select a bank.
11.
Use the [ ]–[ ] buttons to enter a number (1–128).
The display shows the patch number.
• You can also press the [MANUAL] button and select the sound of manual mode.
Insert/Delete a part
• Pressing the [INS] button inserts a blank part at the currently selected part. (A part cannot be inserted if 16
parts are already being used.)
• Pressing the [DEL] button deletes the currently selected part; subsequent parts are adjusted forward.
12.
As necessary, press the [PTN] button to return to step 3, and repeat steps 3–11.
13.
To save the settings that you’ve edited, execute the Song Write operation.
Setup Parameter Settings (SONG SETUP)
1.
Press the [EDIT] button and [PTN] button to make them light.
2.
Use the [1]–[4] buttons to select a parameter, and use the [VALUE] knob to edit the parameter’s value.
The display indicates the value.
Button Parameter
Value/Explanation
[1]
Destination
Specifies the output destination of the song.
Int
: Internal,
: External device,
bot
: Both internal and external device
[2]
Sync
Specifies the clock to which the song is synchronized.
Int
: Internal,
Nid
: MIDI IN,
USb
: USB MIDI,
trg
: TRIGGER IN
[3]
Tempo
Specifies the song’s playback tempo when Sync is set to “
Int
.”
40–300
[4]
Key Trigger
Specifies whether the song is controlled by key trigger.
OFF
: Not controlled,
On
: Controlled,
trn
: Controlled by key trigger or note number
* This works only when using the K-25m.
3.
To save the edited settings, perform the Song Write operation.
Saving a Song (Song Write)
If you’ve edited the settings, your edits are lost when you turn off the power or select another song. If you
want to keep the changes that you made, perform the Write operation.
1.
Press the [VALUE] knob to access Write mode.
The current song number blinks.
2.
Use the [1]–[16] buttons to select the writing-destination song.
3.
Press the [VALUE] knob.
A confirmation message appears in the display.
If you decide to cancel, press the [EXIT] button.
4.
To save the settings, press the [VALUE] knob.
When the settings are saved, the writing-destination song is selected.
System Settings (System Setup)
1.
While holding down the [EXIT] button, turn on the power.
The [16] button blinks.
2.
Use the following buttons to select a parameter, and use the [VALUE] knob to specify the value.
The display indicates the value.
3.
Press the [VALUE] knob to save the setting.
Button Parameter
Value (Bold: default) Explanation
[1]
MIDI Ch
OFF
,
C 1
–
16
,
ONn
Specifies the MIDI transmit/receive channel. If this is set
to “
ONn
,” MIDI messages are received regardless of their
channel (messages are transmitted on channel 1).
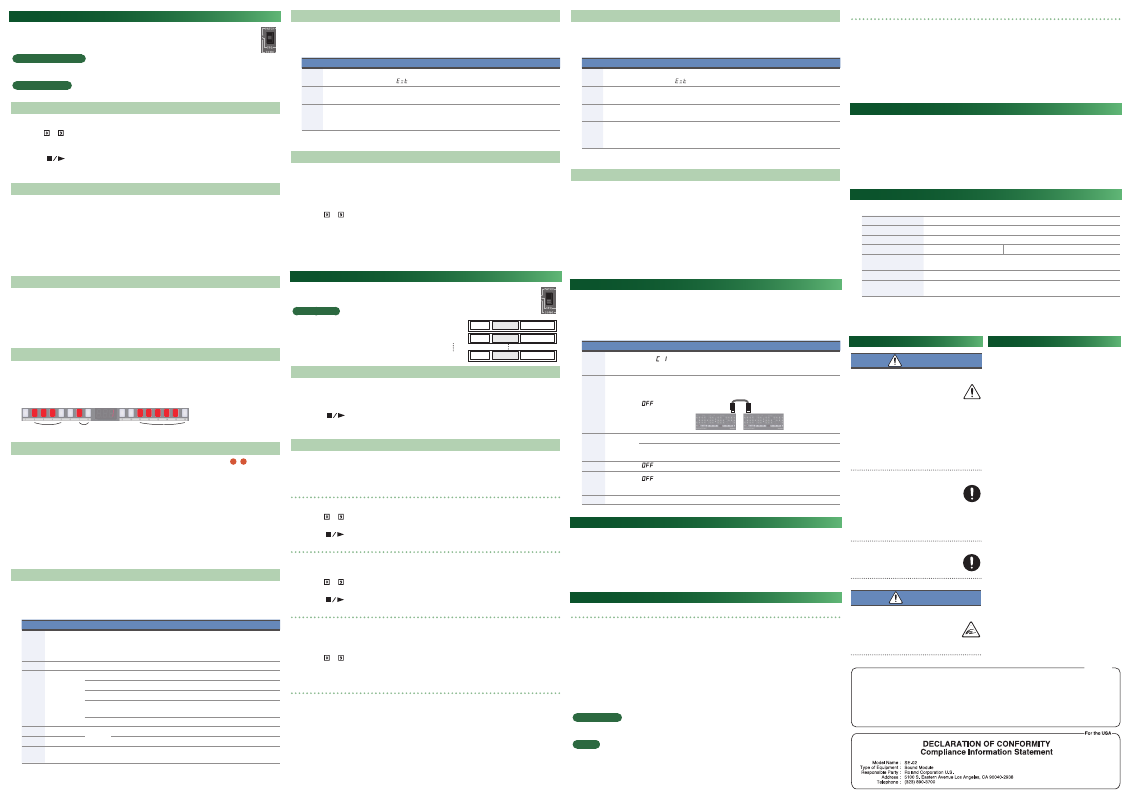
[2]
Chain
OFF
,
On
Although the SE-02 is monophonic, you can increase the
polyphony by using a MIDI cable to connect two or more
SE-02 units and turning Chain mode on.
MIDI IN
MIDI OUT
[3]
Auto Off
OFF
The power does not turn off automatically.
30, 240 (min)
The power turns off when the specified time elapses.
* Auto Off does not occur while USB-connected.
[4]
Saver Time
OFF
, 1, 3, 10 (min)
Specifies the time until the LED DEMO is shown.
[5]
CC Out
OFF
,
USb
,
Nid
,
U-N
Selects the output destination for control changes.
OFF
: No output,
Usb
: Output only to USB,
Nid
: Output only to MIDI,
U-N
: Output to USB and MIDI
[16]
Version
–
Indicates the current version.
Returning to the Factory Settings (Factory Reset)
Here’s how to return the SE-02 to its factory-set state.
1.
While holding down the [1] button, turn on the power.
The display indicates “
rst
.”
If you decide to cancel the factory reset, turn off the power.
2.
Press the [MANUAL] button to execute the factory reset.
3.
When the display indicates “
Fin
,” turn the SE-02’s power off and on again.
Data Backup/Restore
Backup
1.
While holding down the [2] button, turn on the power.
All buttons blink green.
2.
Connect your computer to the SE-02’s USB port via USB cable.
All buttons are lit green/orange. After a time, all buttons are lit green, and a drive named “SE-02” appears on
your computer.
3.
Open the “SE-02” drive on your computer.
The backup files are located in the “PATCH,” “PATTERN,” and “SONG” folders of the “SE-02” drive.
4.
Copy the backup files into your computer.
5.
When copying is completed, eject the USB drive on your computer, and disconnect the USB cable.
When all buttons blink green, turn off the power.
Windows 10/8/7
Using the method that’s appropriate for your computer’s operating system, execute the operation to “Eject
SE-02.”
Mac OS
Drag the “SE-02” icon to the Trash icon in the Dock.
6.
Turn the SE-02 power off.
Restore
1.
While holding down the [3] button, turn on the power.
All buttons blink orange.
2.
Connect your computer to the SE-02’s USB port via USB cable.
All buttons are lit orange, and a drive named “SE-02” appears on your computer.
3.
Copy the backup files into the “PATCH,” “PATTERN,” and “SONG” folders of the “SE-02” drive.
4.
When copying is completed, eject the USB drive on your computer, and disconnect the USB cable.
All buttons are lit orange/red.
5.
When all buttons blink orange, turn off the power.
Automatic Tuning Function (PITCH CALIBRATION)
As you use the SE-02, the pitch might drift due to the passage of time or changes in temperature.
In such cases, you can use the automatic tuning function to correct the pitch.
1.
Set the mode select switch to “PATCH.”
2.
Hold down the [TRANSPOSE] button and press the [VALUE] knob.
The display indicates “Start tuning ?”
* If you decide to cancel, press the [EXIT] button.
3.
To execute automatic tuning, press the [VALUE] knob.
Main Specifications
Roland SE-02: Sound Module
Polyphony
1 voice
Power Supply
AC adaptor
Current Draw
2 A
Dimensions
300 (W) x 128 (D) x 46 (H) mm
11-13/16 (W) x 5-1/16 (D) x 1-13/16 (H) inches
Weight
(excluding AC adaptor)
950 g / 2 lbs 2 oz
Accessories
AC adaptor, Owner’s manual, Leaflet “USING THE UNIT SAFELY”
Options
(sold separately)
Keyboard Unit: K-25m
Boutique Dock: DK-01
* This document explains the specifications of the product at the time that the document was issued. For the
latest information, refer to the Roland website.
Patch
x repetitions
Pattern
Part 1
Part 2
Part 16
Patch
x repetitions
Pattern
Patch
x repetitions
Pattern
IMPORTANT: THE WIRES IN THIS MAINS LEAD ARE COLOURED IN ACCORDANCE WITH THE FOLLOWING CODE.
BLUE:
BROWN:
As the colours of the wires in the mains lead of this apparatus may not correspond with the coloured markings identifying
the terminals in your plug, proceed as follows:
The wire which is coloured BLUE must be connected to the terminal which is marked with the letter N or coloured BLACK.
The wire which is coloured BROWN must be connected to the terminal which is marked with the letter L or coloured RED.
Under no circumstances must either of the above wires be connected to the earth terminal of a three pin plug.
NEUTRAL
LIVE
For the U.K.
WARNING
Concerning the Auto Off function
The power to this unit will be turned
0ff automatically after a predetermined
amount of time has passed since it was last
used for playing music, or its buttons or
controls were operated (Auto Off function). If you do
not want the power to be turned off automatically,
disengage the Auto Off function.
• Any settings that you are in the process of editing
will be lost when the power is turned off. If you
have any settings that you want to keep, you
should save them beforehand.
• To restore power, turn the power on again.
Use only the supplied AC adaptor and the
correct voltage
Be sure to use only the AC adaptor supplied
with the unit. Also, make sure the line
voltage at the installation matches the input
voltage specified on the AC adaptor’s body. Other AC
adaptors may use a different polarity, or be designed
for a different voltage, so their use could result in
damage, malfunction, or electric shock.
Use only the supplied power cord
Use only the attached power cord. Also, the
supplied power cord must not be used with
any other device.
CAUTION
Take care so as not to get fingers pinched
When handling the sound module while
adjusting its angle or during installation,
take care so as not to get fingers, etc.,
pinched. An adult should always be in
charge of handling these items.
USING THE UNIT SAFELY
IMPORTANT NOTES
Placement
• Depending on the material and temperature of the
surface on which you place the unit, its rubber feet
may discolor or mar the surface.
Repairs and Data
• Before sending the unit away for repairs, be sure to
make a backup of the data stored within it; or you
may prefer to write down the needed information.
Although we will do our utmost to preserve the data
stored in your unit when we carry out repairs, in some
cases, such as when the memory section is physically
damaged, restoration of the stored content may be
impossible. Roland assumes no liability concerning the
restoration of any stored content that has been lost.
Additional Precautions
• Any data stored within the unit can be lost as the
result of equipment failure, incorrect operation,
etc. To protect yourself against the irretrievable
loss of data, try to make a habit of creating regular
backups of the data you’ve stored in the unit.
• Roland assumes no liability concerning the
restoration of any stored content that has been lost.
• Do not use connection cables that contain a built-in
resistor.
Intellectual Property Right
• It is forbidden by law to make an audio recording,
video recording, copy or revision of a third party’s
copyrighted work (musical work, video work, broadcast,
live performance, or other work), whether in whole or
in part, and distribute, sell, lease, perform or broadcast
it without the permission of the copyright owner.
• Do not use this product for purposes that could
infringe on a copyright held by a third party. We
assume no responsibility whatsoever with regard to
any infringements of third-party copyrights arising
through your use of this product.
• Roland is an either registered trademark or
trademark of Roland Corporation in the United
States and/or other countries.
• Company names and product names appearing
in this document are registered trademarks or
trademarks of their respective owners.