Poison Spyder DOOR SKINS User Manual
Installation instruc tio ns, Door skins install instructions
©2010 POISON SPYDER CUSTOMS, INC. • 951-849-5911 • WWW.POISONSPYDER.COM
INSTALLATION INSTRUC
TIO
NS
DOOR SKINS INSTALL INSTRUCTIONS
Thank you for purchasing a Poison Spyder Door
Skins for your Jeep. Door Skins install onto the
frames of Bestop® half doors for ‘76 to ‘06 CJ-
7, CJ-8, TJ, YJ and LJ Unlimited. Installation
is fairly simple with the right tools and good
mechanical abilities. If you are not confident in
your mechanical skills, please seek the help of a
professional to perform the installation. Please
read through these entire instructions before
proceeding with installation.
PARTS LIST
Please check your packages immediately upon
arrival to ensure that everything listed is included,
and to check for damage during shipping. If
anything is missing or damaged, call Poison
Spyder at (951) 849-5911 as soon as possible.
(1) Poison Spyder Door Skin Left
(1) Poison Spyder Door Skin Right
TOOLS NEEDED
• Utility knife
• 3/8 end wrench
• Phillips head screwdriver
• Sander or sandpaper
• Welder
• Primer & Paint
INSTALLATION PROCEDURE
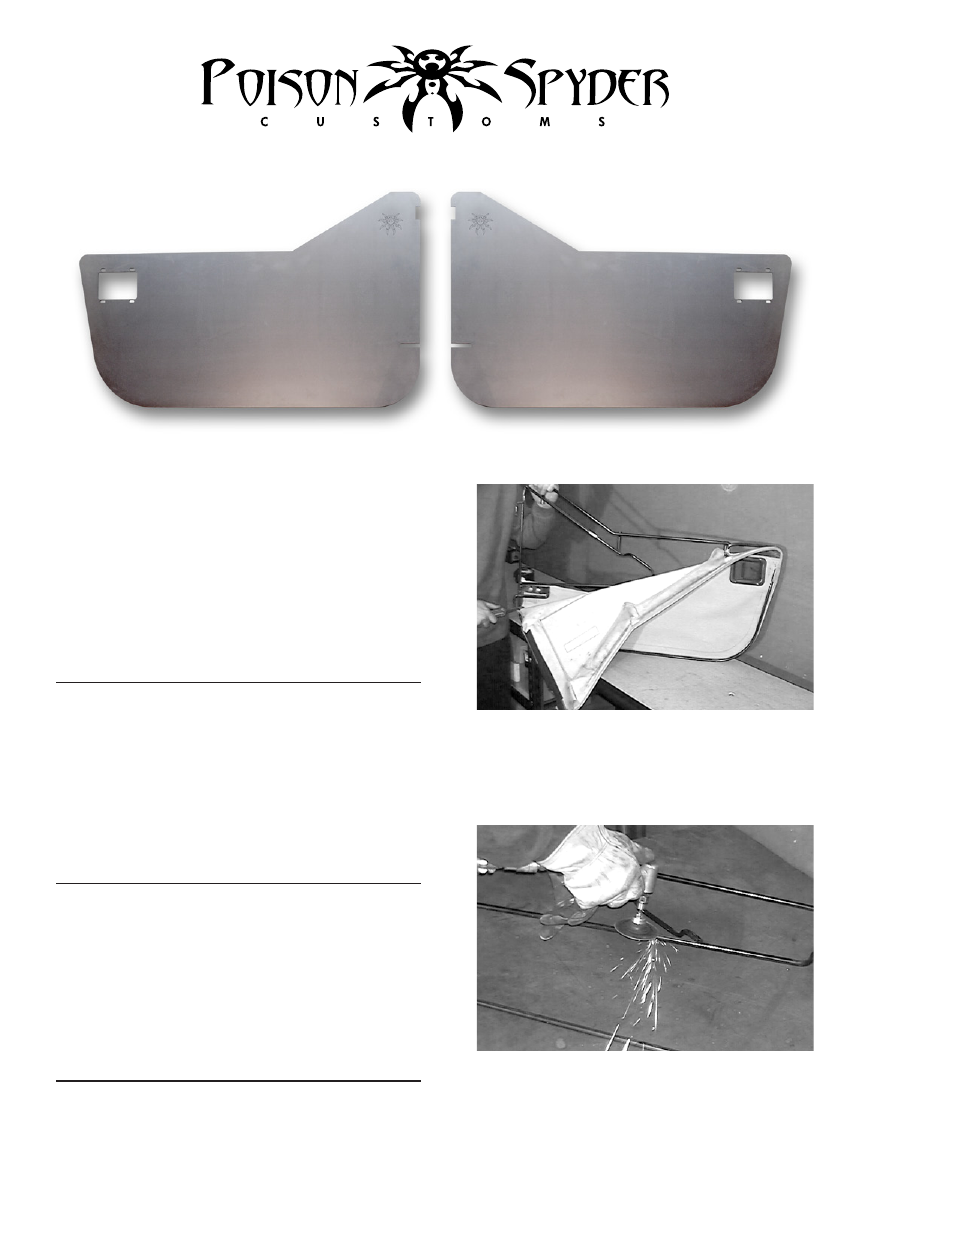
1. Remove the half door from the vehicle,
if needed. Use a 3/8 wrench and Phillips
screwdriver to remove the latch mechanism.
Use a utility knife to remove the cloth material
from the frame.
FIGURE 1
2. Use a sander, grinder or sandpaper to
remove paint from the steel door frame in
each spot where the Door Skin will be welded
to it.
FIGURE 1
3. Clamp the Door Skin to the frame and weld
the skin to the frame in several spots. The
quantity and placement of welds is left up to