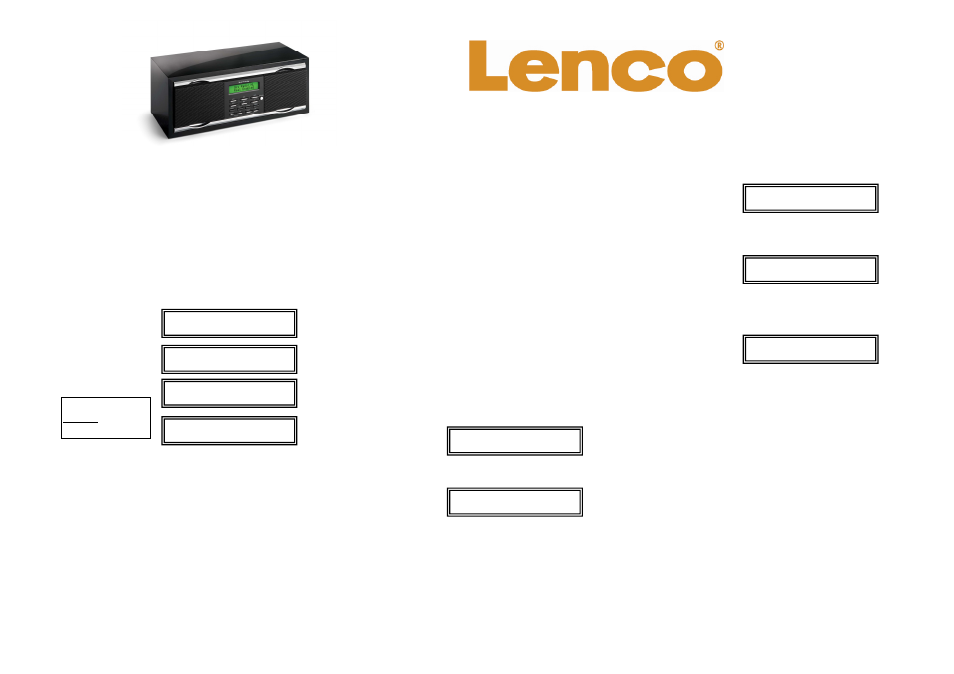
Lenco IR-2100 User Manual
Quick-guide ir-2100
You can now choose to listen to FM radio or to configure the
network. If you choose to listen to FM radio press the
“mode” button to switch to FM mode (also see FM Radio).
If you choose to configure the network, then proceed as
follows:
1
press tuning “Up”/ “Down” to select “Configure”,
press “select”
2
press tuning “Up”/ “Down” to select “Network Config”,
press “select”
3
press tuning “Up” / “Down” to select “Wired/Wireless”,
then press “select”
Please refer to the manual for a more detailed explanation
about the internet radio’s functions and features.
4
press tuning “Up” / “Down” to select “Auto”, “Wired
Only” or “Wireless Only”. If you only use Wired or
Wireless(Wi-Fi) you can select “Auto” (default), if you
have both connected then you should select the
connection you want to use.
When you have a wired connection then the installation is
finished, if you have a wireless connection (Wi-Fi) then
proceed as follows:
1
press tuning ‘Up” / “Down” to select “Wireless Only”,
then press “select”
NOTE: We select “Wireless Only” here because we want to
make sure the device will search for an access point. Once
everything is configured you can choose to set back the
system connection to “auto”.
2
press tuning “Up”/ “Down” to select “Scan for
network”, then press” select”, the device will search
for the available access point.
3
once an access point is found press “select”
4
when the network needs no WEP or WPA code, the
display will show as follows:
FM Radio
1
press “Mode” to switch to FM mode
2
press tuning “Up”/ “Down” for 2 seconds to auto search
for a different radio station, press “Up”/ “Down” shortly
to search manually in 50KHz steps
NOTE:
Selected option is
displayed with
<
....
>
5
if the network needs a WEP or WPA code, then the
device enters the code entry mode after three seconds:
Network OK
6
press tuning “Up”/ “Down” to select each character of
the code, press “select” to confirm the character.
NOTE: WEP and WPA codes are case sensitive to upper
and lower case characters.
7
after the final character, press tuning “Up”/ “Down” to
select “END”, press “select” to confirm
8
the device will now try to connect to the network:
9
after the connection is established and the code/key is
approved, the display will show as follows:
Network OK
Internet Radio
1
press “Mode” to switch to Internet radio mode
2
the device will connect to the network and show the
following screen:
3
press tuning “Up”/ “Down” to select “Stations”,
press “select”
4
press tuning “Up”/ “Down” to select “Location” or
“Genre”, press “select”
5
press tuning “Up”/ “Down” to select a specific location
or a specific genre, press “select” to confirm your item
of choice, the display will now show the number of
stations that are loading.
6
press tuning “Up”/ “Down” to select the station of your
choice, press select, the station will be loaded
7
after a station is loaded, press tuning “Up”/ “Down” to
select another station from the same station list
<
Stations
>
Configure
Preparation / installation:
Connect the AC Cord into the socket on the back.
For FM mode, extent the antenna
Connect an ethernet-RJ45-network-cable into the RJ45
socket on the back of the unit if you use Wired Ethernet.
Make sure this cable is also connected to the network that
provides the internet connection.
During the first startup, the display will show the following
screens:
QUICK-GUIDE
IR-2100
Reciva Enabled
ARM Powered
Initializing
Network
Connecting to
Network
<
Stations
>
Configure
<END<> A BCDE>
-
Connecting to
Network