頁面 6 – Lenco MCi-210 User Manual
Page 6
USB & SD/MMC CARD MP3 PLAYBACK
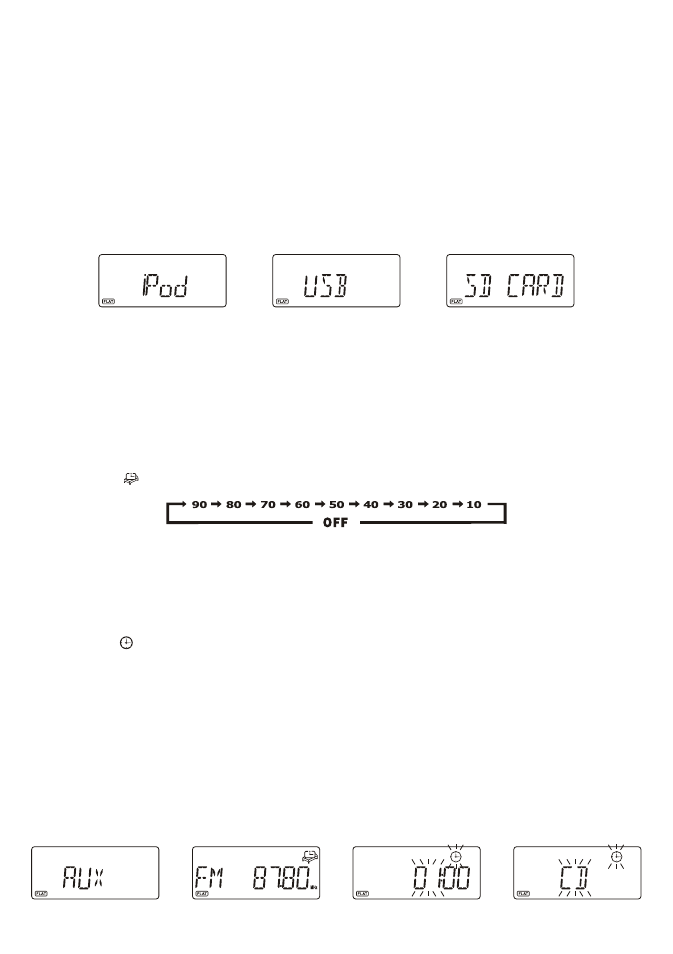
1. To select USB or SD/MMC function, repeatedly touch on the AUX/USB/SD touch pad until the display
shows “USB” or “SD CARD”. (F. 17) (F. 18)
2.
Insert your USB device to the USB port or your SD/MMC card to the memory card slot.
3.
The display will first show “READING” and then the total number of folders and tracks.
4.
To start playback from the first folder and track, touch on the ►/ II touch pad. The display will show the
folder/track no., the time and the ID3 tag if available.
5.
To interrupt playback, touch on the ►/ II, the elapsed time in the display will flash.
6.
To resume playback, touch on the ►/ II again.
7.
To play the next file/track, touch on the ►►I once.
8.
To play the current playing file/track again from the beginning, touch on the I◄◄ once.
9.
To play the previous file/track, touch on the I◄◄ twice.
10.
To select different folder in the device, press the PS/FOL/MENU +/- buttons on the remote.
11.
To stop playback, touch on the ■ touch pad.
NOTE: Due to hardware and software compatibility, some kinds of “Dual Voltage-MMC” card or “MMC-Plus” card
might not be supported.
AUX INPUT
The AUX IN RCA jacks are located at the back of the unit, analogue audio sound signals from other sources can
be input to the system through these jacks.
1. Use a cable with RCA jacks to connect the input to other analogue audio source.
2.
To select the AUX input function, repeatedly touch on the AUX/USB/SD touch pad until the display shows
“AUX”. (F. 19)
3.
Adjust the volume control for your desired sound output level.
SLEEP FUNCTION (remote control only)
This function allows you to program the system to switch off itself after a set period of time. You can set your
sleep time in power on mode:
1. To activate the sleep function, press the SLEEP button on the remote, the display will show the flash sleep
timer icon “ ” and “90”.
2.
Repeatedly press the SLEEP button to select the sleep time, it will change in sequence on every press:
3.
When the display shows your desired sleep time, release the button, the sleep timer is now activated. The
sleep icon in the display will become stable. When the sleep time counts to zero, the unit will go off. (F.20)
4.
To cancel sleep, press the SLEEP button once again, the display will show “SLP OFF” and the sleep icon
will disappear.
TIMER FUNCTION (remote control only)
This function allows you to switch on and off the system at your desired time and mode:
1. Press the TIMER button on the remote control to toggle the timer function between on and off. The display
will show “ ” to indicate timer function on.
2. To set the on timer clock, press and hold the TIMER button on the remote control until the display shows “ON
TIME”, the on timer clock will be displayed and the “hour” digit of the timer clock will flash.(F.21)
3. Press the I◄◄ or ►►I button to set to the desired hour, then press the TIMER button to confirm, first set
the hour and finally the minute, the on timer clock is set.
4. Then you will enter into the off timer clock setting, the display will show “OFF TIME”, the off timer clock will
be displayed and the “hour” digit will flash. Press the I◄◄ or ►►I button to set to the desired hour, then
press the TIMER button to confirm, first set the hour and finally the minute, the off timer clock is set.
5. Finally you will enter into the timer on mode setting, press the I◄◄ or ►►I button to select the timer on
mode- iPod, CD, TUNER, AUX, USB or SD CARD, then press the TIMER button to confirm. The timer
setting is now completed.(F.22)
6. The on and off timer settings will be displayed in the first few seconds every time while the timer function is
set to on.
NOTE: In the 12-Hour clock display format, the segment on left side of the hour digit will light up to represent AM
or PM - the upper one is for AM and the lower one is for the PM.
UK-5
F.16
F.18
F.17
F.19
F.20
F.21
F.22