Altera Nios II User Manual
Page 13
Altera Corporation
1–5
May 2007
Nios II Development Kit Getting Started User Guide
Getting Started
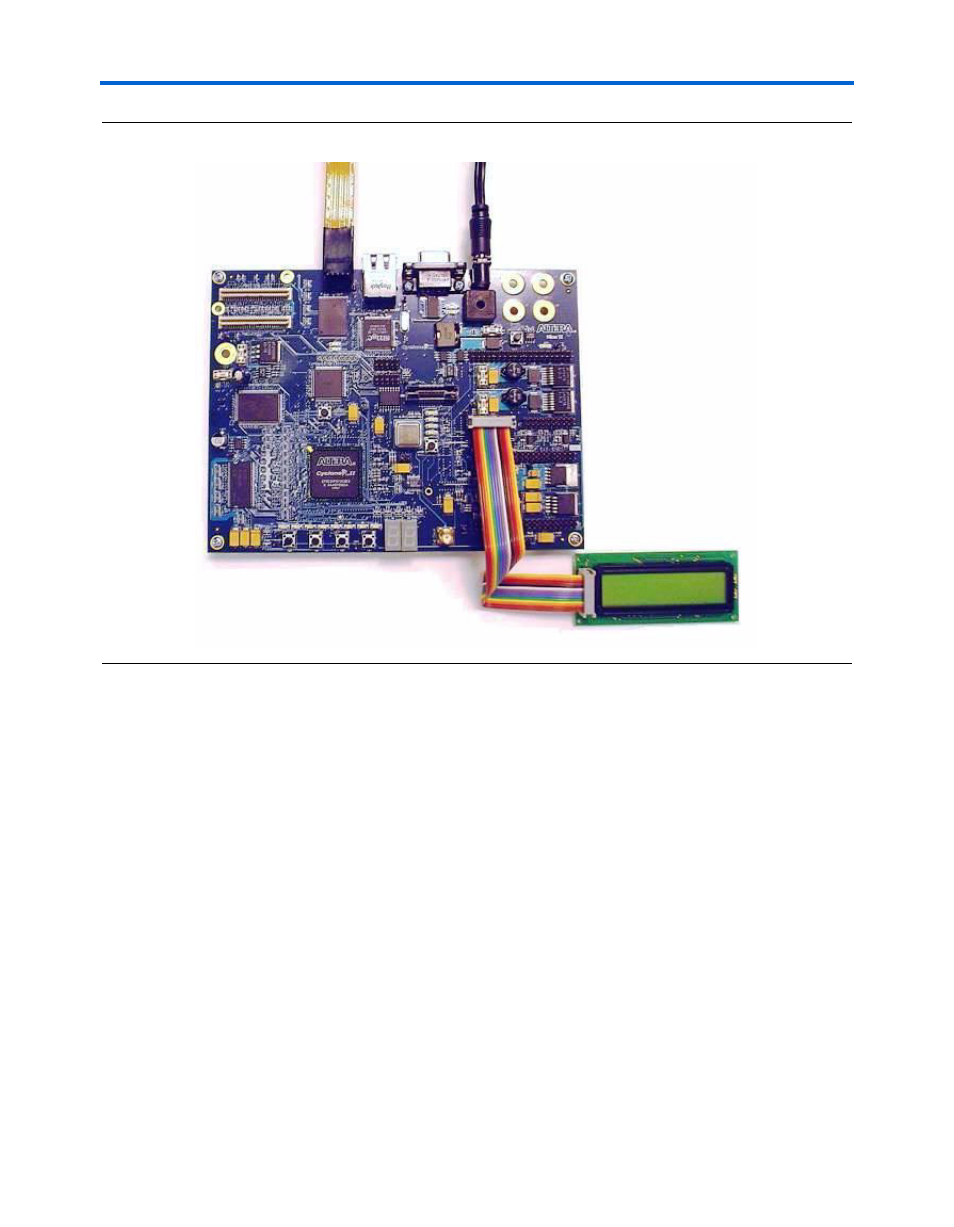
Figure 1–1. Nios Development Board with Power, LCD,& USB-Blaster Connections
To set up the Nios development board, perform the following steps:
1.
Remove the Nios development board from its anti-static shipping
bag. Take care not to expose the board to electrostatic discharge
(ESD) during setup or use.
2.
Place the board legs-down on a flat surface. Orient the board as
shown in Figure 1-1 with the dual 7-segment LEDs (U8 and U9)
closest to you.
3.
Connect the LCD module ribbon cable to connector J12, as shown in
.
1
Be sure to connect pin 1 on the LCD module to pin 1 of J12
by aligning the triangular marks on the ribbon cable header
with the locations of pin 1 on the LCD module and the J12
header. Pin 1 of the J12 header is labeled on the printed
circuit board.