Using forensic rtx411-qj, 1 installing a host bus adapter (hba), 2 installing hard drives – CRU Forensic RTX User Manual
Page 4
WiebeTech
Forensic RTX411-QJ User Manual (A9-411-0001 REV 1.0)
- 4 -
2. Using Forensic RTX411-QJ
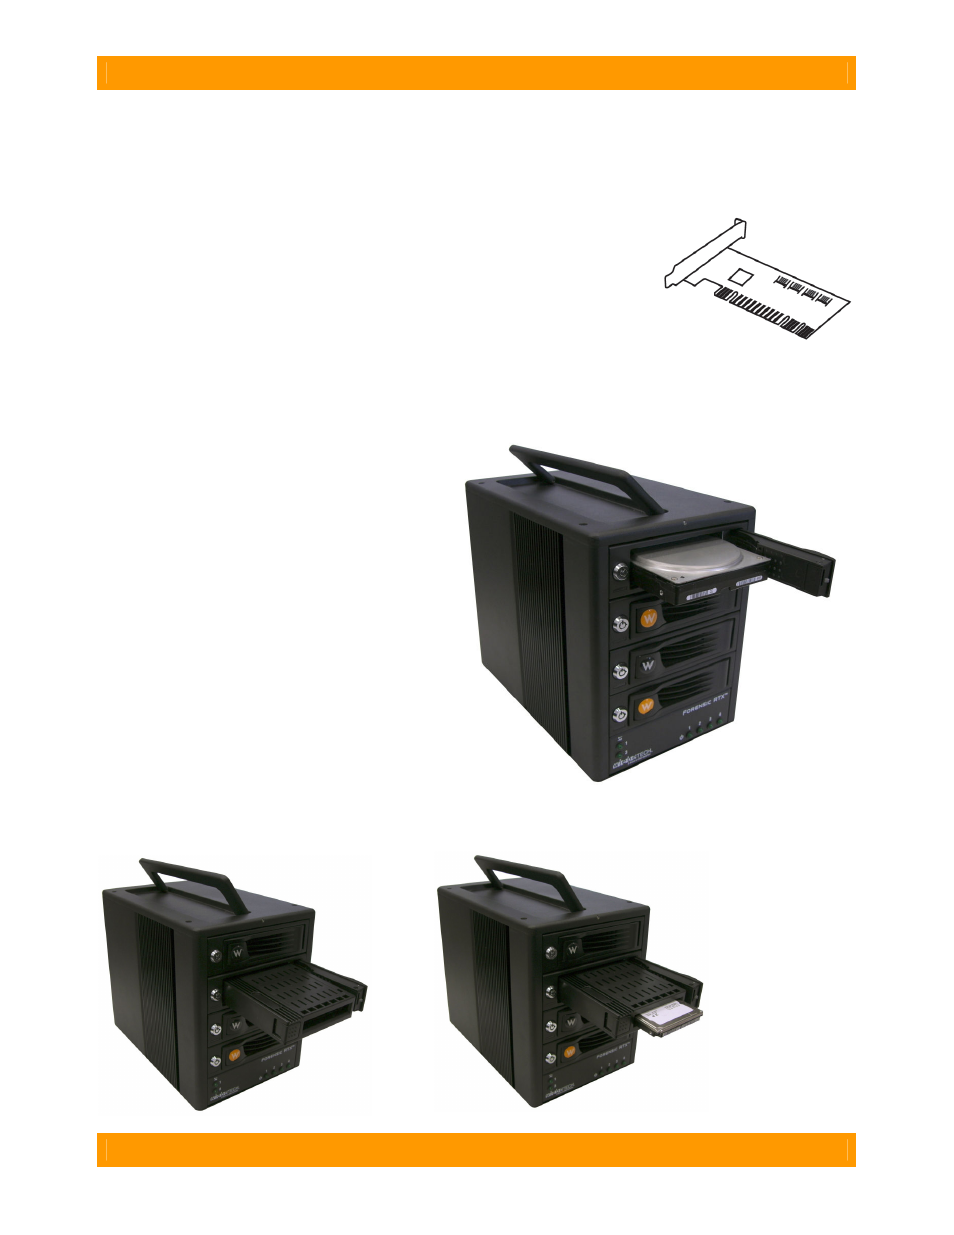
2.1 Installing a Host Bus Adapter (HBA)
(Optional) Install a host bus adapter (HBA) with FireWire 800 or eSATA ports
into an empty expansion slot inside your computer. If your computer already
has available FireWire or eSATA ports, or if you would rather use USB, you
can skip this step. Compatible cards are available from WiebeTech
(www.wiebetech.com). The following general steps will work for most cards.
Instructions for individual cards may vary, so consult your card’s user
manual.
a) Power down the computer system.
b) Insert the PCI card into an available PCI slot. Do not force it, but it will take firm pressure to fully
seat the interface. It may help to gently rock the card back and forth as you apply pressure.
c) Once the card is fully seated in the slot, secure it in place with a screw.
d) Turn the computer back on.
2.2 Installing Hard Drives
2.2.1 SATA HDD: 3.5-inch
For SATA drives simply pull on the ejection
handle and open the door. Then just slide in
your SATA drive and shut the door behind it.
The drive slides in with the label up and the
SATA connection on the drive is the side that
slides in first. For extra security for your hard
drive you can lock the bay, but make sure to
unlock it before pulling on the ejection handle
again.
2.2.2 SATA HDD: 2.5-inch
Open up one of the SATA bays.
Slide the 3.5-inch to 2.5-inch converter
in with the SATA connection towards the
back and the black grilled top facing up.
Place the 2.5-
inch SATA HDD
into the drive slot
located on the
front of the 3.5-
inch to 2.5-inch
converter.