Installation, Mounting – DynaScan 32″ 2500 nit Professional High Brightness LCD DS321LR4 User Manual
Page 10
DS321LR4 User Manual 9
Installation
The LCD must be properly installed using a wall mount. Incorrect installation may cause injury or damage the
equipment. Product warranty does not cover damages caused by improper installation and DynaScan shall not be
held responsible in such incident.
Mounting
Hanging the Professional LCD from the ceiling or mounting it on the wall is the responsibility of the user. Not all
ceilings or walls provide enough strength to support the LCD. The LCD may drop and cause serious injury if it
is hanging from the ceiling with insufficient support or is mounted on a slanted wall. Product warranty does not
cover improper installation, modification, or damages caused by natural disasters. DynaScan recommends
hiring certified professionals to evaluate the installation site and mounting operation.
Do not to cover the vent and/or the heat sink in order to ensure proper heat dissipation.
Refer to the installation guide provided by manufacturer of the mount for proper installation.
When mounting on a wall or hanging from a ceiling
A wall mount is not included in the accessory. Please purchase a VESA Standard wall mount to secure the
LCD. DynaScan is not responsible for damages caused by using non-standard wall mounts.
Verify that the mounting location can support the weight of the LCD before installation.
The installation angle must be within 15 degrees of the vertical axis.
Do not install the wall mount while the power is turned on as it may cause serious injury from electrical shock.
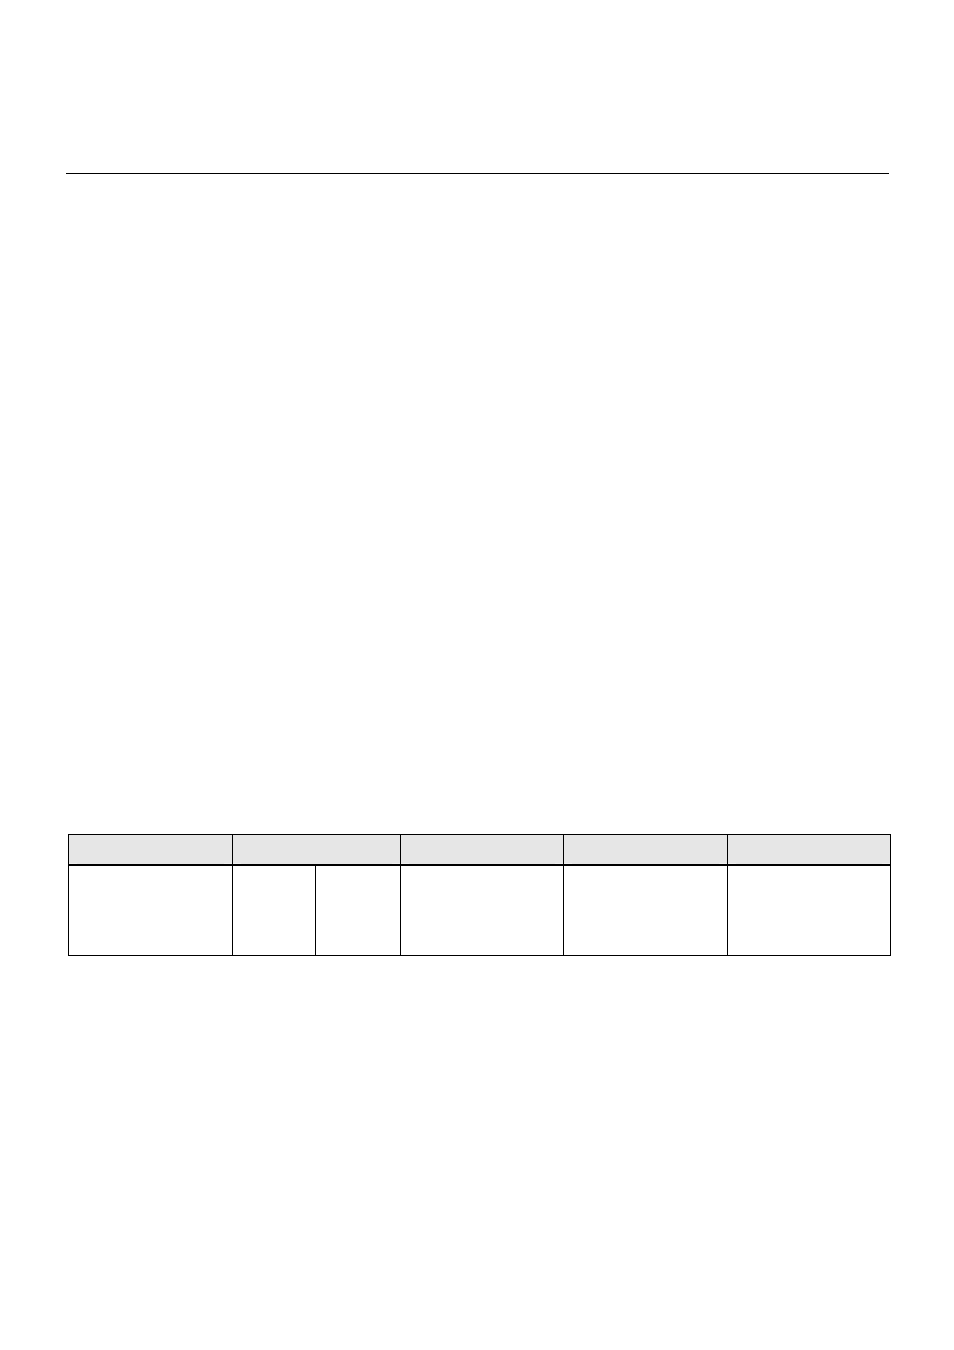
Model Number
VESA (mm)
Screw specification
Screw Length
Number
DS321LR4
(A * B)
200 * 200
M6
Greater than 10mm
(not including wall
mount thickness)
4