Vectronics VEC-1012K User Manual
Page 20
VEC-1012K Owner’s Manual
20
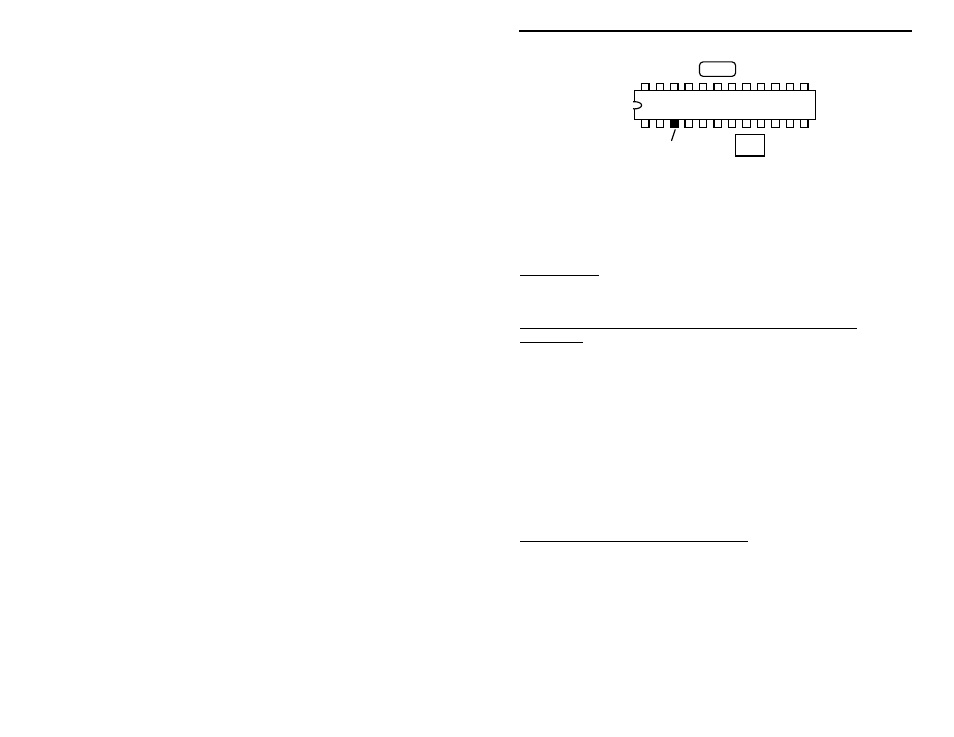
FL1
FL2
U1, MC13135
3
Test Point
Connect Counter Here
1. Connect the frequency-counter ground lead to a ground point (case or PC
board).
2. Set the TUNE to 154 MHz (fully counter-clockwise) and apply power.
3. Touch counter probe to pin-3 and adjust L4 for a counter reading of 143.3
MHz.
Important Note: Some counters may "load down" the oscillator circuit slightly,
causing a small change in operating frequency when the counter probe is
removed.
Option 3: Calibrating with a Scanner or 2-Meter Amateur Radio
Transceiver.
With this method, you use a scanner or 2-meter FM ham transceiver to pick up
your receiver's tuning oscillator. The oscillator operates exactly 10.7 MHz
below the actual receive frequency--which happens to land near the 2-meter ham
band. Unlike the counter method, this approach does not load down the
oscillator circuit and provides more accurate alignment. Install a short antenna
on your scanner or 2-M radio to pick up the oscillator signal.
1. Tune your scanner or 2-M radio to 143.3 MHz and position it near the kit.
2. Set TUNE to 154 MHz (fully counter-clockwise) and apply power.
3. Slowly adjust L4 until the oscillator signal is heard on the scanner at 143.3
MHz.
Option 4: Calibrating with an Off-Air Signal.
If no other option is available, you may calibrate L3 using the signal generated
by a local police or public-service base station. To do this, you must know the
station's operating frequency (a scanning directory should provide that
information). Also, the transmitting station should transmit frequently and be
easily identifiable so you can find when tuning. Finally, the radio should be
mounted in its case with the tuning knob installed. Begin by connecting a
speaker (or phones) and an antenna.
1. Set the SQUELCH pot fully counter clockwise (open).