DR Power 18 HP Bottom-Discharge User Manual
Page 13
13
REMOVAL AND RE-INSTALLATION OF CHIPPER KNIVES
HOW TO REMOVE THE KNIFE
1.
Remove the spark plug wires from both spark plugs.
2.
Remove both access covers from the chipper basic machine.
3.
Rotate the chipper disc until the three countersunk screws and nylock nuts holding the blade are visible
through the access doors.
4.
To remove these screws do the following.
A.
Clean out the heads of the allen screws (item #9, pg. 19) with an awl or sharp tool.
B.
Insert a 3/16 allen wrench into the heads of the screws.
C.
Use a ½” socket and ratchet to remove the nylock nut from the screws.
D.
Remove all three screws in this manner.
HOW TO SHARPEN AND REINSTALL THE KNIFE
KNIFE SHARPENING
Chipper Knives - These hardened knives must be routinely
checked for sharpness. Using dull knives decreases performance
and causes excessive vibration and damage to the unit. DO NOT
ATTEMPT TO SHARPEN KNIVES FREE HAND. Knives must be
parallel ground and kept in a matched set. Take the knives to a
sharpening service to be sharpened. After sharpening the knives,
be sure to re-gap the knives and wear plate. This gap should be a
minimum of 1/16” to a maximum of 3/16”.
KNIFE INSTALLATION
1. When installing new knives, be sure disc is clean before
positioning knife.
2. Reinstall the screws and nylock nuts that were removed while taking the knives off.
3. Check and reset the gap between the knives and the wear plate. New knives will require the wear plate to be
backed out for additional clearance before the new knives can pass.
WEAR PLATE
The wear plate should be kept with a square edge and free of nicks
Test the unit by turning the flywheel by hand to check for proper clearance. Watch and listen carefully for any
unusual noises, clicking or vibration. If any of these are detected, inspect the machine for damage, repair or
replace any damaged parts and check for any loose parts and retighten.
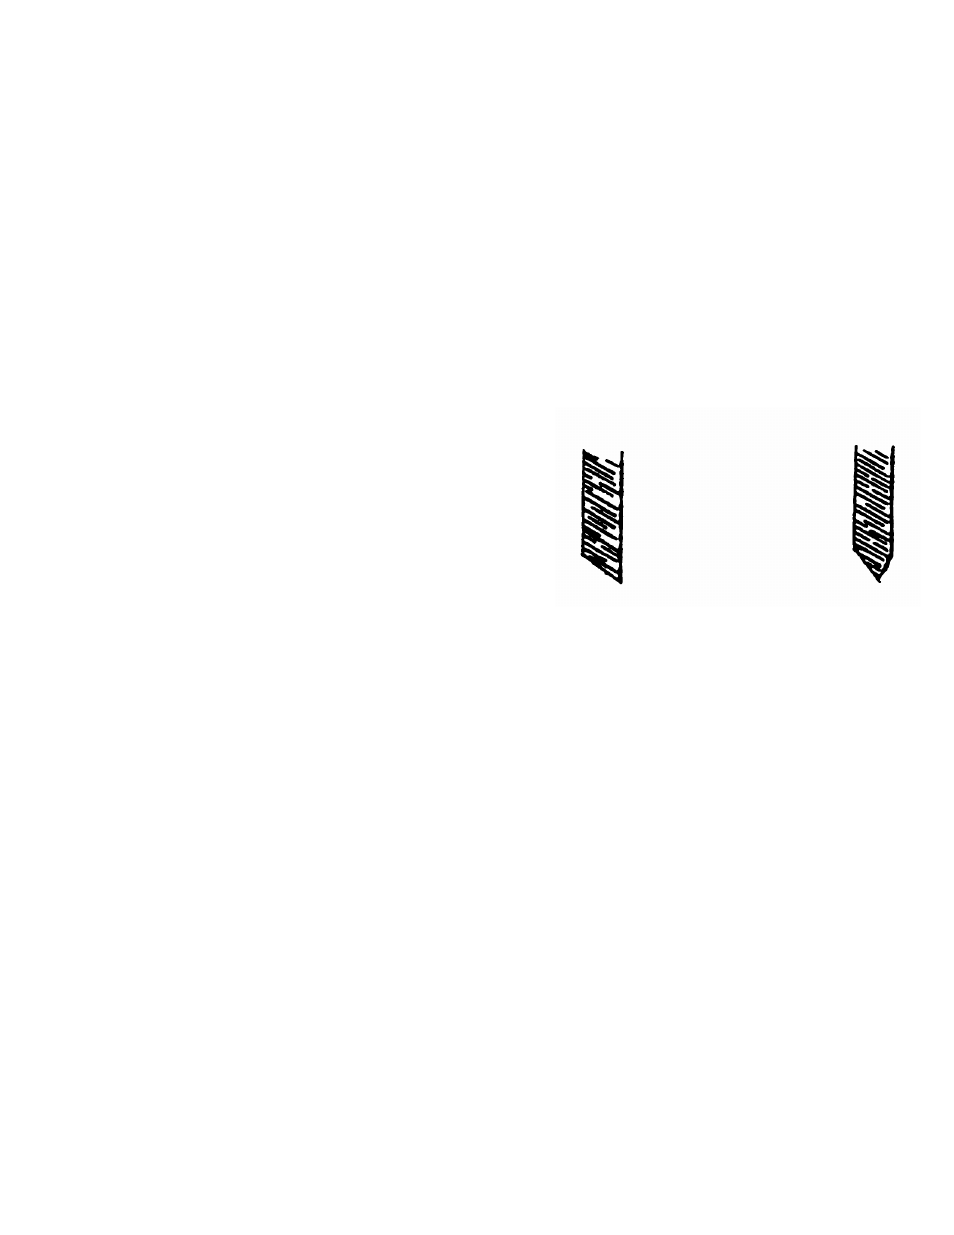
A properly sharpened knife looks like this:
RIGHT (45º)
WRONG