Stator installation tool hammer shaft – Flowserve BGM Dura Seal User Manual
Page 2
Stator Assembly Installation
The stator assembly, consisting of the stator and the stator mounting ring, can be installed
using either an arbor press or the appropriate BGM installation tool.
1. Remove the oil seals or other bearing protection devices.
2. Break the sharp edges of the housing bores using a file, emery cloth, etc. 0.005" R
minimum to 0.030 R maximum)
3. Apply a light film of silicon lubricant to the outer diameter of the stator mounting
O-ring.
4. Install the stator assembly in the housing bore. If you are using an arbor press, use a
protective shield such as cardboard, rubber, etc. protect the entire stator sealing
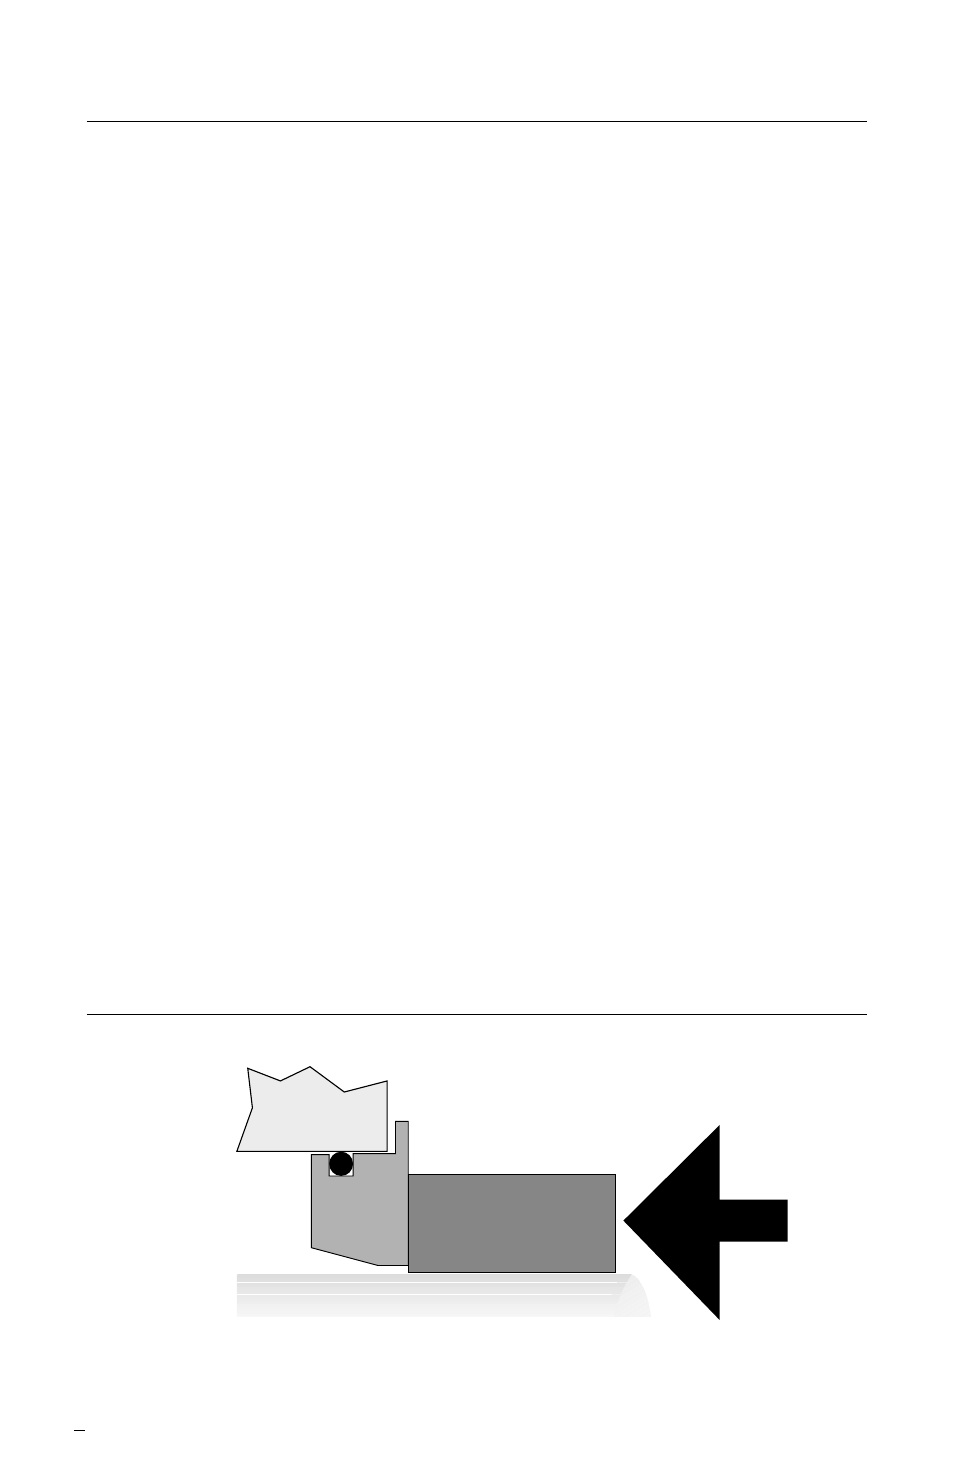
surface. If you are using the BGM installation tool, tap the outer end of the tool with a
hammer until the stator enters the housing bore, Figure 2. Protective shields are not
necessary when using the installation tool.
5. Do not press the stator flange hard against the bearing housing. Leave about a
0.020" gap between that stator flange and the housing. Use this gap for final FIM
(Full Indicator Movement) adjustments, if needed.
6. The stator must be square to the shaft within 0.005" FIM for proper seal perfor-
mance. If you are using the BGM Installation tool, the stator will be automatically set
within 0.005" FIM and no further adjustments are needed. If you are using an arbor
press, mount a dial indicator on the shaft and set the indicator on the stator face.
Rotate the shaft and read the dial indicator. Adjust the stator so the difference between
the maximum and minimum readings is less than 0.005".
Stator
Installation
Tool
Hammer
Shaft
Stator Installation
Figure 2
2