Flowserve NAF-Duball ball valves User Manual
Page 4
4
5.
Release the flanged joint between the valve and
the pipework. Then lift out the valve. Don’t use
the actuator for lifting. Apply all lifting forces to
the valve itself and not to the actuator - Fig. 1.
6.
Mark the relative positions of the body halves
by centre-punching, since the pattern of the
holes drilled in the valve flange and pipe flange
may vary.
9.2
To inspect and replace the ball and seat rings
1.
The actuator need not be removed for replacing
the seat rings and ball.
2.
Operate the valve to make
certain that it will be
completely empty. Close the valve.
3.
Remove the body half (2).
4.
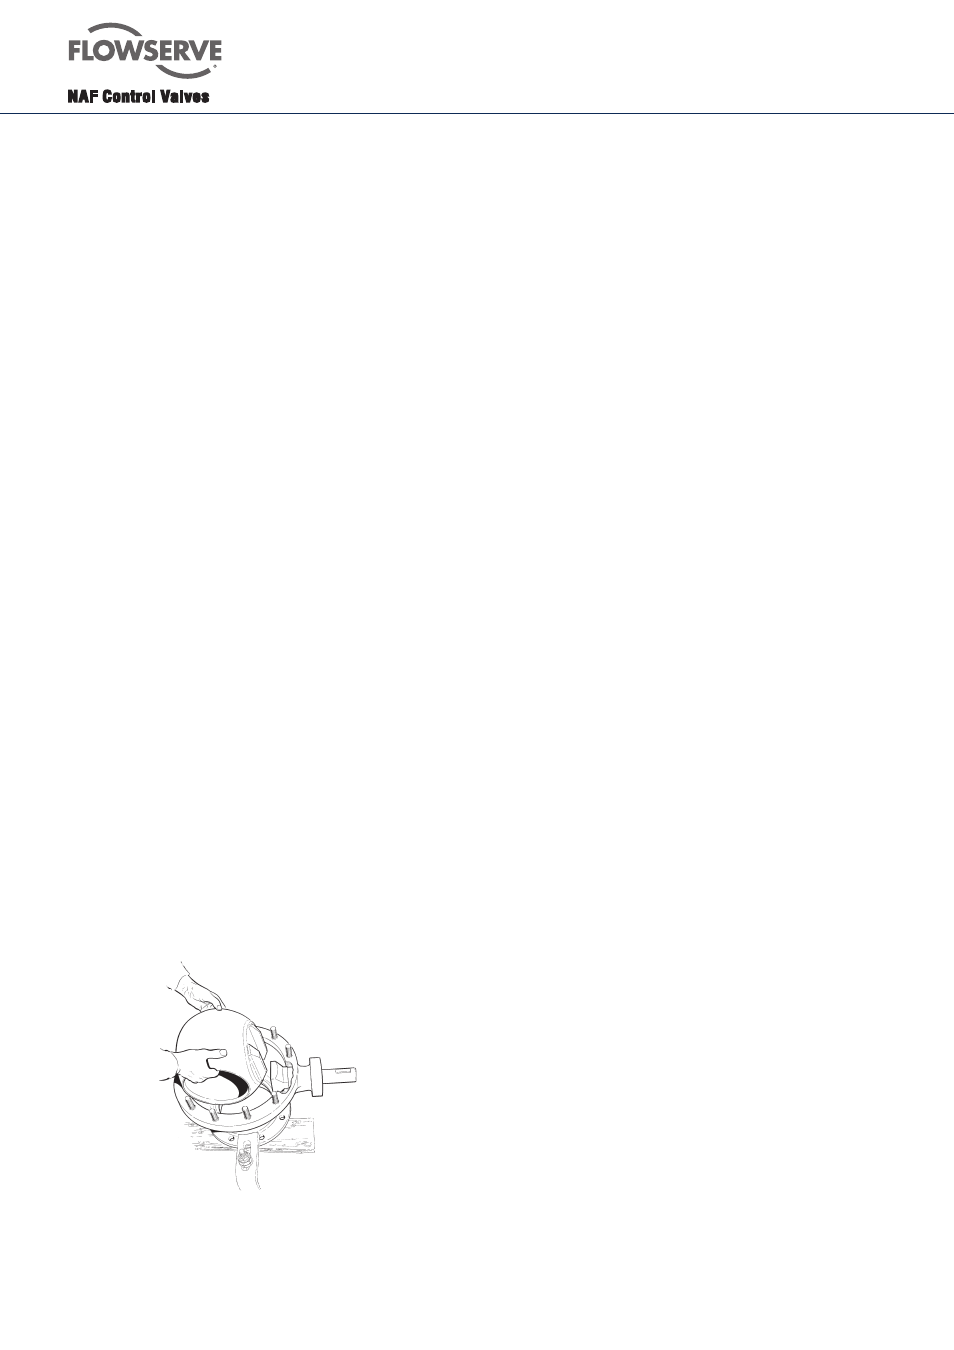
Remove the ball, which is easy to carry out when
the valve is in the closed position - Fig. 5.
5.
Carefully inspect the ball and seat rings.
6.
Clean all parts thoroughly. First use hot water
and then some degreasing agent, if necessary.
Don’t scrape any of the machined surfaces with
hard tools.
9.3
Valves with PTFE seat rings
1.
To ensure good tightness of the valve, fit new
seat rings if the original ones are worn or
damaged.
2.
Inspect the ball. Minor damage to the sealing
surface can be removed by rubbing down with
fine emery cloth. If the ball has sustained major
damage, it must be replaced to ensure
satisfactory sealing.
3.
Fit a new sealing ring (14) between the two
halves of the body.
4.
Coat the ball with Molycote U.If the valve is
intended for service in an oxygen system, the
ball can be coated with grease for oxygen.
5.
Lubricate all stainless steel bolts with suitable
grease, such as Crane Packing’s Thread-Grade
or Gleitmo 600.
Fig. 5. Lifting the ball with the valve in closed posi
tion - here with the valve on a work bench,
but it can be done with mounted actuator.
8.
Spare Parts
State the following data when ordering spare parts:
1.
Product code of the valve - incl. DN according to
Fk 41.61 and the Manuf. No. specified on the
identification plate of the valve.
2.
Description of the part, its item No and quantity
required. See table section 7.
Ordering example: 888296-0200,
manuf. No 1234567,
Seatring item 4
Quantity 2 pcs.
See also section 9.6 item 3.
9.
Maintenance
Many valves are installed in such locations that their
performance is of decisive importance to the entire
process. Such valves should be inspected regularly and
any faults should immediately be corrected.
9.1
To remove the valve from the pipework
The procedure for inspection and maintenance requires
no special tools.
Ensure that the valve is free of pressure.
1.
Ensure that the recommended spare parts and -
important - also the gaskets for the pipe flanges
are available.
2.
Close the valve.
Before dismantling the valve,
make certain that
it is completely empty. Operate the valve several
times between the open and closed positions to
ensure that the space between the valve body
and ball is not under pressure. Caution. The
liquid in the valve may be harmful.
3.
Shut off all compressed air connections and
isolate all electrical connections to the actuator.
4.
Disconnect all compressed air lines and electric
cables connected to the actuator.