Replacing the spring or diaphragm – Flowserve Spring Diaphragm Rotary Actuators User Manual
Page 8
Spring Diaphragm Rotary Actuators FCD VLAIM050-01 – 05/12
8
• The spring (229) is held in place by the limit stop (See Kit #330
Limit Stop Sub-Assembly), the diaphragm bolting will have little
or no load applied to them.
5. Remove the upper diaphragm case (202a)
• Notice as the cover (202a) is removed, that the piston (227) and
diaphragm (225) are held in position by the limit stop (See Kit
#330 Limit Stop Sub-Assembly) in the transfer case.
• This piston can be moved by adjusting the limit stop.
6. Remove the diaphragm (225) from the piston (227)
• Peel the old diaphragm (225) off the piston.
• Notice that the diaphragm (225) is glued to the piston (227).
7. Clean the glue from the piston
• Clean the glue off the piston (227).
• Clean the glue from the O-ring groove in the upper diaphragm
case (202).
8. Apply the glue to the diaphragm (225)
• Apply Glue to the new diaphragm (225).
• Place the diaphragm (225) onto the piston (227) and rotate
it back and forth several times to evenly distribute the glue over
the surface of the piston. Next, remove the diaphragm.
• Allow the glue to set for 2 or 3 minutes. It will become very sticky.
• Place diaphragm back onto the piston and line up the bolt holes.
9. Install a New O-ring (224) in upper diaphragm case (202a)
• Install a new O-ring in the diaphragm cover.
• Apply glue to the O-ring while it is in the O-ring groove.
• Glue used is Scotch-Grip 1022.
10. Install the diaphragm case (202a)
• Install the upper diaphragm case (202a).
• Line up the bolt holes.
11. Install the nuts (350, 351) and bolts (334, 335) to the diaphragm box
• Since the spring (229) is held in compression by the limit stop
(See Kit #330 Limit Stop Sub-Assembly), this step should be
simple.
• Install the bolting, positioning the (3) spring compression bolts
(334) 120 degrees apart.
• It is recommended to lubricate the long spring compression bolts
(334).
• Readjust limit stop as needed.
12. Complete
GENERAL NOTES
• The diaphragm can be replaced by itself while the diaphragm box
is mounted to the transfer case, or the whole diaphragm box can
be removed and replaced.
• If a spring set change is desired, it is recommended that the
entire diaphragm box be changed out as described in the
“changing the air action” section.
• It is possible to change the spring or diaphragm by using the
long spring compression bolts to uncompress the spring.
WARNING: Spring is under compression.
1. Position the diaphragm box assembly (202) in a vice
• Remove the diaphragm box assembly (202) as described in the
“Changing air action” section.
2. Remove the short diaphragm nuts (351) and bolts (335) first
• You can use a press on top of the upper diaphragm case (202a)
to relieve the spring compression.
• If a press is not available, remove the short diaphragm nuts (351)
and bolts (334) first.
3. Apply a generous amount of lubricant to the (3) long spring
compression bolts (334)
• Apply a generous amount of lubricant to the (3) long spring
compression bolts (334).
• Turn each nut (350), 4 or 5 times and then alternate to the next
bolt and nut. Gradually separating the upper and lower diaphragm
case halves.
4. Remove the upper diaphragm case (202a)
5. Remove the diaphragm (225)
6. Complete change out of O-ring (224), diaphragm (225) and spring
(229) (if needed)
• Follow steps 6 to 11 in the section titled “Replacing the
Diaphragm, Without Removing the Diaphragm Box”.
• You can now change the spring if desired.
CAUTION: Use caution when compressing the spring.
7. Re-assemble the diaphragm box
• Re-assembly of the diaphragm box is simplified by using a press
to compress the spring and then installing the diaphragm bolting.
• If a press is not available, then follow steps 1 to 7 in reverse
order.
WARNING: Use lubricant on the (3) spring compression bolts
(334) prior to compressing spring, to avoid galling.
• Remember to apply a generous amount of lubricant to the long
compression bolts prior to compressing the springs with them.
Replacing the Spring or Diaphragm
Air-to-close
Air-to-open
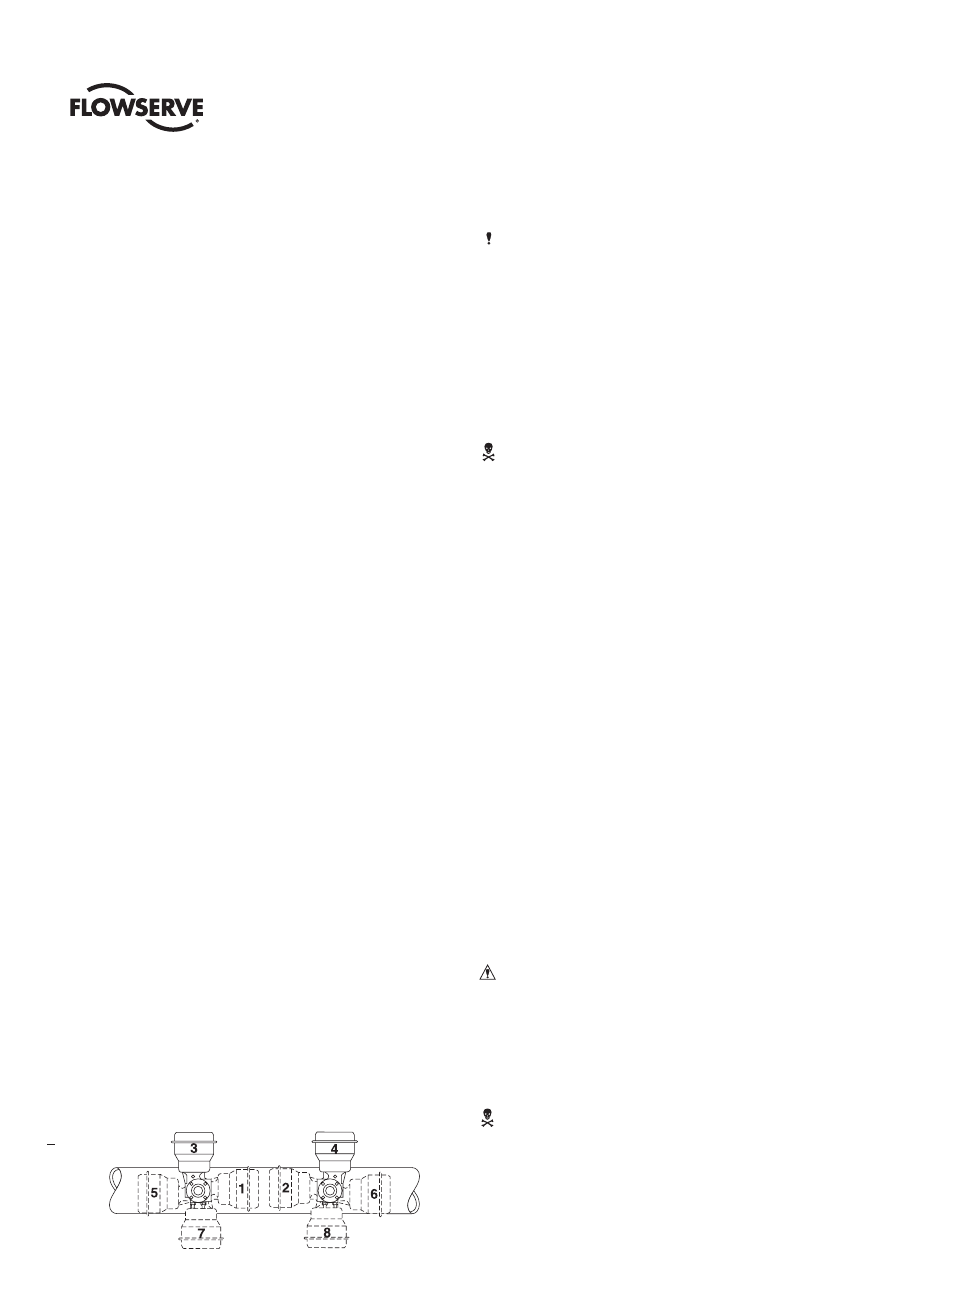
Diaphragm Actuator Orientations
Figure 3