Horton Storm RDX User Manual
Horton crossbow innovations™ storm rdx, Assembly instructions, Storm rdx disassembly out-of-the-box assembly
HORTON CROSSBOW INNOVATIONS™
STORM RDX
TM
ASSEMBLY INSTRUCTIONS
To prevent injury to yourself or others, or damage to your crossbow, read
this manual along with all other operating and safety instructions included in
your crossbow package before assembling, loading or using the crossbow.
HORTON CROSSBOW INNOVATIONS™
1325 Waterloo Road
Mogadore, OH 44260-9608
330-628-9245
www.hortoncrossbows.com
THIS MANUAL COVERS:
STORM RDX DISASSEMBLY
OUT-OF-THE-BOX ASSEMBLY
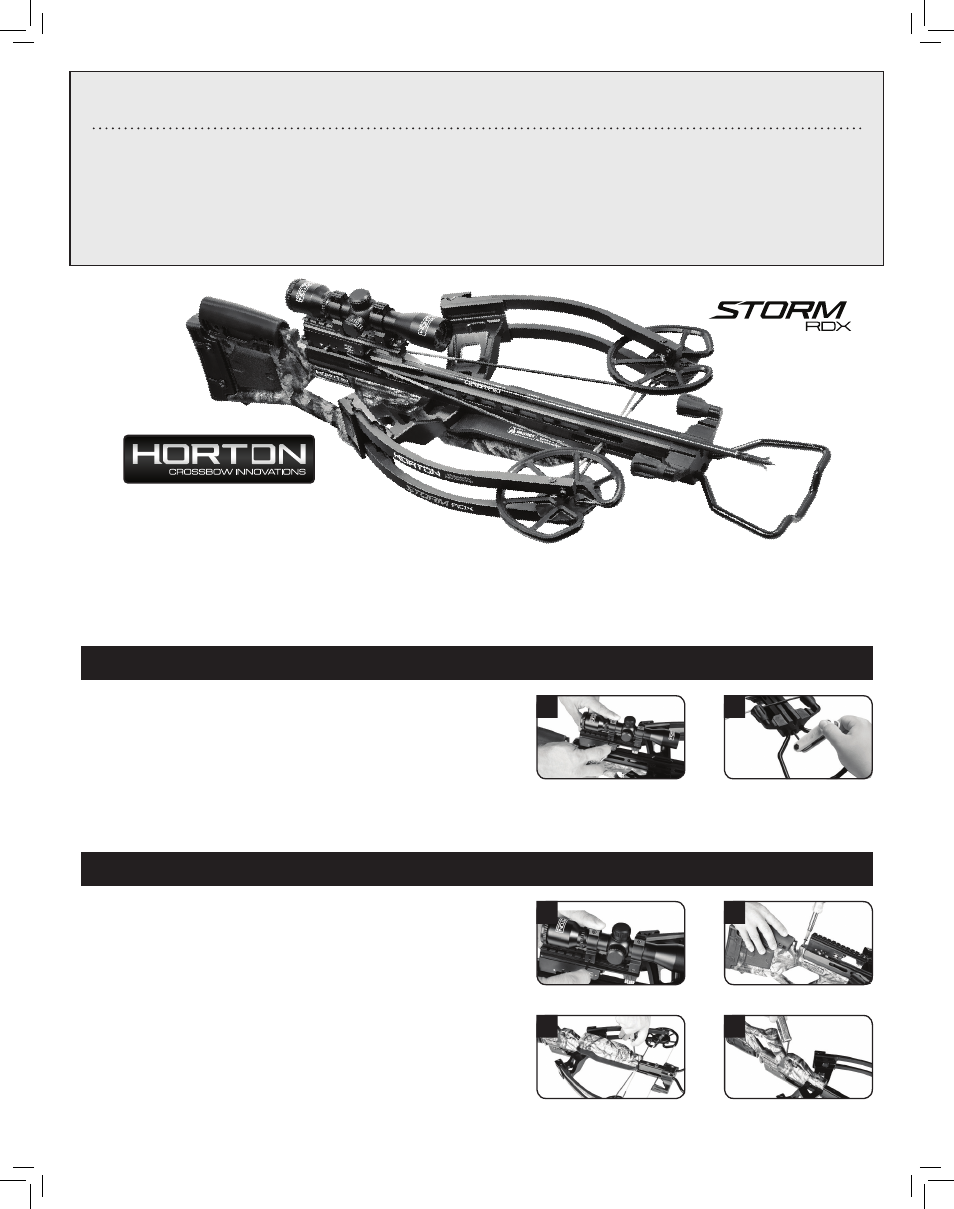
1. Remove the scope.
Note: Start by loosening the top scope
screws before loosening the bottom screws (photo 1).
2. Remove the #10 x 1'' self-tapping tang screw located behind
the trigger box (photo 2).
3. Remove the ¼ - 20 x 1'' and ¼ - 20 x 1 ¾'' fore-grip/safety
wing screws (photo 3).
4. Remove the ¼ - 20 x 1'' and ¼ - 20 x 1 ¾'' stock screws
(photo 4).
1
1. Attach the scope and rings to the dovetail mount in the
desired position (photo 1).
To avoid lens damage, tighten
the bottom screws on the scope rings first, leaving a slight gap
between the ring sections at the top.
2. Install string stop block (w/foot stirrup), assembly bolt, and
washers (photo 2).
The Storm RDX crossbow needs no assembly prior to its first use other than installing the scope, string stop block (w/foot
stirrup) and assembling the quiver. Although we do not recommend disassembling the Storm RDX, the disassembly and
complete assembly instructions are listed below.
1
2
2
3
4
Remove fore-grip/safety
wing screws.
Remove scope.
Remove stock screws.
Remove tang screw.
Install scope.
Install string stop block.