2400-is.pdf, Instruction sheet for tool #2400, Powerglide™ upgrade kit – JIMS 2411 User Manual
Page 2
Instruction Sheet For Tool #2400
Rev NC
7/98
No.2400-IS
“From the Track... To the Street!”
555 Dawson Drive, Camarillo, CA 93012 • Phone 805-482-6913 • Fax 805-482-7422 • WWW.JIMSUSA.COM
CAUTION: Wear safety glasses. Excessive force may damage parts and tool.
See JIMS® cata-
log for over 100 other top quality professional tools. The last tools you will ever need to buy.
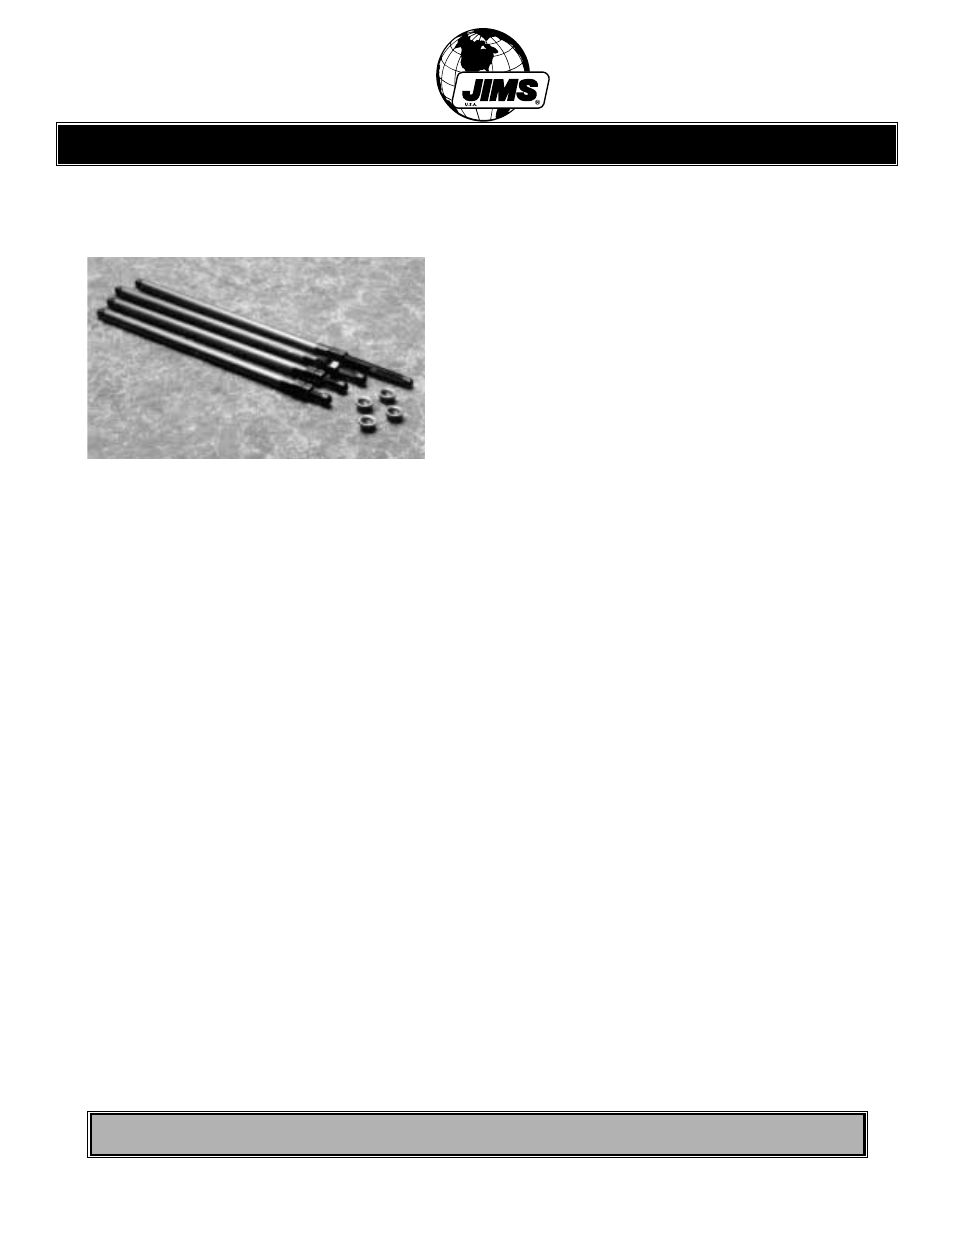
Powerglide™ Upgrade Kit
This kit was designed to change the Standard Shovel Powerglide Tappets
no.2459-1, 2460-1, 2461-1 and 18522-53PG to accept our No.2400 pushrods.
1. Although the pushrod seats may be changed with-
out removing the tappets from the tappet blocks,
JIMS suggests to remove the tappets for inspection
and cleaning. Check all rollers. If bad replace with
JIMS Big Axle Tappets No.2459-1, No.2460-1, or
2461-1.
2. Once the tappets are removed and inspected,
remove the retaining rings that hold the pushrod
seats in. Remove old pushrod seats and install new
seats supplied with kit.
3. Install tappets in blocks with oil holes facing each other in the blocks.
4. JIMS
®
Power Glide tappets are assembled with a small amount of oil to ease in the adjustment.
This way you will not have to bleed down the tappet at the time of final adjustment.
5. Apply assembly lube to tappets and rollers. Slip tappets into blocks and install blocks.
6. With both blocks in place on case, install JIMS
®
Tool #33443-84 if your case has 1/4-20
mounting holes. Lube tool and screw into the tappet screw hole to center block into case.
Tighten to 30in/lb. Apply lube to the other three screws and torque to 30 in/lb. Install the
other block the same way. Remove tool and install last lubed screw and finish torquing to 120
in/lb in a criss-cross pattern at 30 in/lb increments.
7. This is a good time to clean the tappet screen.
8. Locate the front pushrod (laser indicated front or rear on part) and covers first. Apply assem-
bly lube to top and bottom ends and threads of pushrods. (Note: Front and rear exhaust
pushrods are the longest.) With the front intake tappet at the lowest point on cam, adjust
pushrod with thumb and finger just until you eliminate all up-and-down movement.
9. Extend pushrod adjuster 9 wrench flats or 1 1/2 full turns. Tighten lock nut.
10. Recheck lock nut, close covers and install clips.
11. Repeat exact procedure on the other 3 (Note: make sure tappets are at the lowest point for
adjustments.)
12. Turn motor over several times untill oil pumps into the powerglide tappets, or until the oil light
goes out, or untill oil is returning to the oil tank.
IMPORTANT NOTE:
This adjustment will make the pushrod tight, which will bleed the hydraulic lifter. It will
take 10-15 minutes or longer to bleed off. It is important that the engine is not rotat-
ed while pushrods are tight. The pushrod will spin with your fingers after it has bled
off properly. Tighten lock nut, recheck, close cover and install clips. Repeat exact pro-
cedure on other pushrods. Turn motor over several times to pump oil into the power
glide tappet until the oil light goes out, or until oil is returning to the oil tank.