Figure 2 – La Crosse Technology WS-8300U User Manual
Page 4
4
INVENTORY OF CONTENTS
1. Wireless Weather Station (Figure 1)
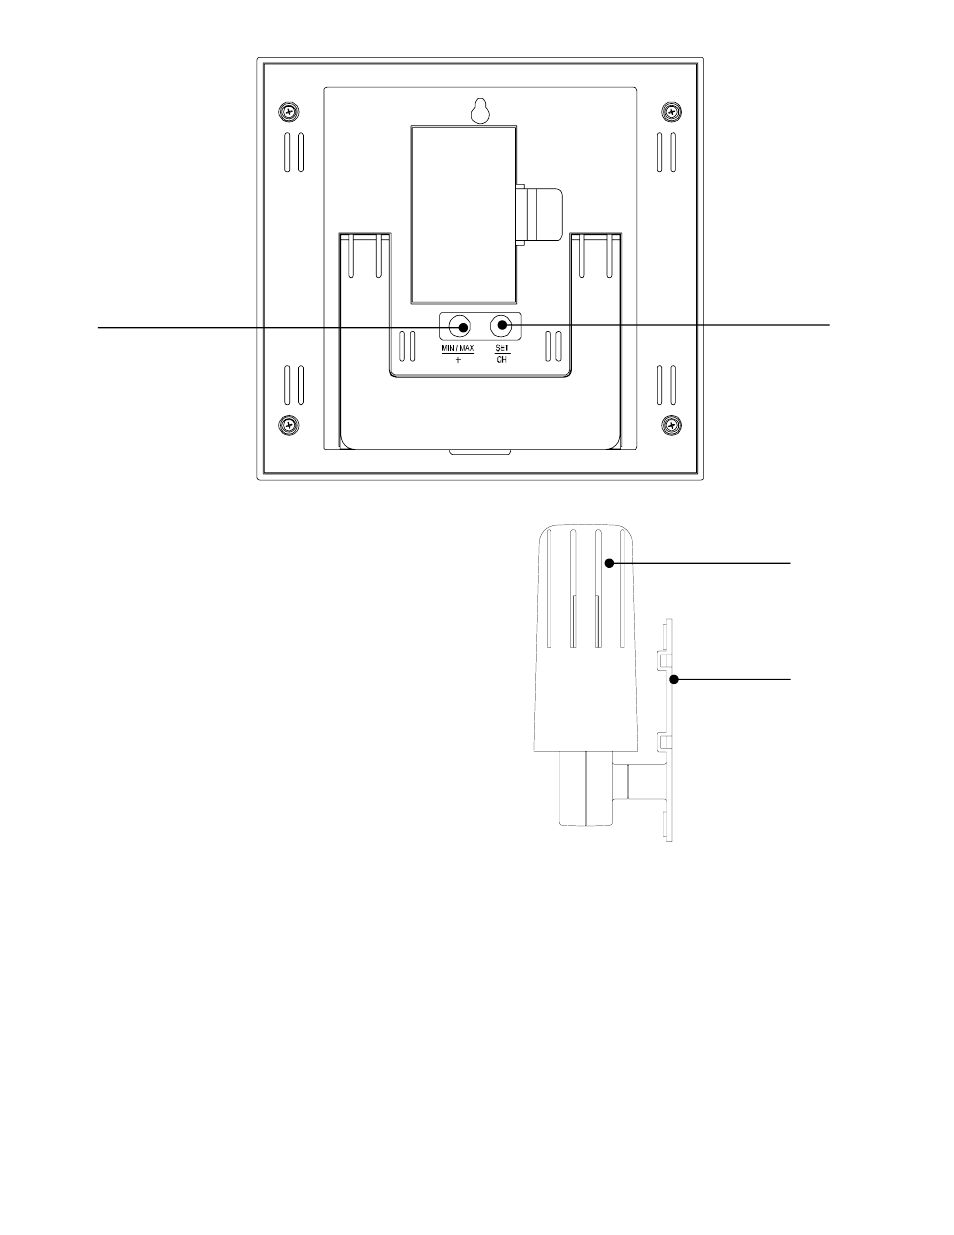
2. Wireless Thermo-Hygro Sensor (TX21U)
and mounting bracket. (Figure 2)
3. 3 each, 1/2” Philips screws.
4. One strip of double sided adhesive tape.
5. Instruction Manual and Warranty Card.
ADDITIONAL EQUIPMENT
(not included)
1. 1 Philips screwdriver.
2. 4 Fresh “AA” 1.5VAlkaline Batteries.
QUICK SETUP
Hint: Use good quality Alkaline Batteries; avoid rechargeable batteries.
1. Have the Wireless Weather Station and thermo-hygro sensor 3 to 5 feet
apart.
2. Batteries should be out of both units for 10 minutes.
3. Place the batteries into the thermo-hygro sensor first and next into the
Wireless Weather Station.
4. DO NOT PRESS ANY BUTTONS FOR 15 MINUTES.
In this time the Wireless Weather Station and the thermo-hygro sensor will begin to
communicate with each other, and the display will show both the indoor temperature
and an outdoor temperature. If the Wireless Weather Station does not display both
FIGURE 2
Wireless
Thermo-hygro
Sensor
Mounting
Bracket
Set/Channel
Button
MIN/MAX / +
Button