MacroSystem Photo-Studio User Manual
Page 7
6
7
loaded are displayed there (5.1.3 Edit images).
5.1.2 Mark images
This option is repeated on other menus, so its
individual functions are only described once
here.
Under the option “Mark images”, you must first
apply marks, as the other settings on this menu
relate to the pictures which you have marked
on the list. Proceed as follows: Click the desired
photo on the list and then on the button for the
function to be run.
- “Mark actual image”: The photo on which you
clicked will be marked with a small green flag
in the top left-hand corner. You can also mark
several pictures consecutively.
- “Remove actual mark”: The marking on the
photos previously selected will be removed
again.
- “Mark all images”: All the pictures on the list
will be marked without the photos having to be
preselected.
- “Remove all marks”: You will delete all the
markings applied by clicking this button.
Note: If no picture is marked, the active picture
in the frame will be edited. If at least one picture
is marked, only this picture will be edited,
but not the active picture, unless it is marked.
However, there is an exception, which will be
found under 5.2.2 Retouch.
5.1.3 Edit images
- “Get images”: The pictures previously marked
will be loaded into your Casablanca machine
by clicking this button. The pictures loaded will
then appear in other menu windows on the
Photo list. (c.f. 5.1.1 Photo list).
N.B.: The number of pictures is not restricted,
but the memory capacity is. You can load a
maximum of 128 MB into SMART EDIT 3 and
a maximum of 256 MB into SMART EDIT 4.
The number of photos thus depends on the
photograph (megapixels and quality).
- “Delete from card”. Clicking this button will
delete the marked photo(s) from your memory
card permanently after a warning message. How
to mark photos is described under 5.1.2 Mark
images.
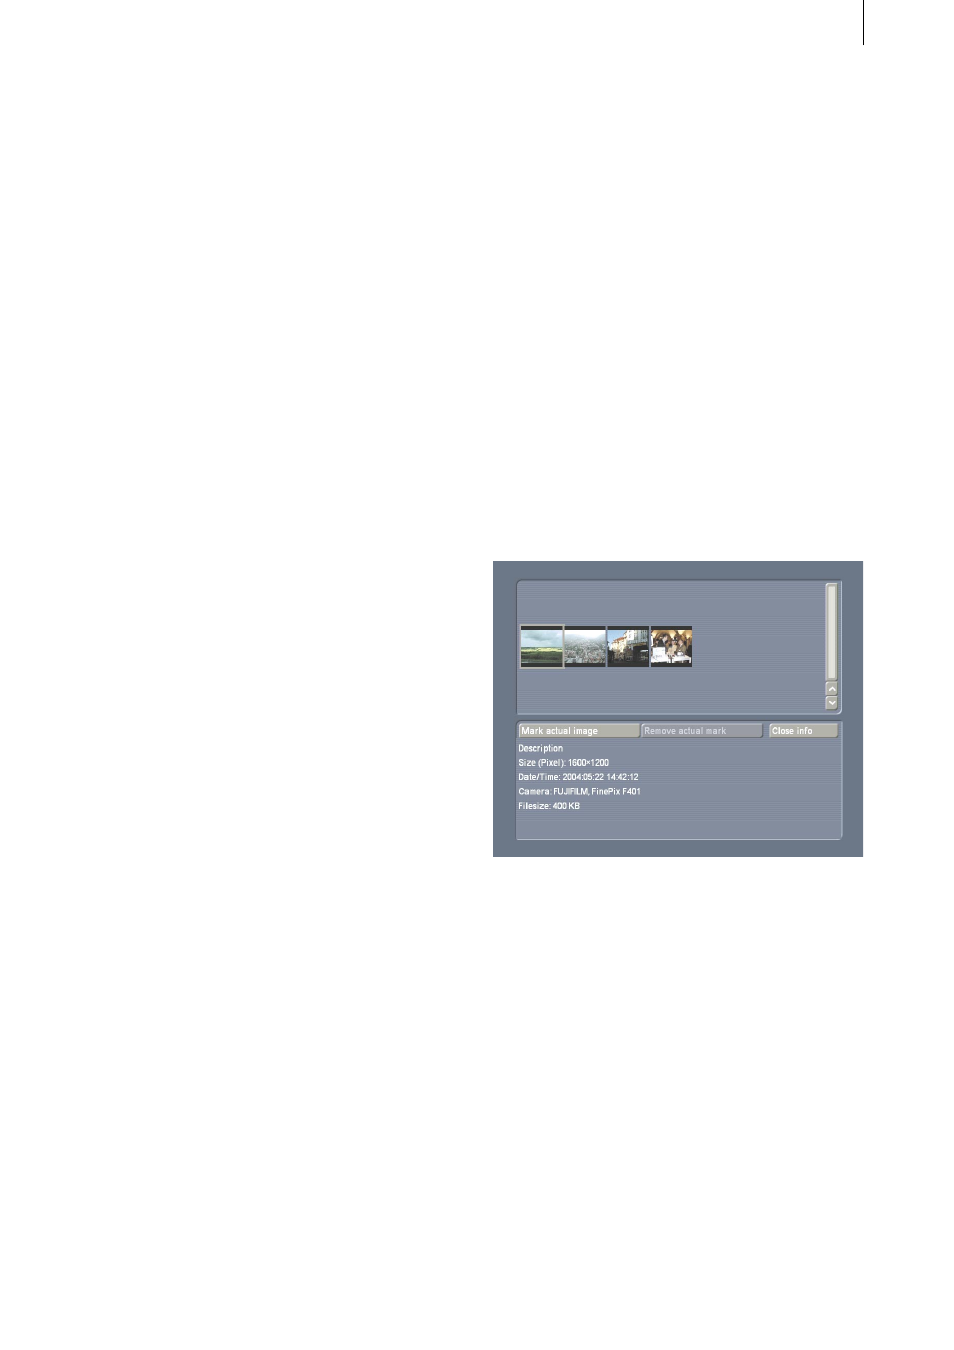
5.1.4 Info
This button appears in many menu windows, so
its functions are only described once here.
Clicking the “Info” button will open a new
window.
In the upper part, you will see the Photo list,
below which are the “Mark actual image” and
“Remove actual mark” buttons, so that you can
also change the markings again in this menu
window.
You will find information on the photograph
displayed above in the lower part of the menu
window. The description of the photo (which
you can enter yourself under 5.2.1 Format), the
size of the photo, the date on which it was taken,
the name of the camera and the file size will
be displayed. Please note that the information
provided and its extent depend upon the camera
used.
Close the “Info” menu window with the “Close
info” button to return to the “Import” menu
window.
5.1.5 Preview
This option appears on many menus, so its