Starting, Unit shut down – REMKO AT 25 User Manual
Page 7
7
1
Starting
Prior to starting, the unit is to be checked to make sure
that there are no visible defects on the control and
safety devices, that the unit has been installed correctly
and that it has been properly connected to the mains.
A properly trained person is to be charged with the op-
eration and control of the unit.
◊
Install unit in a stable position.
◊
Make sure that combustion air is supplied.
◊
Make sure that the air can be sucked in and be ex-
hausted freely.
◊
Avoid overpressure and underpressure in the room
where the unit has been installed.
◊
Make sure that enough fuel is supplied.
◊
Fill fuel tank with clean fuel oil EL or diesel with the
unit switched off.
◊
Use only appropriate and clean tanks to fill with fuel.
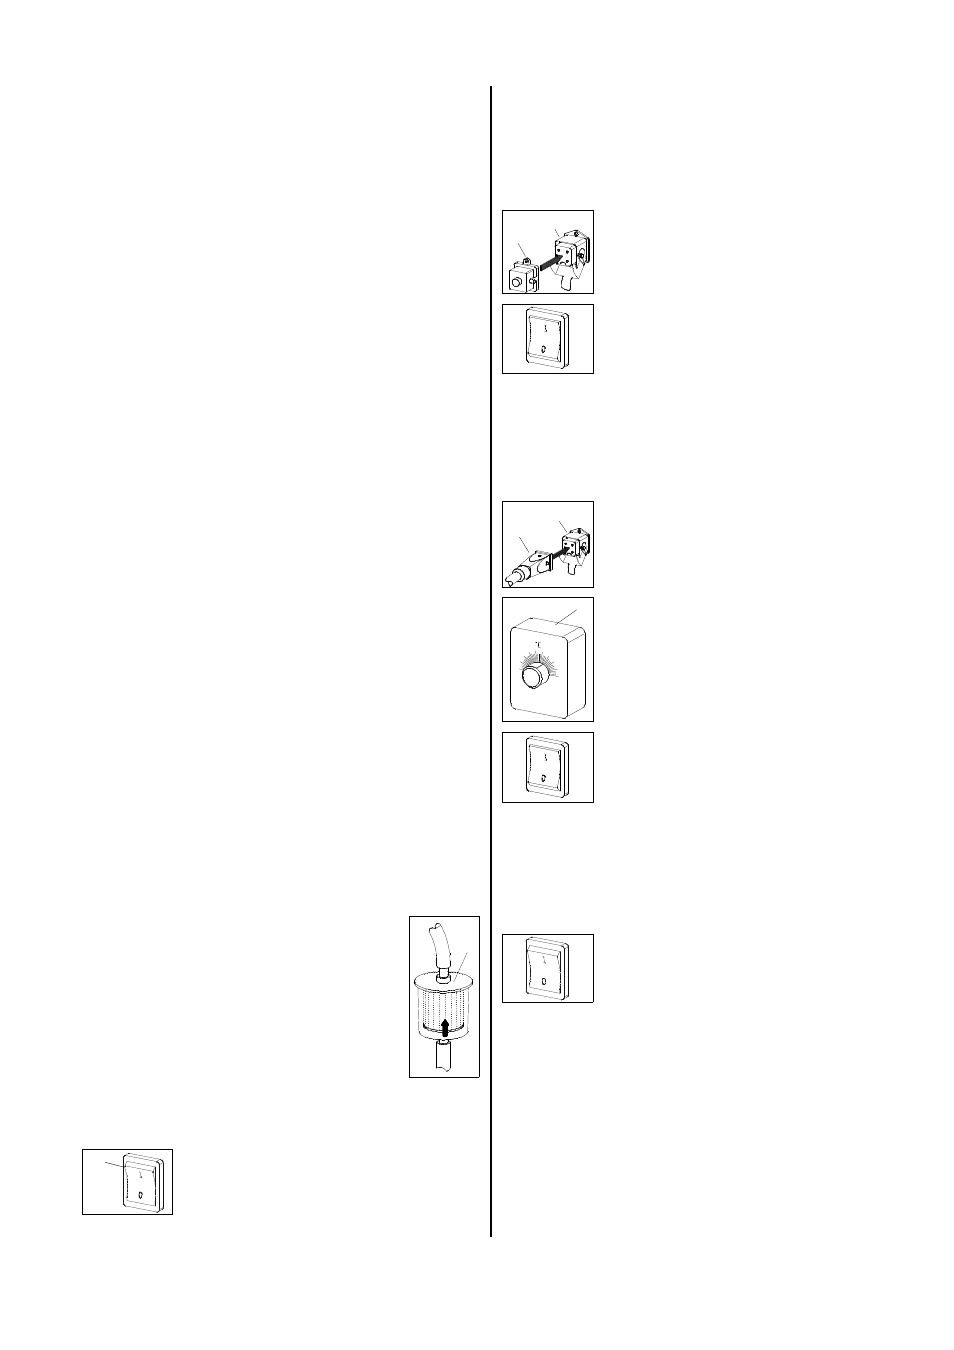
Fuel filter
Prior to commissioning the unit and before
the tank is filled each time, the main filter (F)
must be checked for the presence of grime
or the accumulation of paraffin.
The main filter is positioning beside the filler.
Make sure to fill the fuel tank only with the
tank filter inserted into the filler neck.
F
Paraffin accumulation by low outside temperatures
The supply of sufficient liquid fuel is to be ensured, even
with low outside temperatures.
Paraffin accumulation can occur even at tempera-
tures as low as 5 °C. Appropriate measures must
be taken to avoid this.
◊
The built-in tank heating is only active as long as the
mains plug is connected with a functioning mains
socket.
◊
It is not possible to get rid of paraffin discharge
which is already present using the tank heating.
The requirement for this is the cleaning of the entire
fuel system.
The unit is to be installed only in well aerated
rooms, but not in living rooms or similar recreation
rooms!
1. Put operating switch 1 into “0”
position (OFF).
2. Connect unit plug to a suitable
mains socket.
230V/1~ 50 Hz.
Connect the unit with the current supply
6
Attention, important hints to the after-cooling phase
The air supply fan continues running to cool down the
combustion chamber and then stops later.
The fan can start several times before final switching off.
Unit Shut Down
Heating with room thermostat (accessories)
The unit runs fully automatically and depending on tem-
peratures.
1. Remove the bridge circuit plug 3.
2. Connect the thermostat plug 5 of the
room thermostat (accessories) into
the thermostat socket 4.
3. Install room thermostat 6 in a suit-
able place.
The thermostat sensor may not be
exposed directly to the hot air cur-
rent and not fixed directly on a cold
surface.
4. Pre-select desired room tempera-
ture on the room thermostat
5. Put the operating switch into position
“1” (on).
5
4
1. Put operating switch into position
“0” (OFF).
Heating without room thermostat
The unit runs in continuous operation.
2. Put the operating switch into position
“1” (on).
1. Connect the supplied bridge circuit
plug 3 to the thermostat socket 4 of
the unit
4
3
Never interrupt (except in emergency situations)
the connection to the mains before the end of the
whole after-cooling phase.
Our guarantee does not cover damages caused
to the unit by overheating.