Maintenance and service, Burner adjustment – REMKO AT 25 User Manual
Page 8
8
◊
The unit is to be kept free from dust and other de-
posits and is to be cleaned only with a dry or humid
cloth.
Do not use water jet.
◊
Do not use any aggressive cleaning agents or those
which are harmful or environmentally unfriendly.
◊
When the unit has not been used for a longer period,
the fuel tank is to be emptied, rinsed and to be filled
with clean fuel.
◊
Use only clean fuel oil EL and diesel, respectively.
Make sure to avoid paraffin formation.
◊
Empty fuel tank at least twice a year and rinse it with
clean fuel.
Do not use water!
◊
Keep burner head clean.
◊
Wearing parts such as e.g. oil filters, burner nozzle
and gaskets must be checked and, if necessary, re-
placed.
In any case, we recommend the replacement of the
oil jet before the start of each heating season.
◊
The oil filter in the filler neck of the fuel tank is to be
cleaned regularly.
◊
The main oil filter is to be replaced (take care of flow
direction) depending on the rate of pollution, but at
least before the start of every heating period.
The main filter is at the left side of the unit above the
fuel tank.
◊
Gauze oil filters have been installed in the fuel pump,
in the magnetic valve and in the burner nozzle.
These filters are to be cleaned by an expert.
◊
Check safety devices regularly.
◊
In the case of reducing heating capacity, formation of
smoke and/or bad ignition the unit is to be inspected
and the burner is to be adjusted.
◊
Observe regular maintenance and care intervals.
Maintenance and Service
The unit is to be maintained regularly whereby some
fundamental rules are to be observed to ensure a long
service life and trouble-free operation.
After each heating period or even earlier, depending on
the deployment conditions, the entire unit including
combustion chamber and burner head must be cleaned
of soot sediments, dust and dirt.
The oil filters must also be cleaned / replaced at least
once a year or, depending on the degree of contamina-
tion of the fuel, frequently.
Setting and maintenance is to be carried out
only by authorised personnel!
Prior to starting any work make sure to pull the
mains plug out of the mains socket!
Burner adjustment
Disassembly of burner head and nozzle
1. Loosen safety screw of burner head at combustion
chamber.
2. Loosen cap nut of fuel piping at burner head.
3. Remove photo cell and ignition cable, and remove
the burner head by turning from the rear wall of the
burner chamber.
Cleaning the fuel tank
It is necessary to clean the fuel tank:
◊
After each heating period or, depending on the
deployment conditions, even earlier.
◊
Before and after extended idle periods.
◊
If the main filter frequently becomes dirty.
◊
If condensation water accumulates in the fuel.
◊
Rinse the container several times if necessary with
clean fuel thoroughly.
Do not use water!.
◊
Please use no cleaning agents which contain
solvents.
These can destroy the inner layer of the tank.
◊
Avoid the use of high-pressure cleaners.
◊
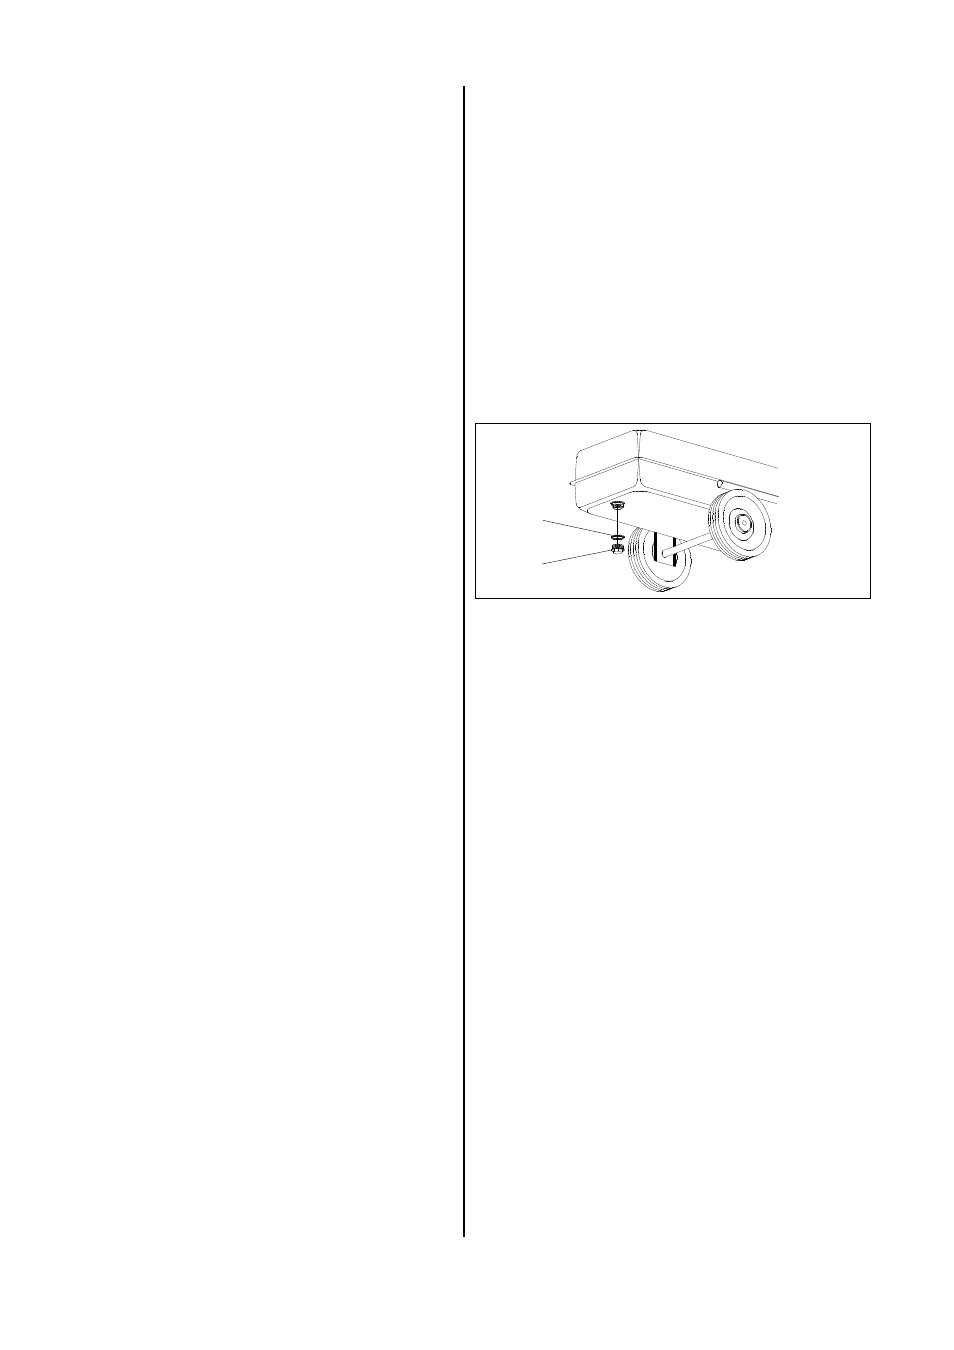
Fit the discharging screw D (SW 22).
◊
The gasket ring E should be replaced after each
disassembly.
◊
Fill tank with clean fuel.
◊
Start unit and let it run for approx. 3 minutes.
D
E
Use only appropriate tools to disassemble the
nozzle (SW 16) and counteract at the blast con-
nection (SW 19).
Please proceed in the following way when cleaning the
fuel tank.
◊
Unscrew the discharging screw D (SW 22) and dis-
charge the fuel into a suitable vessel.