Chapter 2, Connecting the cameraman 3e 3-ccd camera, Mounting the cameraman 3e 3-ccd camera – Grass Valley 3e CameraMan User Manual
Page 21: Step 1, Figure 2.1 camera clearance diagram, Connecting the cameraman 3e 3- ccd camera 13, Camera clearance diagram 13, Chapter 2 connecting the cameraman 3e 3-ccd camera
Advertising
071839000
June 2005
13
Mounting the CameraMan 3e 3-CCD Camera
Mount the Camera on any flat, non-slick, non-metal
surface with a minimum supporting area of 8” x 8” by
following these easy steps.
Step 1
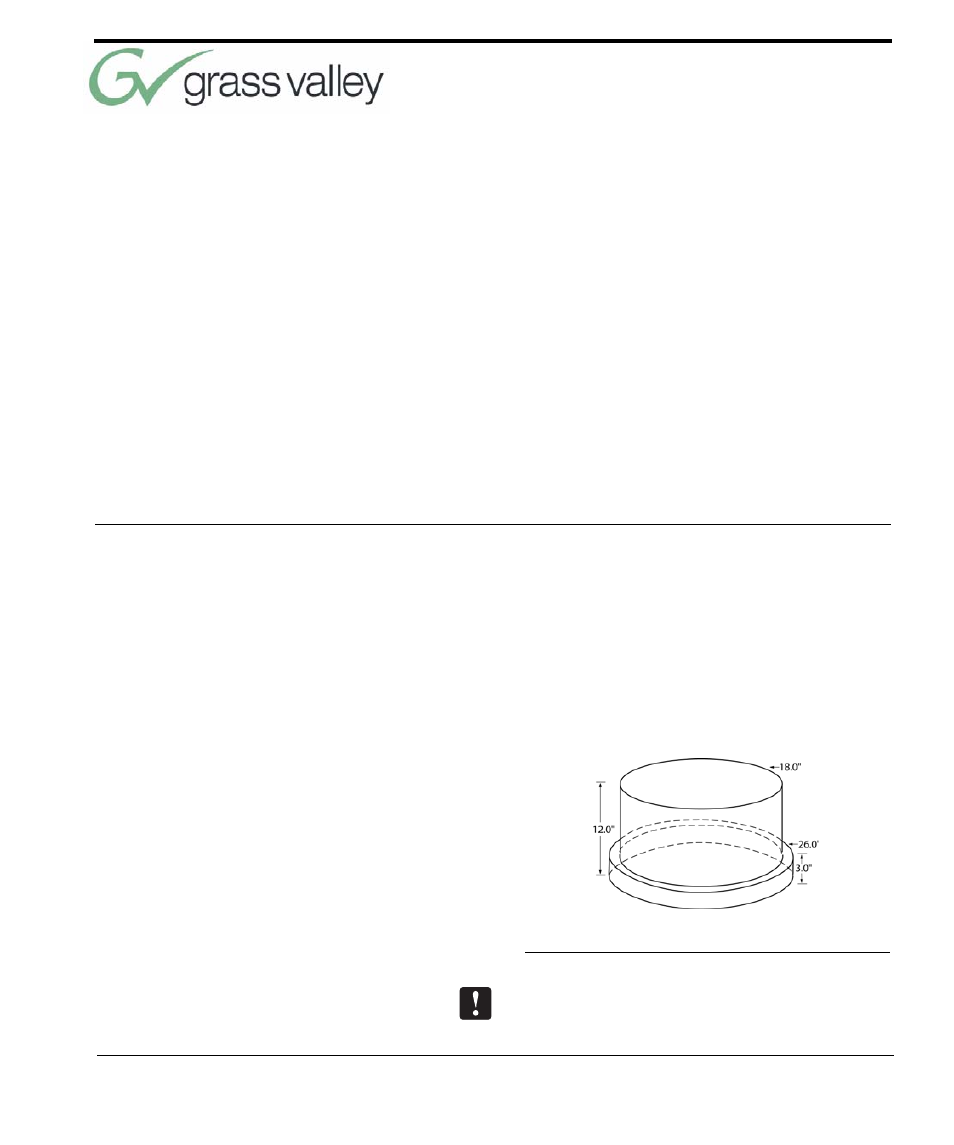
Check the selected camera-location to ensure that
there is enough camera and cable clearance space
for the CameraMan to pan and tilt without obstruc-
tion (see Figure 2.1).
FIGURE 2.1
Camera Clearance Diagram
Note: Do not mount the camera upside down, or
with more than a 10
o
angle from horizontal.
Chapter 2
Connecting the CameraMan
3e 3-CCD Camera
Advertising