Linkskey LDV-212ASK User Manual
Ldv-212ask, Quick installation guide
Quick Installation Guide Applicable model: LDV-212ASK
Rev. 1.3 Copyright© All rights reserved
KVM Switching Client Software for Windows/Mac
User-definable Hotkeys
Independent/Simultaneous Audio&PC Switching
Autoscan Delay Time Programmable
LDV-212ASK
2-port Compact Desktop
DVI USB KVM Switch w/ Audio&Mic
Quick Installation Guide
Thank you for purchasing the LDV-212ASK Compact Desktop
DVI USB KVM Switch! With our highly reliable and quality
product, user can enjoy countless benefits from using it.
LDV-212ASK
Introduction
The LDV-212ASK is a 2-port Slim Palmtop USB KVM Switch
with audio and microphone switching function. It allows you to
access, control, boot and reboot 2 DVI-enabled USB multimedia
computers. The independent audio/mic switching function allows
an uninterrupted audio experience on a same connected
computer even when you switch to another computer.
This KVM Switch adopts the DVI technology for digital video
signal transmission over the cable to reduce undesired distortion
from conventional analog/digital conversion. Both digital video
(1920 x 1200) and analog video (2048 x 1536) are supported.
For Windows and Mac platforms, it provides an innovative and
easy-to-use KVM Switcher Software -- a small windows client
application to facilitate your KVM switching operations such as
PC selection and hotkey sequence programming, autoscanning,
autoscan delay time programming, independent/simultaneous
audio&PC switching, etc.
Out-of-the-box Installation
Take the Companion CDROM and the KVM Switch out of the box
and follow the steps below for installation….
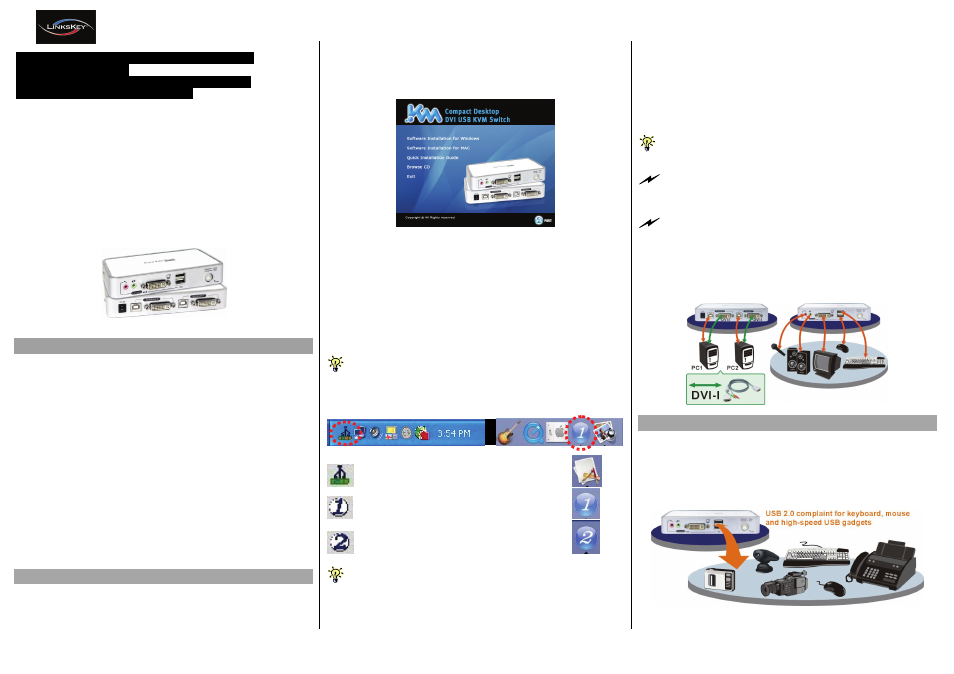
Step 1. Insert the companion CD ROM into your CD drive, and
the Autorun screen will pop up (If the Autorun feature
has not been enabled on your computer. Just find the
Autorun.exe on the CDROM and double-click it to start).
Step 2. For Windows/Mac: Just click the “Software Installation
for Window/Mac” to start installation. (If the Mac version
software does not start, you should then copy it to your
local Hard disk on Mac). Follow the instructions to
completion. If the installation is complete, you will see a
KVM Switcher icon on the system tray of your desktop.
Right-click to evoke the operation menu and double-
click to evoke the configuration box. For operation
details of the KVM Switcher software, please refer to the
Operation Quick Reference.
The Windows switcher software is recommended for use on
Windows 98 SE or later. The Mac switcher software is recommended for
use on Mac OS 10.4 [Tiger].
Windows Mac OS
No live connection detected
Current active PC channel is on port 1
Current active PC channel is on port 2
The KVM Switcher Software supports both the Windows and the
Mac OS operating systems. For other OS platforms such as Linux, you
can still use the keyboard hotkey - ScrLk + ScrLK - to switch PC.
However, this switching hotkey is not available on non-PC platform such
as MacOS.
Step 3. Plug in the Power adapter to the Power receptacle on
the backpanel. Then connect the shared USB
keyboard, mouse, monitor, speaker/headphone and
microphone each to its port on your KVM Switch.
Step 4. Connect each KVM PC port to a computer, using the
slim 3-in-1 KVM combo cable and the audio/mic cable.
After you have connected the KVM and computers
properly, you can operate the KVM Switch immediately.
If you need to connect a computer with an analog video display
(HDB15) to the KVM switch, you need to use a HDB15-DVI adapter
for connection.
Some older computers with USB interface might need to manually
enable the USB option in the BIOS settings before you can use any
USB devices. If your USB interface does not work, please check the
USB option in the BIOS.
If you use Windows 95/98/SE or Mac OS and has not yet installed a
USB mouse on your computer, there might be an error message
telling you that mouse is not detected and prompting you to decide
whether to ignore the same message in the future, and yet you will
find there is no mouse movement to disable this message….So it is
suggested that you should installed your USB mouse on your
computer first, before connecting it to this KVM Switch.
Sharing High-speed USB Device
The 2 USB ports on the front-panel are normally used for
keyboard and mouse connections. However, they are USB 2.0
hub ports and can also be connected to any USB devices so that
you can easily switch and share the USB devices among two
computers.